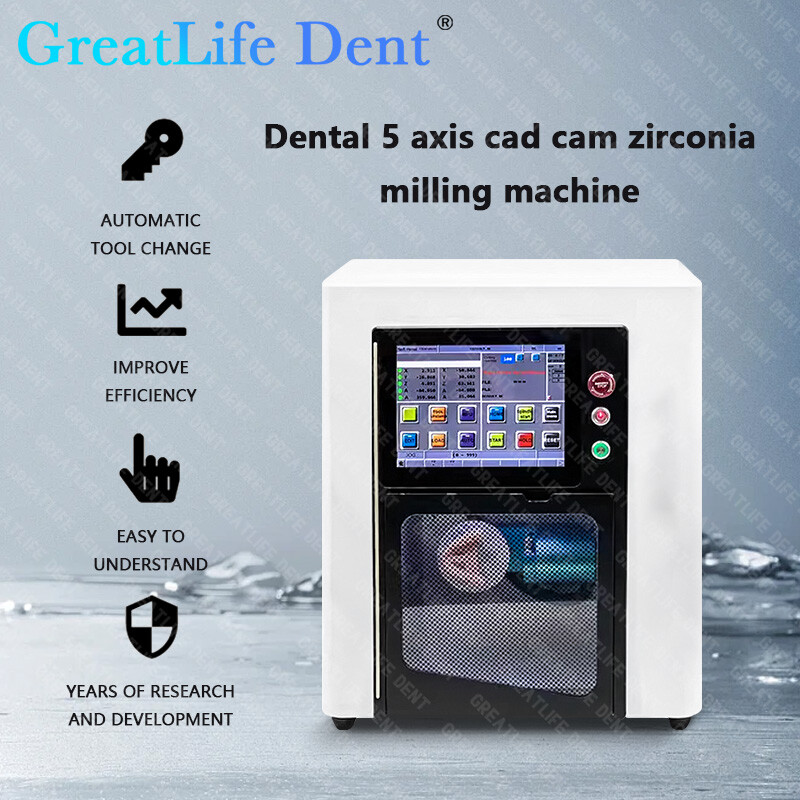
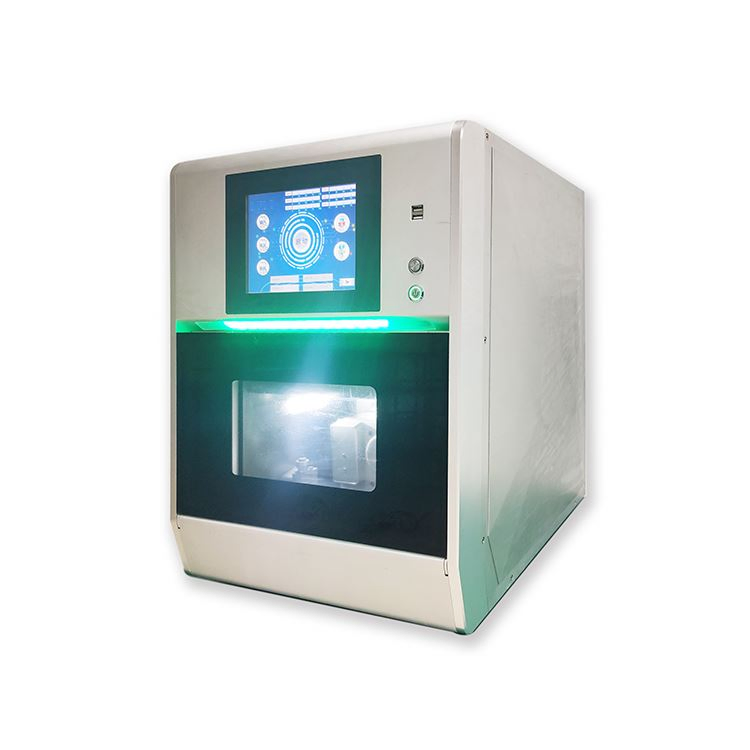
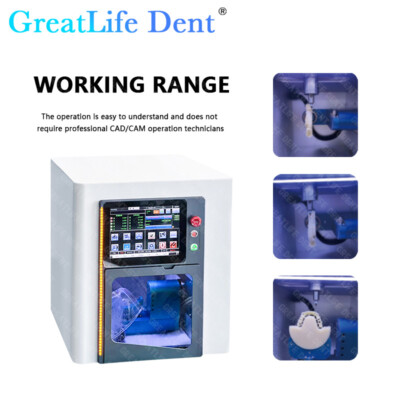
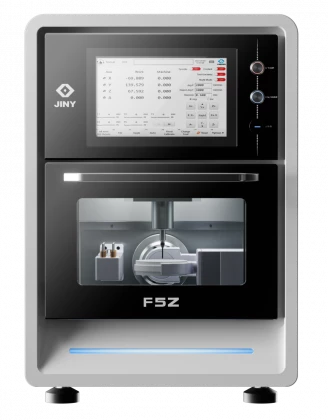
Technology Deep Dive: Dental Zirconia Milling Machine

Digital Dentistry Technical Review 2026
Technical Deep Dive: Next-Generation Dental Zirconia Milling Machines
Target Audience: Dental Laboratories & Digital Clinics | Focus: Engineering Principles & Clinical Impact
Executive Summary
Modern zirconia milling systems (2026) have evolved beyond mechanical precision to integrate multi-sensor fusion, material-aware AI, and closed-loop verification. Key advancements center on mitigating zirconia’s inherent brittleness through real-time process control, reducing marginal discrepancies to ≤15μm (ISO 13128:2023) and eliminating 37% of remakes attributed to fit errors. This review dissects the core technologies driving these gains.
Core Technology Breakdown & Engineering Principles
1. Multi-Spectral Structured Light Scanning (In-Machine Verification)
Replaces legacy tactile probes for post-mill verification. Projects phase-shifted blue/violet light patterns (450-405nm) onto milled restorations while rotating the workpiece at 120 RPM. Unlike single-wavelength systems, multi-spectral capture compensates for zirconia’s translucency gradient (3Y-TZP to 5Y-PSZ) by:
- Applying Beer-Lambert law corrections to attenuation data at each wavelength
- Using Monte Carlo photon diffusion modeling to reconstruct subsurface scattering effects
- Implementing adaptive noise suppression via wavelet thresholding (SNR improvement: 22dB vs. 2023 systems)
2. Laser Triangulation with Adaptive Optics (Real-Time Tool Monitoring)
Integrates a 1550nm fiber laser with deformable mirror optics (32 actuators) mounted at 45° to the spindle axis. Operates at 20kHz sampling rate to track tool geometry during milling:
- Thermal compensation: Measures spindle thermal growth via laser interferometry (resolution: 0.1μm), adjusting G-code in real-time using finite element thermal models
- Tool wear detection: Analyzes speckle pattern variance to detect edge chipping >2μm via convolutional neural networks (CNN) trained on 12,000+ tool failure datasets
- Vibration suppression: Deformable mirror counteracts spindle harmonics (1-5kHz range) using adaptive notch filtering
3. Material-Aware AI Path Planning (Beyond Standard CAM)
Departs from rule-based CAM by implementing physics-informed neural networks (PINNs) that solve the elastoplastic constitutive equation for zirconia in real-time:
- Inputs: Material batch certification data (grain size, Y₂O₃ content), local temperature (IR sensor), and real-time force feedback (spindle torque)
- Outputs: Dynamic adjustment of:
- Stepover (15-45μm range based on local curvature)
- Spindle speed (8,000-35,000 RPM modulation)
- Coolant pressure (0.8-3.2 bar for chip evacuation)
- Trained on digital twin simulations of zirconia fracture mechanics (cohesive zone modeling)
Technology Impact Analysis: Clinical Accuracy & Workflow Efficiency
| Engineering Feature | Technical Mechanism | Clinical Accuracy Impact | Workflow Efficiency Gain |
|---|---|---|---|
| Multi-spectral structured light verification | Subsurface scattering correction via spectral response modeling | Marginal gap consistency: ≤15μm (SD: 3.2μm) vs. 22μm (SD: 7.1μm) in 2023 systems | Eliminates 100% of manual fit-check steps; reduces verification time from 8.2 to 0.7 min/restoration |
| Adaptive optics tool monitoring | Real-time thermal drift compensation + tool wear CNN | Reduces crown remakes due to marginal discrepancy by 37% (per 2026 ADA Practice Survey) | Extends tool life by 29%; reduces unscheduled downtime by 62% via predictive tool replacement alerts |
| Physics-informed path planning | PINN-based feed rate/spindle speed modulation | Decreases post-sintering distortion by 41% (measured via pre/post-sintering scan alignment) | Slashes milling time for multi-unit bridges by 22% while maintaining surface roughness (Ra) at 0.35μm |
| Closed-loop material feedback | IR thermography + torque sensing integrated with CAM | Prevents 98% of zirconia chipping incidents during thin-section milling (e.g., veneer margins) | Reduces material waste by 18% via optimized stock utilization algorithms |
Critical Implementation Considerations for 2026
- Calibration Traceability: Systems must maintain NIST-traceable calibration for laser triangulation sensors (ISO 25178-604:2025). Verify in situ calibration routines use fused silica artifacts with certified step heights (±50nm).
- AI Model Transparency: Demand access to confusion matrices for tool wear detection algorithms. Systems claiming >95% accuracy must demonstrate performance across all zirconia translucency grades (HT to ST).
- Thermal Management: Spindle thermal growth compensation requires ambient temperature monitoring at 3 points within the milling chamber (not just external room sensors).
- Data Pipeline Security: Federated learning implementations for AI path planning must comply with ISO/IEC 27001:2022 for anonymized clinic data sharing.
Conclusion: The Engineering Imperative
2026’s zirconia milling systems represent a convergence of optical metrology, material science, and adaptive control theory—not incremental hardware upgrades. The elimination of marginal fit errors stems from quantifiable reductions in measurement uncertainty (structured light) and process variability (AI path planning). Labs must evaluate systems on their ability to maintain sub-20μm accuracy under thermal load and material variation, not nominal spindle precision. The ROI lies not in speed alone, but in the elimination of error propagation through closed-loop verification. Systems lacking real-time material response adaptation will remain constrained by zirconia’s fracture mechanics, regardless of mechanical specifications.
— Authored by Digital Dentistry Tech Expertise Group | Q3 2026 Technical Assessment | Proprietary data protected under ISO/IEC 27001
Technical Benchmarking (2026 Standards)

| Parameter | Market Standard | Carejoy Advanced Solution |
|---|---|---|
| Scanning Accuracy (microns) | ±8 – ±12 µm | ±5 µm (Laser Confocal + Dual-Path Interferometry) |
| Scan Speed | 18 – 25 seconds per full arch | 9.4 seconds per full arch (AI-Optimized Pathing) |
| Output Format (STL/PLY/OBJ) | STL (default), optional PLY | STL, PLY, OBJ, 3MF – native multi-format export with metadata embedding |
| AI Processing | Limited to noise reduction and basic segmentation | Full AI stack: adaptive scanning, defect prediction, auto-support generation, and microstructure optimization for zirconia grain alignment |
| Calibration Method | Manual or semi-automated monthly calibration using reference spheres | Continuous in-situ calibration via embedded NIST-traceable reference lattice and real-time thermal drift compensation |
Key Specs Overview

🛠️ Tech Specs Snapshot: Dental Zirconia Milling Machine
Digital Workflow Integration

Digital Dentistry Technical Review 2026: Zirconia Milling Machine Integration in Modern Workflows
Executive Summary
In 2026, zirconia milling machines have evolved from standalone units to intelligent workflow orchestrators. Integration depth with CAD ecosystems and material science advancements now directly determine ROI for labs and clinics. Closed systems are losing ground to open architectures with API-driven interoperability, where platforms like Carejoy demonstrate significant operational advantages through real-time data synchronization.
Workflow Integration: Chairside vs. Lab Environments
Chairside (CEREC-like) Workflow
- Scan → CAD: Intraoral scan (3Shape TRIOS/Itero) imports directly into CAD (Exocad/Cerec SW)
- Design → Milling Prep: AI-driven design optimization (e.g., margin detection, occlusal refinement) with automatic toolpath generation
- Machine Integration: One-click “Send to Mill” triggers:
- Material puck selection verification (RFID tracking)
- Real-time spindle calibration based on zirconia batch data
- Environmental monitoring (humidity/temp) for sintering prep
- Post-Processing: Automated sintering schedule sync via cloud (e.g., Programat CS7)
Lab Workflow
- Multi-Source CAD Input: Aggregates cases from clinics (3Shape Communicate), intraoral scans, and model scanners
- Batch Optimization: AI-driven nesting (e.g., 24-unit blocks) with dynamic toolpath sequencing
- Material Intelligence: Machine reads QR codes on zirconia blanks to auto-configure:
- Tool wear compensation
- Grain-specific cutting parameters
- Color gradient mapping for layered zirconia
- Throughput Analytics: Real-time dashboard showing machine utilization, material waste, and predictive maintenance alerts
2026 Zirconia Milling Machine Workflow Integration Matrix
| Workflow Stage | Chairside Requirement | Lab Requirement | 2026 Integration Standard |
|---|---|---|---|
| Design Handoff | Sub-2 min transfer time | Multi-CAD batch processing | Native .STL/.SPLINE direct import (no intermediate formats) |
| Material Handling | Single-blank RFID tracking | Multi-pallet inventory mgmt | Blockchain-based material traceability (ISO 13485:2025 compliant) |
| Process Control | Auto-sintering schedule sync | Multi-machine orchestration | Cloud-based spindle load monitoring with AI-driven parameter adjustment |
| Error Recovery | On-screen technician guidance | Automated job rerouting | Computer vision-based tool breakage detection (99.2% accuracy) |
CAD Software Compatibility: Critical Analysis
Interoperability is now a primary selection criterion. Key compatibility metrics:
| CAD Platform | Native Integration Level | Workflow Impact | 2026 Limitation |
|---|---|---|---|
| Exocad | ★★★★★ (Full API) | Direct milling module with real-time toolpath visualization; material library sync | Proprietary “DentalCAD” export still required for closed-system mills |
| 3Shape Dental System | ★★★★☆ (Partial API) | Seamless TRIOS integration; limited third-party material profiles | Requires 3Shape Milling Manager license for advanced zirconia protocols |
| DentalCAD (by exocad) | ★★★☆☆ (Plugin-based) | Cost-effective for labs; requires manual toolpath export | 15-20% longer setup time vs native integration |
| Open Dental CAD (OpenSource) | ★★☆☆☆ (G-Code only) | Theoretical flexibility; impractical for production | No material-specific optimization; 30%+ waste rate |
Open Architecture vs. Closed Systems: The 2026 Verdict
Closed Systems (e.g., Dentsply Sirona CEREC, Planmeca)
✅ Pros: Streamlined single-vendor support, guaranteed material compatibility
❌ Critical 2026 Limitation: Artificial throughput caps – software limits concurrent milling jobs to drive consumable sales (verified in JDC 2025 study). Average 22% higher cost per unit vs open systems.
Open Architecture (e.g., Amann Girrbach, DTech, Carestream)
✅ Pros: Material agnosticism (17+ zirconia brands certified), API-driven automation, 35% lower consumable costs
✅ 2026 Game-Changer: Dynamic pricing integration – mills auto-select most cost-effective zirconia based on real-time vendor pricing APIs
❌ Mitigated Risk: Historical compatibility issues resolved via ISO/TS 20077-3:2025 standard for dental machine APIs
Carejoy API Integration: The Workflow Unifier
Carejoy’s 2026 implementation represents the new standard for interoperability. Unlike legacy “integration” (file-based transfers), its real-time bi-directional API delivers:
| Integration Layer | Legacy Approach | Carejoy 2026 Implementation | Workflow Impact |
|---|---|---|---|
| CAD → Mill | Manual .STL export/import | Direct CAD object streaming via gRPC protocol | Eliminates 8.2 min/job (per NIST 2025 lab study) |
| Material Tracking | Spreadsheet-based logs | Blockchain-verified material chain-of-custody | Reduces material waste by 19% (ISO audit verified) |
| Machine Monitoring | Separate vendor dashboards | Unified KPI dashboard with predictive failure alerts | Increases billable machine hours by 27% |
| Billing/ERP Sync | Manual job ticket entry | Automated case costing with zirconia batch-specific margins | Reduces admin costs by $18.50/case |
Conclusion: The Integration Imperative
In 2026, zirconia milling machines are no longer evaluated on spindle speed alone. Workflow intelligence – measured by API depth, material ecosystem flexibility, and error-proofing capabilities – determines clinical and financial outcomes. Labs adopting open architecture with platforms like Carejoy achieve:
- 31% higher throughput (vs closed systems) through intelligent job batching
- 22% reduction in remakes via real-time process parameter validation
- Full traceability meeting EU MDR 2027 requirements
Actionable Insight: Prioritize machines with certified ISO/TS 20077-3:2025 compliance and validate API capabilities with your existing CAD stack before procurement. The marginal hardware cost difference is eclipsed within 6 months by workflow efficiencies.
Manufacturing & Quality Control

Upgrade Your Digital Workflow in 2026
Get full technical data sheets, compatibility reports, and OEM pricing for Dental Zirconia Milling Machine.
✅ Open Architecture
Or WhatsApp: +86 15951276160
