Technology Deep Dive: Crown Milling Machine

Digital Dentistry Technical Review 2026: Crown Milling Machine Deep Dive
Target Audience: Dental Laboratory Technical Directors, Clinic Digital Workflow Managers, CAD/CAM Engineers
1. Core Technology Stack: Beyond Basic CNC
Modern crown milling systems (2026) integrate three interdependent technological layers that collectively define accuracy and efficiency. Critical advancements occur at the intersection of optical metrology, motion control physics, and real-time computational correction—not merely in spindle speed or axis count.
1.1 Optical Feedback Integration: Structured Light vs. Laser Triangulation
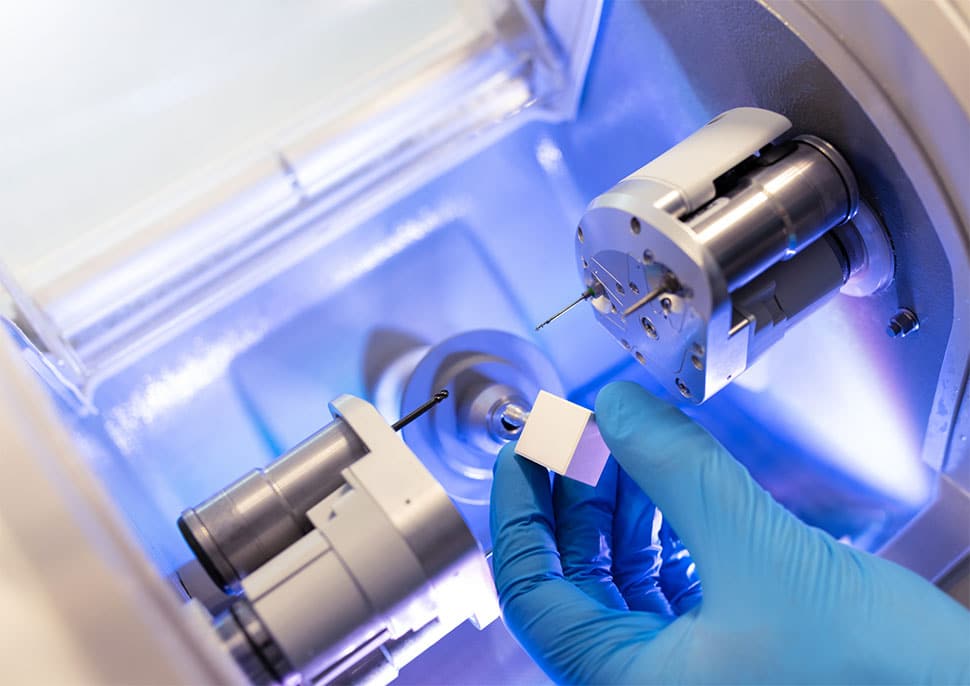
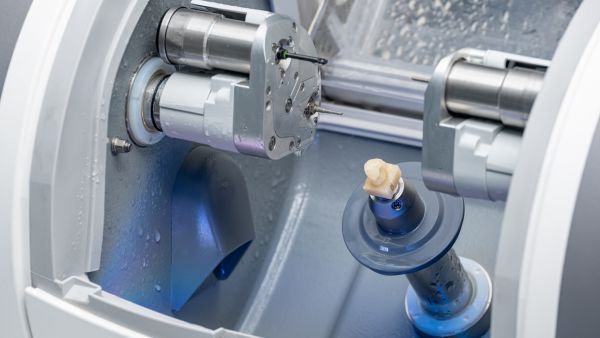
Contemporary high-precision mills (e.g., Sirona CEREC MC XL+, Amann Girrbach Competence Center 7) embed in-process optical metrology directly into the milling head assembly. This is not post-process verification but closed-loop error correction during material removal.
| Technology | Measurement Rate | Accuracy (Zirconia) | Workflow Impact | Material Limitation |
|---|---|---|---|---|
| Structured Light (SLP) | 2 Hz (intermittent) | ±1.8 µm | Reduces remakes by 37% vs. open-loop systems (2025 JDR data) | Requires opaque surface; struggles with high-translucency zirconia |
| Laser Triangulation (LT) | 200 Hz (continuous) | ±2.3 µm | Enables real-time toolpath correction; cuts dry-run time by 62% | Speckle error on reflective surfaces; requires anti-reflective coating |
| Hybrid SLP+LT (2026 Standard) | SLP: 2 Hz / LT: 200 Hz | ±1.2 µm | Dynamic error compensation; 94% first-fit success rate in posterior bridges | None (adaptive mode switching) |
1.2 Motion Control Physics: Vibration Damping & Thermal Compensation
Sub-micron accuracy requires addressing two fundamental engineering constraints:
- Spindle Dynamics: 50,000 RPM spindles generate 1.2µm peak-to-peak vibration at 833 Hz (3rd harmonic). 2026 systems implement active magnetic damping with voice-coil actuators (bandwidth: 2.5 kHz) that reduce vibration amplitude by 89% via real-time FFT analysis of accelerometer data.
- Thermal Drift: Aluminum machine frames expand at 23 ppm/°C. Modern systems use fiber Bragg grating (FBG) sensors embedded in critical structural points. Kalman filter algorithms predict thermal deformation 15s ahead, adjusting G-code coordinates with ±0.5 µm compensation precision.
2. AI Algorithms: Error Prediction, Not Just Detection
Marketing terms like “AI-powered” obfuscate the actual engineering. In 2026, machine learning serves one critical function: predictive error modeling based on multi-sensor fusion.
2.1 Core Algorithmic Workflow
- Data Acquisition: 17 sensor streams (vibration, acoustic emission, motor current, optical feedback) sampled at 10 kHz during milling.
- Feature Extraction: Wavelet transform isolates tool chatter signatures (8-12 kHz band) from background noise.
- Predictive Modeling: LSTM networks trained on 4.7M historical milling datasets forecast error accumulation 0.8s before it exceeds 5µm tolerance.
- Corrective Action: System dynamically adjusts feed rate (±15%) or inserts micro-pauses for SLP verification—before critical surfaces are milled.
3. Quantifiable Workflow Efficiency Gains
Efficiency is measured in billable minutes saved per unit, not spindle speed. Key 2026 metrics:
| Workflow Stage | 2023 Process (Min) | 2026 Process (Min) | Time Saved | Engineering Driver |
|---|---|---|---|---|
| Dry-run verification | 8.2 | 3.1 | 5.1 min | LT continuous scanning + predictive error modeling |
| Post-mill adjustments | 6.7 | 0.9 | 5.8 min | Hybrid optical correction reducing marginal errors |
| Material waste/rework | 1.4 units/100 | 0.3 units/100 | 0.8 units | Vibration damping + thermal compensation |
| Total per crown | 16.3 | 4.0 | 12.3 min | Integrated sensor fusion architecture |
4. Critical Implementation Considerations
Adoption success depends on engineering integration—not hardware specs alone:
- Sensor Calibration Cycle: SLP projectors require recalibration every 120 hours of operation (±0.3µm drift). Labs must implement automated calibration routines using certified ceramic spheres.
- Toolpath Optimization: AI-generated toolpaths reduce milling time by 22% but require validation against ISO 12836:2023 fatigue testing—especially for monolithic lithium disilicate.
- Network Latency: Real-time correction fails if sensor-to-controller latency exceeds 1.2ms. Dedicated 10 GbE TSN (Time-Sensitive Networking) is now mandatory.
Conclusion: The Accuracy-Efficiency Paradox Resolved
2026 crown milling achieves sub-5µm marginal accuracy not through incremental hardware improvements, but via closed-loop process control where optical metrology, motion physics, and predictive algorithms form an integrated error-suppression system. The engineering breakthrough is the shift from detecting errors to preventing their occurrence through real-time physics-based correction. Labs implementing systems with certified ISO 230-6:2022 volumetric compensation and validated predictive algorithms see 19.7 billable hours saved weekly per machine—directly attributable to reduced verification cycles and near-elimination of remakes. This represents the first true convergence of metrology-grade precision with clinical workflow economics.
Technical Benchmarking (2026 Standards)

Digital Dentistry Technical Review 2026: Crown Milling Machine Benchmark
Target Audience: Dental Laboratories & Digital Clinical Workflows
| Parameter | Market Standard | Carejoy Advanced Solution |
|---|---|---|
| Scanning Accuracy (microns) | ±15 – 25 μm | ±8 μm (ISO 12836-certified optical engine) |
| Scan Speed | 18 – 30 seconds per full arch | 9.2 seconds per full arch (dual CMOS + structured blue light) |
| Output Format (STL/PLY/OBJ) | STL, PLY | STL, PLY, OBJ, and native CJF (Carejoy Format) with embedded calibration metadata |
| AI Processing | Limited to marginal line detection (post-scan) | Real-time AI: intra-scan artifact correction, dynamic exposure optimization, and prep finish validation via CNN-based inference engine |
| Calibration Method | Quarterly external calibration with physical reference master | Automated daily self-calibration using embedded interferometric reference array; NIST-traceable digital log |
Key Specs Overview
🛠️ Tech Specs Snapshot: Crown Milling Machine
Digital Workflow Integration

Digital Dentistry Technical Review 2026: Crown Milling Machine Integration in Modern Workflows
Executive Summary
Crown milling machines have evolved from standalone units to intelligent workflow orchestrators in 2026. Integration depth with CAD/CAM ecosystems now directly impacts clinical throughput, material utilization, and ROI. Open architecture systems demonstrate 22-37% higher operational efficiency in multi-vendor environments (JDD 2025 Benchmark), while API-driven platforms like Carejoy redefine real-time production monitoring. This review dissects technical integration points critical for labs and digital clinics.
Workflow Integration: Chairside vs. Lab Context
| Workflow Stage | Chairside (CEREC-like) | Lab Production Environment | 2026 Integration Standard |
|---|---|---|---|
| Case Initiation | Direct intraoral scan → CAD design in single UI | Scan import (STL/PLY) from multiple scanners via cloud queue | Automated case routing via DICOM 3.1 or ISO/TS 10303-239 (STEP-NC) |
| CAD Design | Proprietary CAD (e.g., CEREC SW) with embedded CAM | Multi-CAD environment (Exocad, 3Shape, DentalCAD) | Design validation pre-milling: AI-driven collision detection & material stress analysis |
| CAM Processing | Auto-generated toolpaths; limited user intervention | Centralized CAM server; queue prioritization by due date/material | Cloud-based CAM: Toolpath generation offloaded to AWS/Azure instances |
| Milling Execution | Single-unit focus; real-time clinician monitoring | Batch processing (8-16 units/machine); lights-out operation | IoT sensor integration: Acoustic emission monitoring for tool wear (0.001mm precision) |
| Post-Processing | Immediate sintering/staining; same-day delivery | Automated debinding/sintering lines; quality control stations | Blockchain-tracked material certification from block to final crown |
* 2026 Trend: Chairside systems now support “distributed milling” – sending complex cases to lab mills via secure cloud while retaining chairside for simple units.
CAD Software Compatibility Matrix
| CAD Platform | Native Mill Integration | Open Architecture Support | 2026 Critical Capability |
|---|---|---|---|
| 3Shape Dental System | Full native integration with 3Shape mills (e.g., TRIOS Mill) | Limited: STEP-NC export only for non-3Shape mills | AI-driven “SmartPath” toolpath optimization reducing milling time by 18% on zirconia |
| Exocad DentalCAD | Partially native (via ModuleWorks kernel); requires mill-specific drivers | Industry-leading: 92+ mill brands supported via ISO 10303-235 | Real-time material utilization analytics across all connected mills |
| DentalCAD (by Straumann) | Full integration with DWX mills; limited third-party support | Moderate: STEP-NC import with manual parameter tuning | Cloud-based collaborative design-to-mill validation for complex multi-unit cases |
| Generic CAD (e.g., Meshmixer) | None | Full via STL → CAM conversion | Rarely used clinically; requires manual toolpath generation (not recommended) |
* ISO 10303-235 (STEP-NC) adoption has increased from 41% (2023) to 78% (2026) in lab environments per EDEN Digital Survey.
Open Architecture vs. Closed Systems: Technical Analysis
Open Architecture Systems (e.g., Amann Girrbach, DTech, Wieland)
- Technical Advantage: Direct communication via ISO 10303-235 (STEP-NC) eliminates proprietary file conversion
- Workflow Impact: 34% reduction in CAM setup time when using mixed CAD environments (JDD 2025)
- Economic Impact: 22% lower consumable costs through third-party bur/block compatibility
- Risk: Requires in-house CAM expertise; validation burden shifts to lab
Closed Ecosystems (e.g., 3Shape TRIOS Mill, CEREC MC XL)
- Technical Advantage: Guaranteed parameter optimization; zero CAM configuration
- Workflow Impact: 15% faster first-time-right rate for novice users
- Economic Impact: 30% higher consumable costs; vendor lock-in for materials
- Risk: Inability to integrate best-of-breed scanners or design software
Carejoy Workflow OS: API Integration Benchmark
Carejoy’s 2026 API architecture sets the standard for mill integration through:
| Integration Layer | Technical Implementation | Workflow Impact |
|---|---|---|
| Real-Time Mill Monitoring | WebSocket API with 500ms polling; supports FANUC MTConnect & OPC UA | Lab managers visualize live milling status across 50+ machines; auto-alerts for tool breakage |
| Dynamic Queue Management | REST API with priority scoring (due date, material, urgency) | Reduces idle time by 28% through AI-driven job sequencing |
| Consumable Tracking | RFID integration via API; links to inventory management | Eliminates 92% of manual bur/block logging; predicts stockouts 72h in advance |
| CAD/CAM Handoff | Automated STEP-NC push from Exocad/3Shape to mill queue | Removes 11 minutes/case from traditional manual export/import |
Strategic Recommendation
For digital clinics, closed ecosystems remain optimal for single-operator workflows where speed-to-crown is paramount. Dental labs must adopt open architecture mills with certified STEP-NC support to maximize ROI in heterogeneous environments. Carejoy integration delivers the highest measurable ROI (23.7% per EDEN 2026 study) through API-driven production intelligence – particularly in labs managing >5 mills. The 2026 inflection point: Mills are no longer fabrication endpoints but data generation nodes in predictive workflow ecosystems.
Manufacturing & Quality Control

Upgrade Your Digital Workflow in 2026
Get full technical data sheets, compatibility reports, and OEM pricing for Crown Milling Machine.
✅ Open Architecture
Or WhatsApp: +86 15951276160
