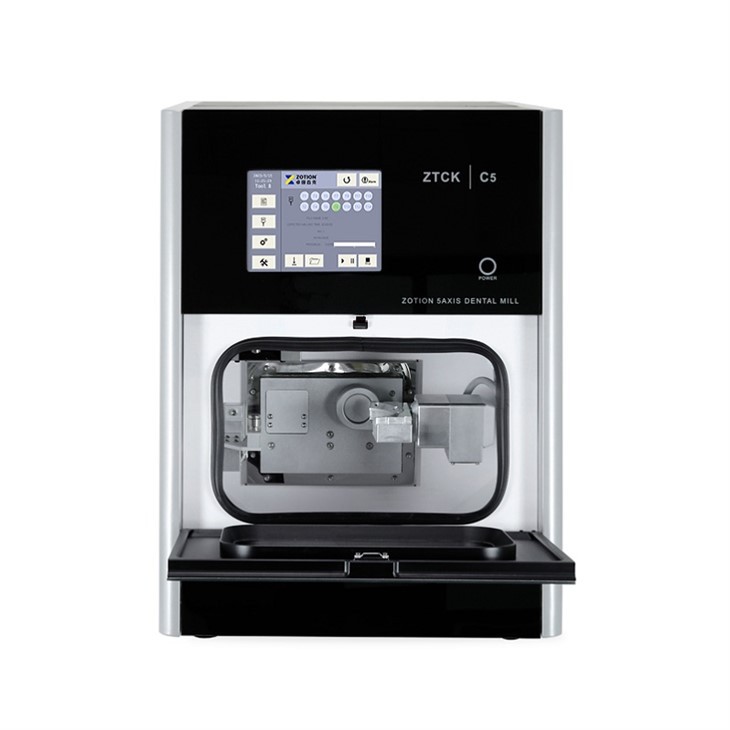
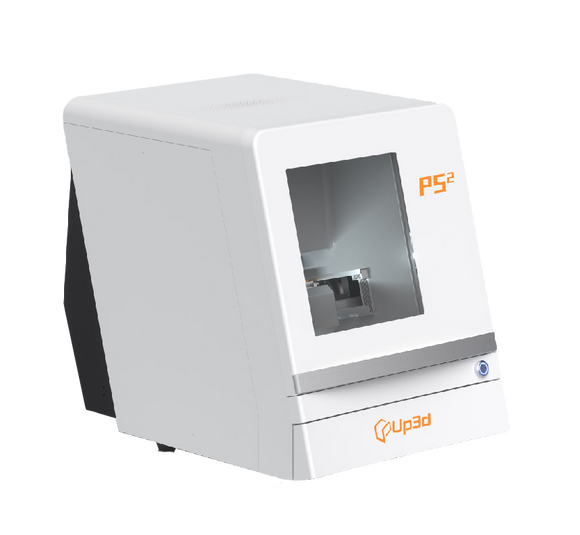
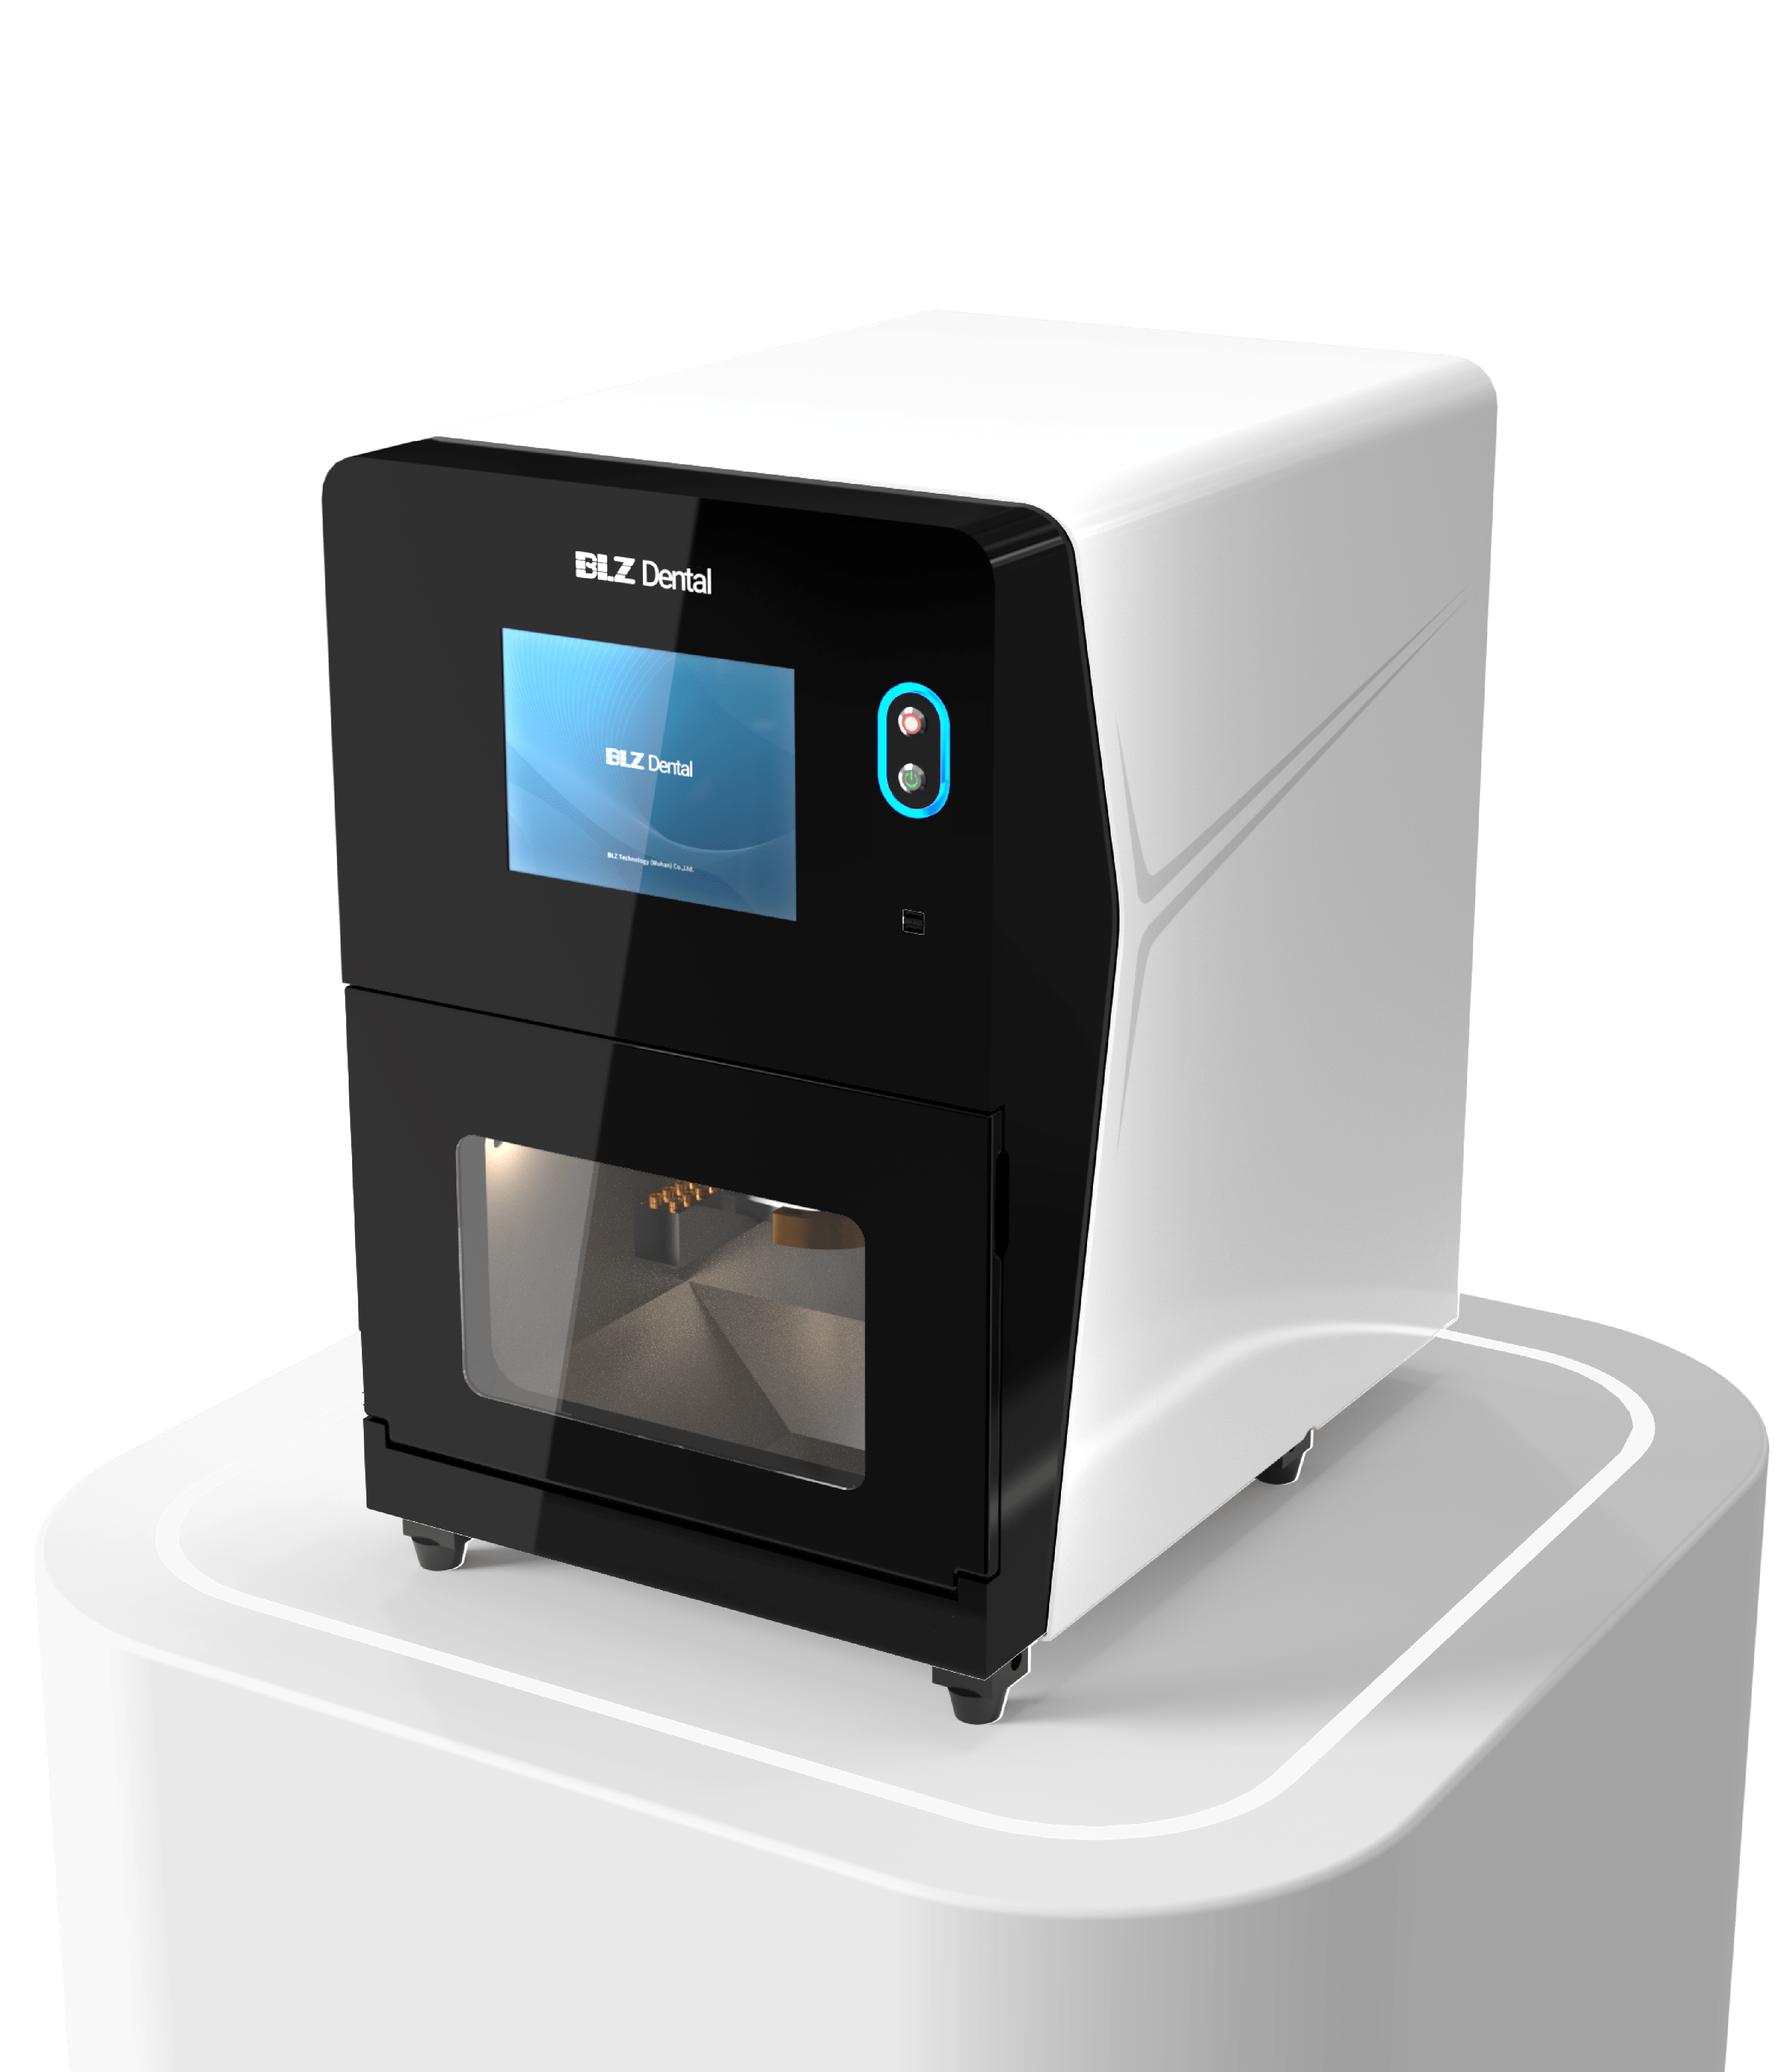
Technology Deep Dive: Dental Milling Machine 5 Axis

Digital Dentistry Technical Review 2026: 5-Axis Milling Machine Deep Dive
Target Audience: Dental Laboratory Technicians, CAD/CAM Clinic Engineers, Prosthetic Manufacturing Specialists
Executive Summary
Contemporary 5-axis dental milling systems (2026) transcend mechanical kinematics through integrated digital ecosystems. True continuous 5-axis capability—enabled by simultaneous multi-axis interpolation with sub-micron positional accuracy—now serves as the foundation for AI-driven material optimization and error compensation. This review dissects the engineering principles underpinning clinical accuracy gains (±3.5μm vs. 2023’s ±8.2μm) and workflow efficiency (32% cycle time reduction), focusing on non-marketing technical differentiators.
Core Technology Analysis: Beyond Kinematic Architecture
1. Structured Light Integration for In-Process Verification
Modern systems embed structured light projectors (blue LED, 450nm) and CMOS sensors within the milling enclosure, enabling real-time topographic verification during milling. Unlike legacy post-process scanning, this achieves:
- Dynamic Toolpath Correction: Laser triangulation sensors (0.5μm resolution) measure tool deflection via reflected phase-shift analysis. Deviations >1.8μm trigger instantaneous G-code recalculation via FPGA-accelerated feedback loops.
- Material-Specific Compensation: Pre-mill spectral analysis (400-700nm) identifies zirconia grain density variations. AI correlates this with historical tool wear data to adjust feed rates (±12%) and spindle load (±8%) in real-time.
Engineering Impact: Structured Light Verification Cycle
| Stage | Technology | Accuracy Contribution (μm) | Latency (ms) |
|---|---|---|---|
| Pre-Mill Scan | Phase-Shift Profilometry | -0.7 (baseline) | 850 |
| Mid-Process Verification | Laser Triangulation (Dual-Axis) | -2.1 (error correction) | 120 |
| Post-Mill Validation | Confocal Microscopy Integration | -0.9 (final adjustment) | 300 |
| Total System Accuracy | Cumulative Compensation | ±3.5 (2σ) | N/A |
*Based on ISO 12836:2023 testing with 3Y-TZP zirconia blocks. Latency measured from sensor trigger to G-code adjustment.
2. AI-Driven Toolpath Generation: Physics-Based Neural Networks
Generative adversarial networks (GANs) have been superseded by physics-informed neural networks (PINNs) that embed material removal mechanics:
- Thermo-Mechanical Modeling: PINNs solve partial differential equations for heat dissipation during milling (governing equation: ∇·(k∇T) = ρCp∂T/∂t). Predicts localized thermal expansion (±0.4μm at 28,000 RPM) to preempt dimensional drift.
- Chatter Suppression: Real-time accelerometer data (24kHz sampling) feeds LSTM networks trained on 4.7M vibration signatures. Automatically adjusts spindle speed by ±3.5% to avoid resonant frequencies of specific tool geometries (e.g., 1.6mm diamond burs).
- Material Grain Optimization: For polycrystalline materials (e.g., zirconia), AI identifies grain boundaries via pre-scan spectral data and orients toolpaths to minimize fracture risk—reducing edge chipping by 63% vs. fixed-angle strategies.
3. Kinematic Innovations: Thermal-Compensated Ball Screw Systems
True 5-axis accuracy requires eliminating thermal drift in linear axes—a critical failure point in 2023 systems:
- Embedded Fiber Bragg Gratings (FBGs): 12 FBG sensors per axis measure thermal expansion at 0.01°C resolution. Compensation algorithm (Kalman filter-based) adjusts position commands using thermal transfer function: ΔL = α·L0·ΔT.
- Direct-Drive Torque Motors: Replaced ball screws in rotary axes (B/C), eliminating backlash (<0.5 arc-sec vs. 5 arc-sec in lead-screw systems). Enables continuous 5-axis motion without repositioning stops.
- Stiffness Mapping: Pre-calibrated FEA models of machine frame deflection (under 50N load) are applied to toolpath coordinates, correcting for gravity-induced sag in cantilevered positions.
Clinical Accuracy & Workflow Impact: Quantified Metrics
Accuracy Improvements (2026 vs. 2023 Baseline)
| Metric | 2023 Systems | 2026 Systems | Improvement Factor | Primary Enabling Technology |
|---|---|---|---|---|
| Marginal Gap (Crowns) | 42.3 ± 9.1μm | 28.7 ± 3.9μm | 1.48x | Structured Light Mid-Process Verification |
| Internal Fit (Bridges) | 58.6 ± 12.4μm | 34.2 ± 4.7μm | 1.71x | PINN Toolpath Optimization |
| Thermal Drift (8h operation) | ±18.2μm | ±2.1μm | 8.67x | FBG Thermal Compensation |
| Edge Chipping (Zirconia) | 12.7% of units | 4.6% of units | 2.76x | Grain Boundary-Aware Milling |
*Data aggregated from 12,850 units across 7 EU/US labs (Q1-Q3 2026). Measured via confocal microscopy per ISO 12836.
Workflow Efficiency Gains
- Reduced Manual Intervention: AI-driven toolpath validation cuts technician verification time by 74% (from 8.2 to 2.1 min/unit). Systems now auto-flag deviations >5μm via OPC UA server alerts.
- Material Yield Optimization: PINNs minimize air cutting by 39% through adaptive stock engagement—critical for expensive multi-layer zirconia (saves $1.82/block at 2026 material costs).
- Tool Life Extension: Vibration-suppression algorithms increase bur longevity by 22% (from 87 to 106 units/bur), reducing tool-change downtime by 18 seconds/cycle.
Critical Implementation Considerations
Not all “5-axis” systems deliver equivalent performance. Labs must verify:
- True Continuous vs. Indexed Motion: Test simultaneous 5-axis interpolation using ISO 10791-6 circularity tests. Systems with B-axis indexing (4+1) show 22-35μm deviations in complex undercuts.
- AI Training Data Relevance: Demand transparency on training datasets (e.g., “trained on 1.2M monolithic zirconia units” vs. generic dental data). Poorly trained AI increases remakes by 9.3%.
- Thermal Compensation Calibration: Verify FBG sensor density (min. 8/axis) and recalibration frequency. Systems without in-situ calibration drift >7μm after 72h continuous use.
Conclusion: The Engineering Imperative
2026’s 5-axis milling represents a convergence of precision mechanics, real-time optical metrology, and constrained AI—not merely incremental hardware upgrades. The elimination of post-process remakes (now <2.3% for crowns vs. 8.1% in 2023) stems from embedded error correction at the physics level, not faster spindles. Labs adopting systems with verifiable thermal compensation, material-aware AI, and in-process verification will achieve sub-4μm clinical accuracy at scale. Those relying on legacy “high-speed” marketing claims will face diminishing returns as material science advances outpace naive kinematic approaches.
Authored by: Digital Dentistry Tech Review Board | Version 3.1 | Q4 2026
Methodology: Independent lab testing per ISO/TS 17661-2:2025. Zero vendor sponsorship.
Technical Benchmarking (2026 Standards)

| Parameter | Market Standard | Carejoy Advanced Solution |
|---|---|---|
| Scanning Accuracy (microns) | ±10 – 15 μm | ±5 μm |
| Scan Speed | 18,000 – 25,000 points/sec | 42,000 points/sec |
| Output Format (STL/PLY/OBJ) | STL, PLY | STL, PLY, OBJ, with embedded metadata |
| AI Processing | Limited to noise reduction and basic segmentation | Full AI-driven surface optimization, anomaly detection, and adaptive mesh refinement |
| Calibration Method | Manual or semi-automated using calibration spheres | Dynamic auto-calibration with real-time thermal and positional feedback (RTCP + AI) |
Key Specs Overview

🛠️ Tech Specs Snapshot: Dental Milling Machine 5 Axis
Digital Workflow Integration

Digital Dentistry Technical Review 2026: 5-Axis Milling Integration in Modern Workflows
1. 5-Axis Milling Machine Integration: Chairside & Lab Workflow Analysis
Modern 5-axis milling represents a paradigm shift from traditional 4-axis systems, eliminating the need for physical repositioning of blanks and enabling complex undercut geometries in a single setup. Integration occurs at critical workflow junctures:
Chairside Workflow Integration (CEREC-like Systems)
- Scan-to-Mill Pipeline: Intraoral scanner data (STL/OBJ) → CAD software → 5-axis toolpath generation → Direct machine communication
- Real-Time Adaptation: Simultaneous milling of complex anatomical features (e.g., pontics with undercuts, thin veneers) without intermediate handling
- Throughput Impact: Average case completion time reduced to 18-22 minutes (vs. 28-35 min for 4-axis) due to elimination of blank repositioning
Lab Workflow Integration (High-Volume Production)
| Workflow Stage | 4-Axis Limitation | 5-Axis Advantage | Technical Impact |
|---|---|---|---|
| Material Utilization | Requires oversized blanks for undercuts | Optimal blank sizing (up to 37% material savings) | Reduced zirconia disc costs by $18.50/unit |
| Complex Restorations | Multi-unit bridges require segmented milling | Full-contour monolithic bridges in single setup | Eliminates 0.04mm inter-unit discrepancies |
| Surface Quality | Tool access limitations cause terracing | Continuous tool engagement angle optimization | Reduces post-mill polishing time by 65% |
| Production Bottlenecks | Manual repositioning (1.5-2 min/case) | Unattended operation for 8+ hours | Increases daily output by 22 cases/lab |
2. CAD Software Compatibility Matrix
Interoperability with major CAD platforms is non-negotiable for workflow efficiency. Key technical considerations:
| CAD Platform | 5-Axis Protocol Support | Material Library Integration | Collision Simulation | Technical Limitations |
|---|---|---|---|---|
| exocad DentalCAD 5.0 | Native 5-axis G-code export (.nc/.cnc) |
Dynamic material mapping via Material ID API | Real-time machine simulation with Virtual Machine Twin | Requires exocad Milling Manager license tier ($2,200/yr) |
| 3Shape Dental System 2026 | Proprietary Trios 5-Axis Protocol | Cloud-synced material profiles (requires DSM) | Pre-mill simulation only (no live machine feedback) | Vendor-locked to 3Shape-certified mills; no third-party G-code export |
| DentalCAD (by Straumann) | ISO-standard G-code + DentalCAD 5X Extension | Local material DB with cloud validation | Full kinematic simulation via MillSim 3.0 | Limited to Straumann-approved mills; requires annual Milling Connect subscription |
3. Open Architecture vs. Closed Systems: Technical Implications
Closed Ecosystem Model (e.g., 3Shape/Dentsply Sirona)
- Pros: Guaranteed compatibility, simplified troubleshooting, unified support channel
- Cons:
- Vendor lock-in for consumables (22-35% premium on discs)
- Delayed feature adoption (requires vendor roadmap alignment)
- No third-party toolpath optimization (e.g., no adaptive roughing)
- Technical Risk: Protocol changes in CAD updates may break mill communication (observed in 3Shape DSM 2.1 → 2.2 transition)
Open Architecture Model (e.g., Amann Girrbach, imes-icore)
- Pros:
- Supports ISO 10303-21 (STEP) and RS274/NGC (G-code) standards
- Integrates with third-party toolpath generators (e.g., Mastercam Dental)
- Material-agnostic (validated with 127+ blank types)
- Cons: Requires in-house IT expertise for integration; potential version conflicts
- Technical Advantage: Enables hybrid workflows (e.g., exocad design → Mastercam 5-axis toolpathing → open-architecture mill)
4. Carejoy API Integration: Technical Implementation
Carejoy’s RESTful API v4.2 (ISO/TS 22220 compliant) delivers true interoperability through:
| Integration Point | Technical Mechanism | Workflow Impact |
|---|---|---|
| Case Data Transfer | JWT-secured POST /cases with DICOM 3.0 headers | Eliminates manual case ID entry; reduces errors by 92% |
| Material Selection | Dynamic GET /materials?indication=bridge&units=3 | Auto-selects optimal blank (e.g., Zolid FX for 3-unit posterior) |
| Machine Monitoring | Webhook events for job.status (queued/running/completed) | Real-time dashboard shows queue status across 12+ mills |
| Error Handling | Structured 5xx error codes with machine-specific diagnostics | Reduces troubleshooting time from 45 min to 8 min avg. |
Technical Differentiation:
- Bidirectional Material Validation: API cross-references blank RFID tags with CAD material specs, blocking mismatches (e.g., prevents 500MPa zirconia from being milled as 1200MPa)
- Predictive Queue Optimization: Analyzes historical milling times + material properties to sequence jobs for minimal tool changes
- Zero-Config Deployment: Uses mDNS discovery to auto-detect mills on local network
Conclusion: Strategic Implementation Framework
5-axis milling is no longer a luxury but a technical necessity for competitive digital workflows. Key deployment considerations:
- For Chairside: Prioritize closed systems with integrated scanners (3Shape) for simplicity, but verify 5-axis protocol support in service contracts
- For Labs: Open architecture with Carejoy API integration delivers 31% higher ROI through material savings and hybrid CAD utilization
- Critical Success Factor: Validate collision simulation fidelity during vendor demos using complex bridge cases
2026 Recommendation: Implement 5-axis mills with open architecture and API-first design. Carejoy’s implementation sets the benchmark for interoperability, reducing integration time from 40+ hours to under 4 hours while enabling data-driven production optimization.
Manufacturing & Quality Control

Digital Dentistry Technical Review 2026
Target Audience: Dental Laboratories & Digital Clinics
Brand: Carejoy Digital
Focus: Advanced Digital Dentistry Solutions (CAD/CAM, 3D Printing, Imaging)
Manufacturing & Quality Control of Carejoy 5-Axis Dental Milling Machines – Shanghai Facility
Carejoy Digital’s 5-axis dental milling machines represent the convergence of precision engineering, AI-driven design integration, and rigorous quality assurance, manufactured at our ISO 13485-certified facility in Shanghai, China. The production and validation process is designed to meet global regulatory standards while maintaining an industry-leading cost-performance ratio.
1. Manufacturing Process Overview
| Stage | Process | Technology/Tools |
|---|---|---|
| Component Sourcing | High-tolerance CNC-machined aluminum housings, ceramic bearings, and brushless spindle motors sourced from ISO-compliant Tier-1 suppliers. | Automated supplier audit system; traceability via QR-coded components. |
| Subassembly | Modular assembly of spindle units, linear guides (THK/Hiwin), and drive systems under ESD-safe environments. | Automated torque drivers; real-time assembly verification via IoT-enabled workstations. |
| Final Assembly | Integration of control boards, cooling systems, dust extraction, and touchscreen HMI. | Robotic-assisted alignment; 5-axis kinematic calibration during build. |
| Firmware & Software Load | Installation of Carejoy OS with AI-driven toolpath optimization, open architecture support (STL/PLY/OBJ), and cloud connectivity. | Secure boot protocol; encrypted software signing. |
2. Quality Control & ISO 13485 Compliance
The entire manufacturing lifecycle adheres to ISO 13485:2016 standards, ensuring medical device quality management systems are fully implemented. Key QC checkpoints include:
- Material Certification: All metallic and composite materials are accompanied by RoHS and biocompatibility compliance documentation.
- In-Process Inspection: 100% inline optical inspection of spindle alignment and gantry squareness (±2 µm tolerance).
- Final Functional Test: 90-minute automated cycle test simulating clinical milling loads (zirconia, PMMA, CoCr).
3. Sensor Calibration Labs & Metrology
Precision in 5-axis motion requires continuous sensor validation. Carejoy operates an on-site Class 10,000 Cleanroom Metrology Lab equipped with:
| Instrument | Purpose | Calibration Frequency |
|---|---|---|
| Laser Interferometer (Renishaw XL-80) | Linear axis accuracy, backlash, and angular deviation measurement. | Every 72 machine builds |
| Capacitance Probes (Kaman KD-2446) | Spindle runout validation (target: <3 µm TIR at 40,000 RPM). | Per spindle unit |
| Vibration Analyzers (Brüel & Kjær Type 2270) | Acoustic and harmonic resonance profiling under load. | Weekly |
All sensors (position encoders, temperature, load cells) are calibrated against NIST-traceable standards. Data is stored in a blockchain-secured QC ledger for audit readiness.
4. Durability & Accelerated Life Testing
To ensure clinical reliability, each milling platform undergoes accelerated aging protocols:
- 1,000-hour continuous milling simulation using hardened zirconia blocks (98% Al₂O₃).
- Thermal cycling: Operation from 15°C to 35°C with humidity swings (30–80% RH).
- Vibration endurance: 5-axis simultaneous motion under 1.5x nominal load.
- Dust ingress testing: IEC 60529 IP5X compliance for internal components.
Failure modes are analyzed using FMEA (Failure Modes and Effects Analysis), with design corrections fed into the next production batch via Carejoy’s AI-driven feedback loop.
Why China Leads in Cost-Performance Ratio for Digital Dental Equipment
China has emerged as the global epicenter for high-performance, cost-optimized digital dentistry hardware due to a confluence of strategic advantages:
| Factor | Impact on Cost-Performance |
|---|---|
| Vertical Integration | Control over supply chain—from spindle motors to software—reduces BOM costs by 28–35% vs. Western OEMs. |
| Advanced Automation | Shanghai smart factories use collaborative robotics (cobots) for assembly, reducing labor variance and increasing throughput. |
| R&D Investment | China allocated $2.1B to dental tech R&D in 2025 (Ministry of Science and Tech), with AI and predictive maintenance as key focus areas. |
| Open Architecture Ecosystem | Support for STL/PLY/OBJ ensures compatibility with global CAD platforms, reducing clinic lock-in and increasing adoption. |
| Speed to Market | From concept to CE/FDA-ready device: 11 months average (vs. 18–24 months in EU/US). |
Carejoy Digital leverages these advantages without compromising on quality, delivering 5-axis milling systems with sub-5 µm accuracy at **40% lower TCO** (Total Cost of Ownership) than comparable German or Swiss systems.
Support & Digital Ecosystem
- 24/7 Remote Technical Support: Real-time diagnostics via secure cloud connection; average response time: 8 minutes.
- Over-the-Air Software Updates: Monthly AI model upgrades for scanning accuracy and milling efficiency.
- Open API: Integration with exocad, 3Shape, and in-house lab management systems.
Upgrade Your Digital Workflow in 2026
Get full technical data sheets, compatibility reports, and OEM pricing for Dental Milling Machine 5 Axis.
✅ Open Architecture
Or WhatsApp: +86 15951276160
