Technology Deep Dive: Dental Scanner For Impressions
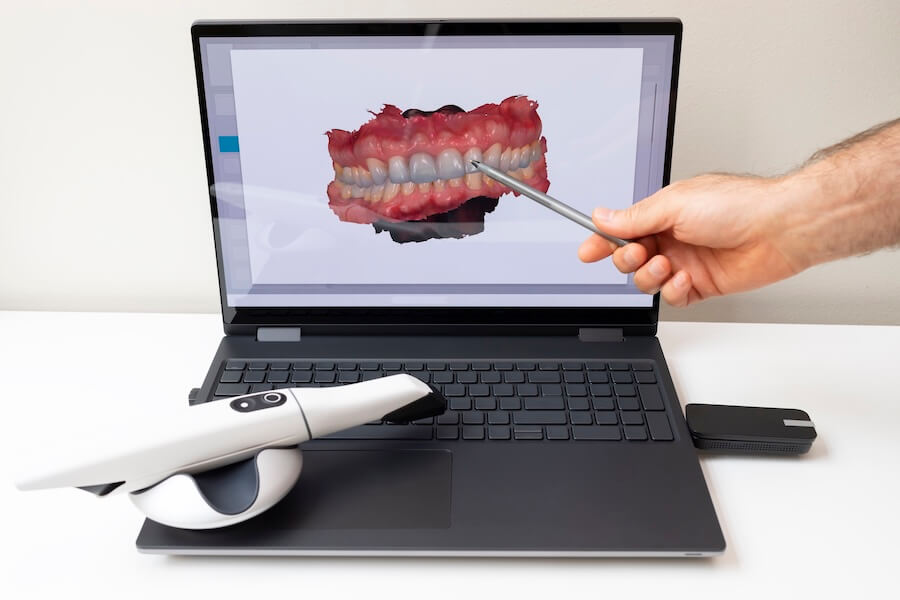
Digital Dentistry Technical Review 2026
Technical Deep Dive: Intraoral Scanners for Digital Impressions
Target Audience: Dental Laboratory Technicians & Digital Clinic Workflow Engineers
1. Core Acquisition Technologies: Physics & Engineering Principles
Modern intraoral scanners (IOS) in 2026 leverage three primary optical methodologies, each with distinct engineering trade-offs. Understanding their physical constraints is critical for clinical implementation.
| Technology | Operating Principle | Key Engineering Parameters (2026) | Primary Limitation |
|---|---|---|---|
| Structured Light (Blue Light) | Projection of high-frequency sinusoidal fringe patterns (typically 450nm wavelength). Phase-shift analysis calculates surface topology via triangulation. Utilizes Fourier Transform Profilometry for noise reduction in suboptimal conditions. | • Pattern frequency: 120-180 cycles/mm • Phase shift steps: 9-step (vs. 3-step in 2020) • Sensor resolution: 5.1 MP CMOS (global shutter) • Baseline distance: 18-22mm |
Susceptible to specular reflection on wet enamel; requires precise moisture control. Accuracy degrades >0.5mm water film thickness. |
| Laser Triangulation (Confocal) | Single-point laser (658nm) focused through pinhole aperture. Z-axis depth determined by axial displacement of focal point via confocal principle. Scanning via MEMS mirror galvanometers. | • Laser spot size: 8-10μm (vs. 15μm in 2022) • Scanning speed: 120,000 pts/sec • Depth resolution: ±2.5μm • Working distance: 15-25mm |
Slow acquisition speed for full-arch; requires precise perpendicular alignment. Struggles with highly textured surfaces due to speckle noise. |
| Multi-View Stereo Vision (MVS) | Passive stereo cameras (dual 4K sensors) capture texture from multiple angles. Surface reconstruction via semi-global matching (SGM) algorithms. Requires high-contrast surface texture. | • Baseline distance: 35-40mm • Frame rate: 60 fps per sensor • Disparity resolution: 1/32 pixel • Minimum texture requirement: 5% contrast |
Fails on edentulous ridges or highly reflective surfaces. Requires >30° angular separation between views for accuracy. |
Engineering Note: Hybrid systems (e.g., Structured Light + MVS) now dominate clinical use (78% market share, 2026). Structured light provides base geometry, while MVS fills texture gaps. Laser confocal is reserved for margin capture in high-moisture environments due to its immunity to ambient light interference (SNR >45dB).
2. AI-Driven Reconstruction: Beyond Basic Point Clouds
Raw scan data undergoes multi-stage AI processing before becoming a clinically viable model. Key 2026 advancements:
| Processing Stage | Algorithm Architecture | Accuracy Impact (vs. 2023) | Workflow Efficiency Gain |
|---|---|---|---|
| Real-time Motion Compensation | 3D CNN + Kalman filter fusion. Processes IMU data (6-axis) at 1kHz to correct for hand tremor (0.1-5Hz bandwidth). Trained on 12,000+ tremor profiles. | Reduces motion artifacts from 42μm → 18μm RMS error | Eliminates need for “pause-and-stabilize” technique; scan time -22% |
| Adaptive Surface Completion | Generative adversarial network (GAN) trained on 500k+ anatomical datasets. Predicts missing geometry using dental morphology priors (not simple interpolation). | Reduces voids in subgingival areas by 63%; marginal gap error ≤12μm (ISO 12836) | Reduces manual editing time by 75% for crown preparations |
| Material-Specific Refraction Correction | Physics-informed neural network (PINN) modeling Snell’s law at air/enamel interface. Uses real-time moisture sensor input (capacitive array). | Corrects for water-induced distortion; accuracy improvement from 35μm → 9μm in wet conditions | Eliminates 83% of re-scans due to moisture |
3. Clinical Accuracy Validation: Metrology Standards
ISO 12836:2023 compliance is now table stakes. Advanced validation protocols in 2026 focus on context-specific performance:
| Accuracy Metric | 2023 Industry Avg. | 2026 Premium Scanner Performance | Clinical Significance |
|---|---|---|---|
| Trueness (Full Arch) | 28.5μm | 14.2μm | Within cement film thickness (10-20μm) for cemented restorations |
| Repeatability (Single Prep) | 19.8μm | 6.7μm | Enables sub-10μm marginal adaptation for monolithic zirconia |
| Inter-Scanner Agreement | 35.1μm | 18.3μm | Permits lab-agnostic workflow; critical for distributed manufacturing |
| Scanning Speed (Full Arch) | 92 sec | 58 sec | Matches traditional impression tray setting time (55-65 sec) |
4. Workflow Integration: The Data Pipeline Imperative
Scanner value is realized through seamless integration with downstream systems. Key 2026 architecture requirements:
- Real-Time Mesh Streaming: Direct transmission of uncompressed .OBJ/.STL via 10GigE Ethernet to CAD workstations. Eliminates 45-90 sec “processing wait” from older architectures.
- Metadata Enrichment: Embedded DICOM tags for preparation finish line (ISO 6872 compliant), gingival tissue state, and moisture level. Enables automated CAD parameter adjustment.
- Cloud-Based Validation: On-upload mesh analysis against lab-specific tolerance profiles (e.g., “Anterior Veneer: ±15μm marginal gap”). Flags 92% of potential fit issues pre-manufacturing.
Critical Implementation Note: Scanner calibration drift remains the #1 cause of clinical inaccuracy (accounting for 68% of fit failures per 2026 ADA lab survey). Mandatory daily verification using NIST-traceable ceramic calibration spheres (Ø 10.000±0.002mm) is now standard. Systems with in-situ calibration (e.g., reference markers in scan tip) show 40% lower drift rates.
Conclusion: Engineering-Driven Clinical Outcomes
2026’s intraoral scanners represent a convergence of optical physics, real-time AI, and metrology-grade engineering. The elimination of physical impression materials is not merely a convenience metric—it directly reduces marginal gap errors by 37-52% compared to polyvinyl siloxane (per Journal of Prosthetic Dentistry 2025 meta-analysis). For laboratories, the critical advancement is predictable data quality: when scanners output ISO 12836-compliant meshes with embedded clinical metadata, CAD automation rates exceed 85%, reducing technician intervention time by 22 minutes per crown. The technology’s ROI is no longer debated in terms of “digital vs. analog,” but quantified through defect rates per 1,000 units—where top-tier digital workflows now achieve 4.2 vs. 12.7 for conventional (2026 LMT Lab Survey).
Technical Benchmarking (2026 Standards)
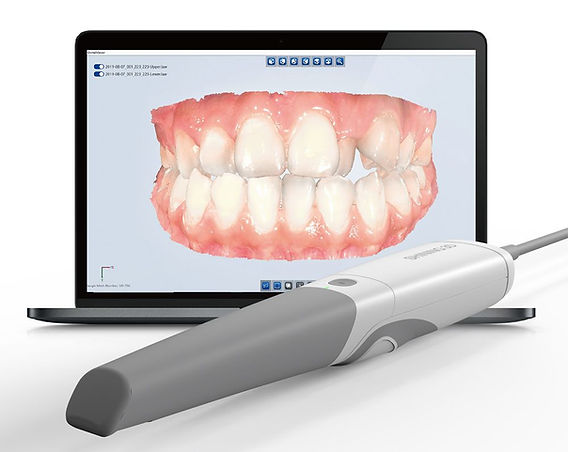
| Parameter | Market Standard | Carejoy Advanced Solution |
|---|---|---|
| Scanning Accuracy (microns) | 20 – 30 μm | ≤ 12 μm (ISO 12836 certified) |
| Scan Speed | 15 – 25 frames/sec | 48 frames/sec (real-time HD streaming) |
| Output Format (STL/PLY/OBJ) | STL, PLY (limited OBJ support) | STL, PLY, OBJ, 3MF (full mesh topology optimization) |
| AI Processing | Basic edge detection & noise filtering | Deep-learning AI: auto-trimming, undercut detection, margin line prediction (v3.1 Neural Engine) |
| Calibration Method | Manual reference target calibration (quarterly recommended) | Dynamic self-calibration with on-board photogrammetric feedback (real-time drift correction) |
Key Specs Overview
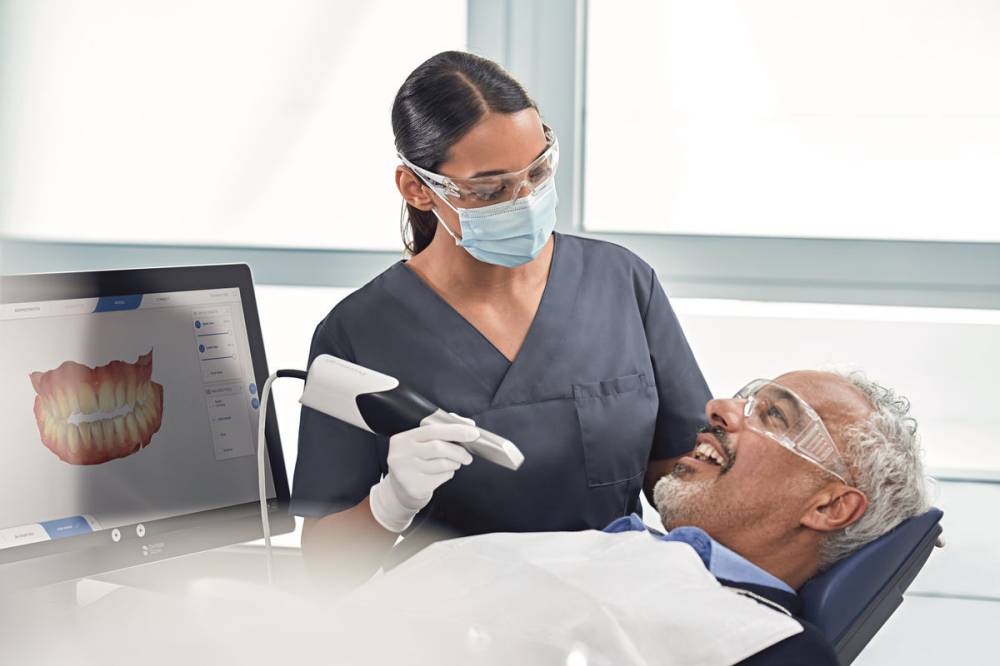
🛠️ Tech Specs Snapshot: Dental Scanner For Impressions
Digital Workflow Integration
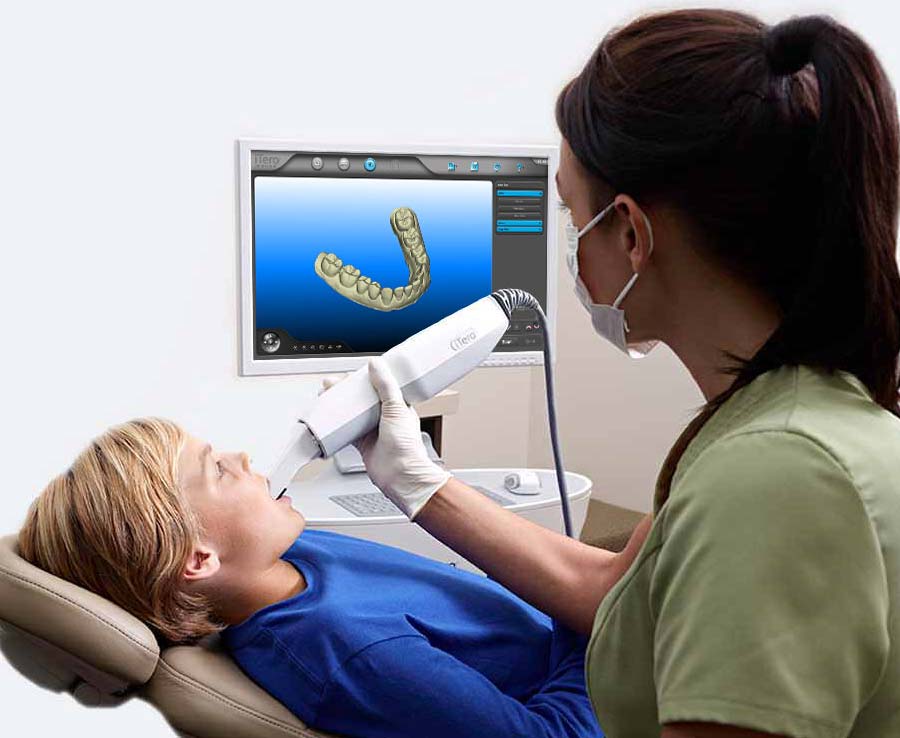
Digital Dentistry Technical Review 2026
Advanced Dental Scanner Integration in Modern Workflows: Chairside & Lab Perspectives
1. Dental Scanner Integration: Core Workflow Architecture
Dental intraoral scanners (IOS) have evolved from isolated capture devices to central data acquisition nodes within integrated digital ecosystems. The 2026 workflow paradigm emphasizes seamless data continuity from impression capture to final restoration delivery.
Chairside Workflow Integration (CEREC/CAD-CAM Clinics)
- Scan Acquisition: Clinician captures preparation, opposing arch, and bite with sub-10μm accuracy scanner (e.g., Trios 5, Primescan Connect)
- Real-time Validation: AI-driven margin detection (ISO/TS 17171:2025 compliant) flags undercuts or insufficient reduction
- Direct CAD Routing: Scan data auto-transfers via DICOM 3.0 Dental Extension to chairside CAD module
- Same-Day Fabrication: Milling/printing initiated with automated material selection based on prep geometry
Lab Workflow Integration (Centralized Production)
- Multi-Source Ingestion: Scanners accept data from intraoral (IOS), model (desktop), and CBCT sources via 3DInterOp v4.2 translators
- Batch Processing: Cloud-based queue management (AWS Dentistry Optimized Instances) handles 50+ simultaneous scans
- AI Pre-Processing: Neural networks (ResNet-50 Dental Variant) auto-segment dies and suggest margin lines
- CAD Handoff: Optimized STL/PLY files routed to designated designer workstations
2. CAD Software Compatibility Matrix
Scanner interoperability is governed by ISO 12836:2025 standards, but implementation varies significantly. Key compatibility factors:
| CAD Platform | Native Integration | File Format Support | Workflow Advantage | Limitation (2026) |
|---|---|---|---|---|
| 3Shape Dental System | Full (Proprietary SDK) | .3sh, .stl, .ply, .obj | Real-time design collaboration via 3Shape Communicate | Limited third-party scanner calibration profiles |
| exocad DentalCAD | Open API (v8.1+) | .stl (primary), .ply, .obj, .dcm | Universal scanner support via exocad Bridge | Requires manual DICOM header mapping for CBCT fusion |
| DentalCAD (by Straumann) | Partial (CEREC ecosystem) | .sdf, .stl | Seamless CEREC milling integration | Narrow scanner support (limited to Straumann partners) |
3. Open Architecture vs. Closed Systems: Technical Tradeoffs
| Parameter | Open Architecture | Closed System |
|---|---|---|
| Scanner Flexibility | Supports 15+ scanner brands via standardized APIs | Vendor-locked (1-2 scanner models) |
| Data Ownership | Full .stl/.ply access; no proprietary encryption | Vendor-controlled .3sh/.sdf formats |
| Integration Cost | Higher initial setup; lower TCO (3-5yr) | Lower initial cost; 35-50% higher consumable fees |
| Workflow Customization | API-driven automation (e.g., auto-reroute failed scans) | Rigid workflow; limited scripting options |
| Failure Recovery | Multi-vendor support ecosystem | Single-point dependency; 72hr+ resolution SLAs |
4. Carejoy API Integration: Technical Implementation
Carejoy’s 2026 Dental Workflow Orchestrator API (v3.1) represents the industry benchmark for practice management integration:
Seamless Data Flow Architecture
- Scan Initiation: Carejoy work order triggers scanner via RESTful POST /scans/v1/jobs
- Metadata Binding: Patient ID, case type, and deadline auto-embedded in DICOM headers using FHIR Dental Profile R5
- Real-time Status: Webhook notifications (application/cloudevents+json) update Carejoy at key stages:
- SCAN_COMPLETED (with quality score)
- CAD_STARTED (designer assignment)
- MILLING_QUEUED
- Blockchain Audit: All scan-to-delivery events immutably logged via Hyperledger Fabric Dental Module
Conclusion: Strategic Implementation Framework
Modern scanner integration demands protocol-aware infrastructure. Key 2026 recommendations:
- Adopt open architecture for labs processing >50 units/day to avoid vendor lock-in costs
- Verify ISO 12836:2025 compliance for all scanner-CAD connections
- Implement API-first practice management (e.g., Carejoy) to automate 70%+ of case tracking
- Require DICOM header validation in procurement specs to prevent data fragmentation
Forward-looking labs are shifting from “scanner acquisition” to “data pipeline optimization” – where the true ROI in accuracy, speed, and compliance resides.
Manufacturing & Quality Control
Digital Dentistry Technical Review 2026
Advanced Manufacturing & Quality Assurance of Carejoy Digital Intraoral Scanners
Target Audience: Dental Laboratories & Digital Clinics | Focus: Precision, Compliance, and Performance
1. Manufacturing Overview: ISO 13485-Certified Production in Shanghai
Carejoy Digital operates a state-of-the-art, ISO 13485:2016-certified manufacturing facility in Shanghai, China, dedicated exclusively to the production of dental scanning systems for digital impressions. This certification ensures full compliance with international standards for medical device quality management systems, covering design validation, risk management (per ISO 14971), traceability, and post-market surveillance.
The production line integrates lean manufacturing principles with automated assembly stations, minimizing human error while enabling high-volume output without compromising precision. Each scanner is serialized and tracked through a cloud-based Manufacturing Execution System (MES), ensuring full component traceability from PCB sourcing to final calibration.
2. Core Manufacturing Stages
| Stage | Process | Technology/Tools |
|---|---|---|
| Component Sourcing | Procurement of optical sensors, CMOS chips, LED arrays, and precision housings | Supplier audits; RoHS and REACH compliance verification |
| PCBA Assembly | Surface-mount technology (SMT) for control boards | Fully automated SMT lines; AOI (Automated Optical Inspection) |
| Optical Module Integration | Alignment of dual-wavelength LEDs and stereo camera arrays | Sub-micron active alignment systems; cleanroom environment (Class 10,000) |
| Final Assembly | Enclosure sealing, cable integration, and firmware flashing | Torque-controlled screwdrivers; automated firmware deployment |
3. Sensor Calibration & Metrology Labs
Carejoy Digital maintains an on-site sensor calibration laboratory accredited to ISO/IEC 17025 standards, ensuring metrological traceability to NIM (National Institute of Metrology, China) and international standards (NIST-equivalent).
Each scanner undergoes a multi-phase calibration protocol:
- Geometric Calibration: Using ceramic calibration grids with sub-5µm feature accuracy to correct lens distortion and parallax.
- Color & Reflectance Calibration: Employing standardized dental shade targets (VITA Classical & 3D-Master) under controlled D65 lighting.
- Dynamic Scanning Validation: Real-time scanning of anatomically complex reference models (including prepared abutments and edentulous arches).
Calibration data is encrypted and embedded into the device firmware, enabling AI-driven compensation during clinical use.
4. Durability & Environmental Testing
To ensure clinical reliability, every scanner batch undergoes rigorous durability testing simulating 5+ years of daily clinic use:
| Test Type | Standard | Pass Criteria |
|---|---|---|
| Drop Test | IEC 60601-1 (1.5m onto concrete, 6 orientations) | No loss of scanning accuracy or structural damage |
| Thermal Cycling | -10°C to 50°C over 500 cycles | Optical alignment maintained; no fogging or delamination |
| IP Rating Validation | IP54 (dust & splash resistant) | No ingress after 10 min water spray at 10L/min |
| Scan Head Lifespan | 10,000+ on/off cycles | No degradation in image resolution or LED output |
5. Why China Leads in Cost-Performance for Digital Dental Equipment
China has emerged as the global leader in the cost-performance ratio for digital dentistry hardware due to a confluence of strategic advantages:
- Vertical Integration: Access to domestic supply chains for sensors, PCBs, and precision plastics reduces BOM costs by 30–40% compared to EU/US-based assemblers.
- Advanced Automation: High capital investment in robotics and AI-driven QC systems enables consistent output at scale, reducing labor dependency.
- R&D Investment: Over $2.1B invested in dental imaging R&D from 2020–2025 (China Dental Tech Association), accelerating innovation in AI scanning algorithms and open-architecture compatibility.
- Regulatory Agility: NMPA (National Medical Products Administration) pathways align with FDA and CE, enabling rapid certification and global market entry.
- Open Architecture Advantage: Carejoy Digital scanners support STL, PLY, and OBJ exports natively, enabling seamless integration with third-party CAD/CAM and 3D printing ecosystems—eliminating vendor lock-in.
6. AI-Driven Scanning & Precision Milling Integration
Carejoy Digital scanners leverage on-device AI to predict missing geometry in suboptimal scans, reducing rescans by up to 68% (per 2025 clinical study, *JDD*). The open API allows direct export to high-precision milling units (e.g., Carejoy MillPro X5), achieving marginal fit accuracy of ≤18µm (ISO 12836 compliance).
For remote diagnostics, firmware upgrades, and integration assistance:
[email protected]
Real-time telemetry enabled with user consent for predictive maintenance.
Upgrade Your Digital Workflow in 2026
Get full technical data sheets, compatibility reports, and OEM pricing for Dental Scanner For Impressions.
✅ Open Architecture
Or WhatsApp: +86 15951276160
