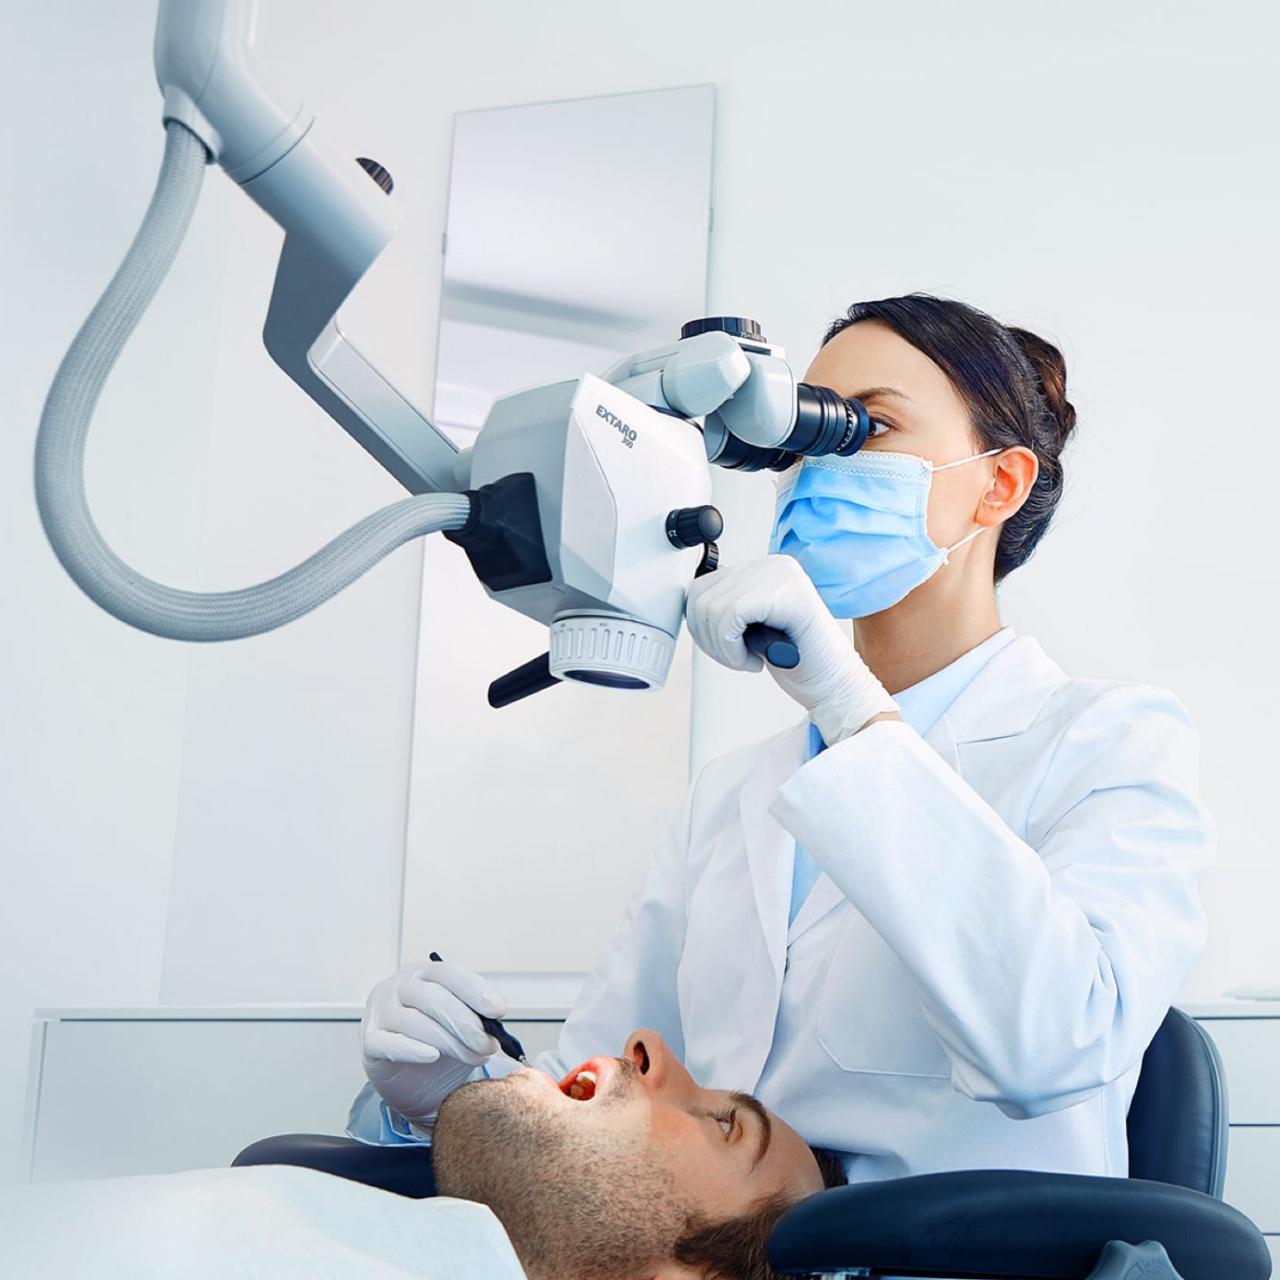
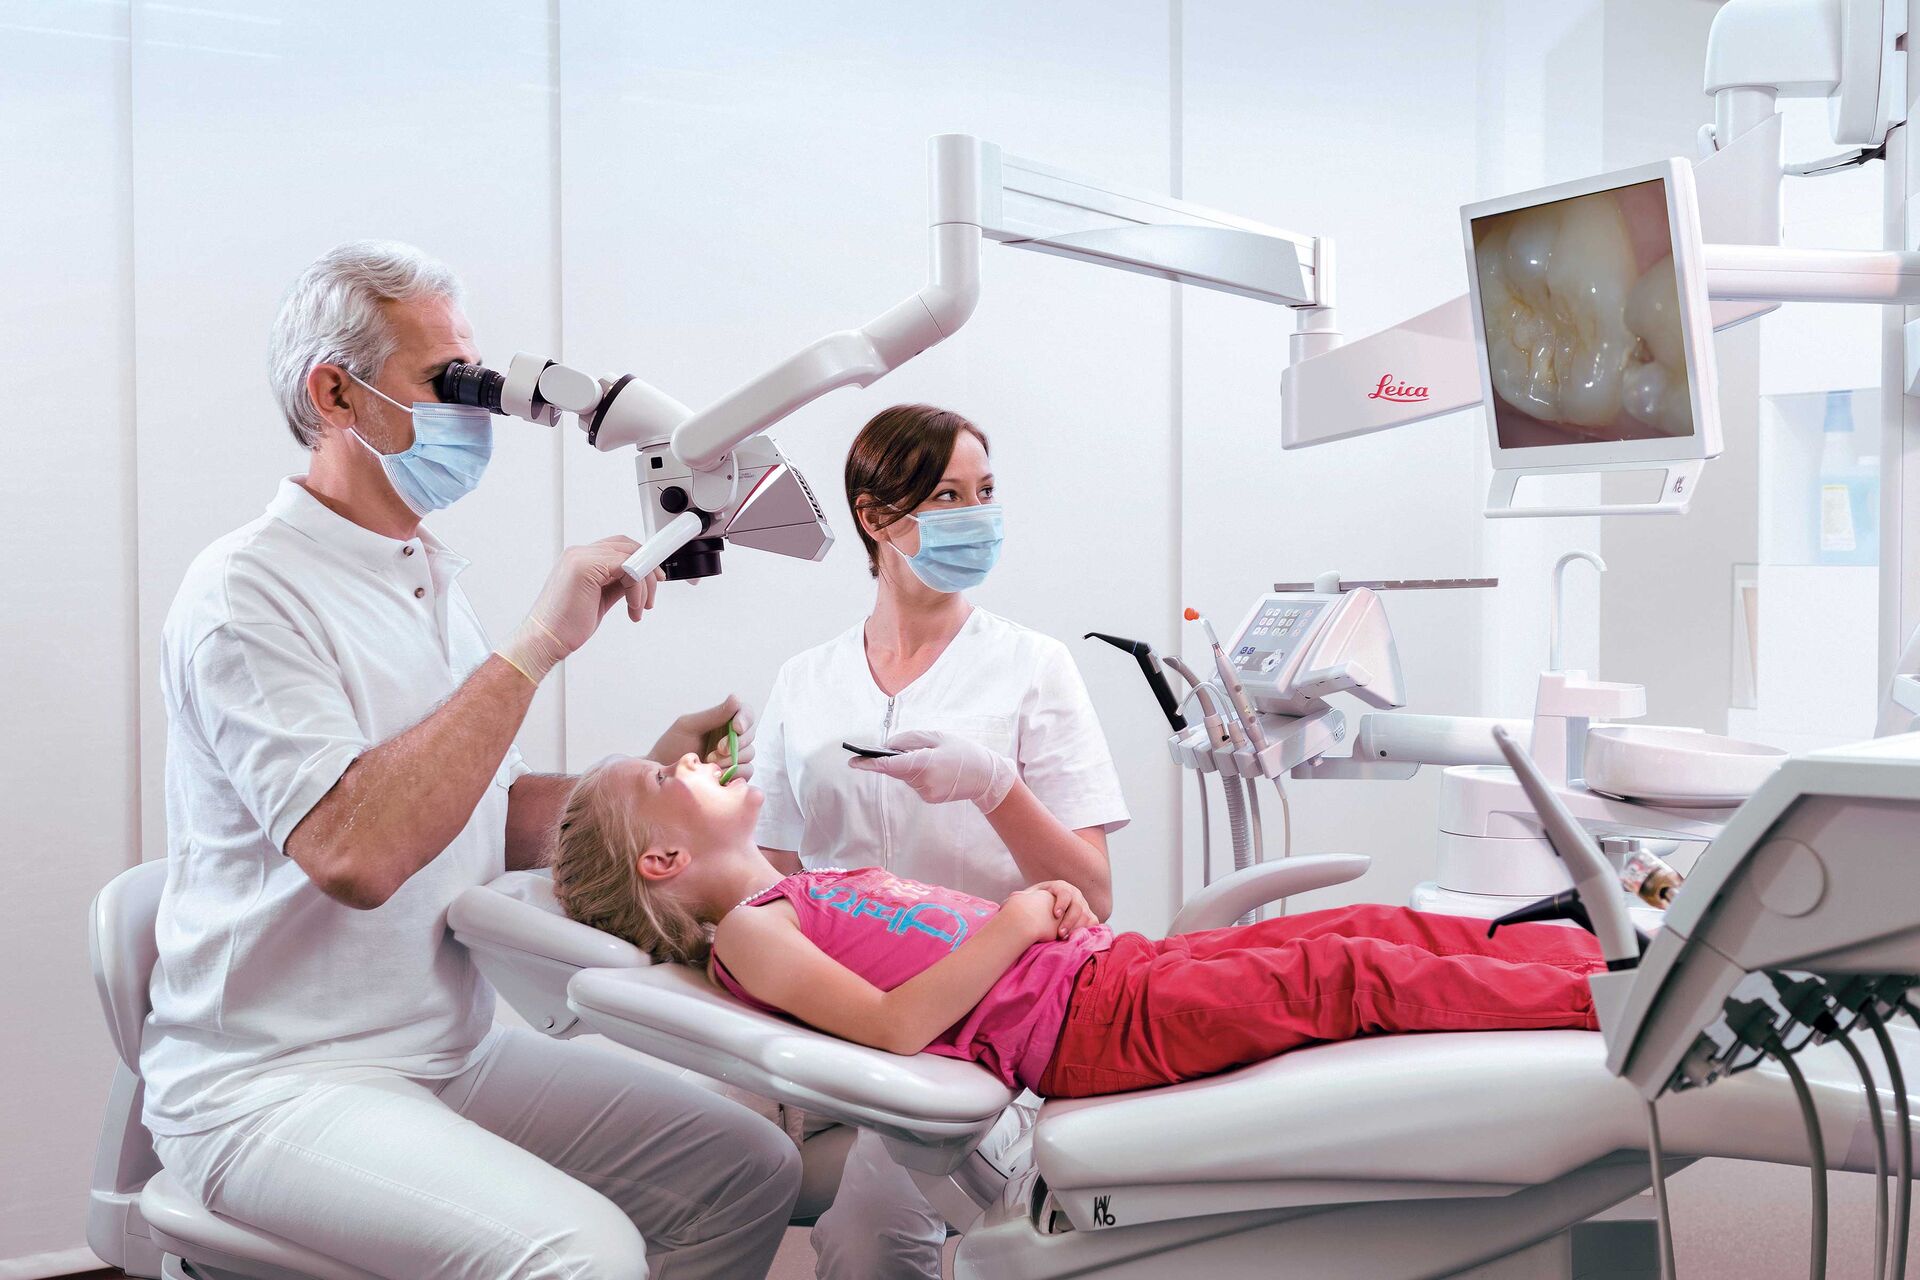
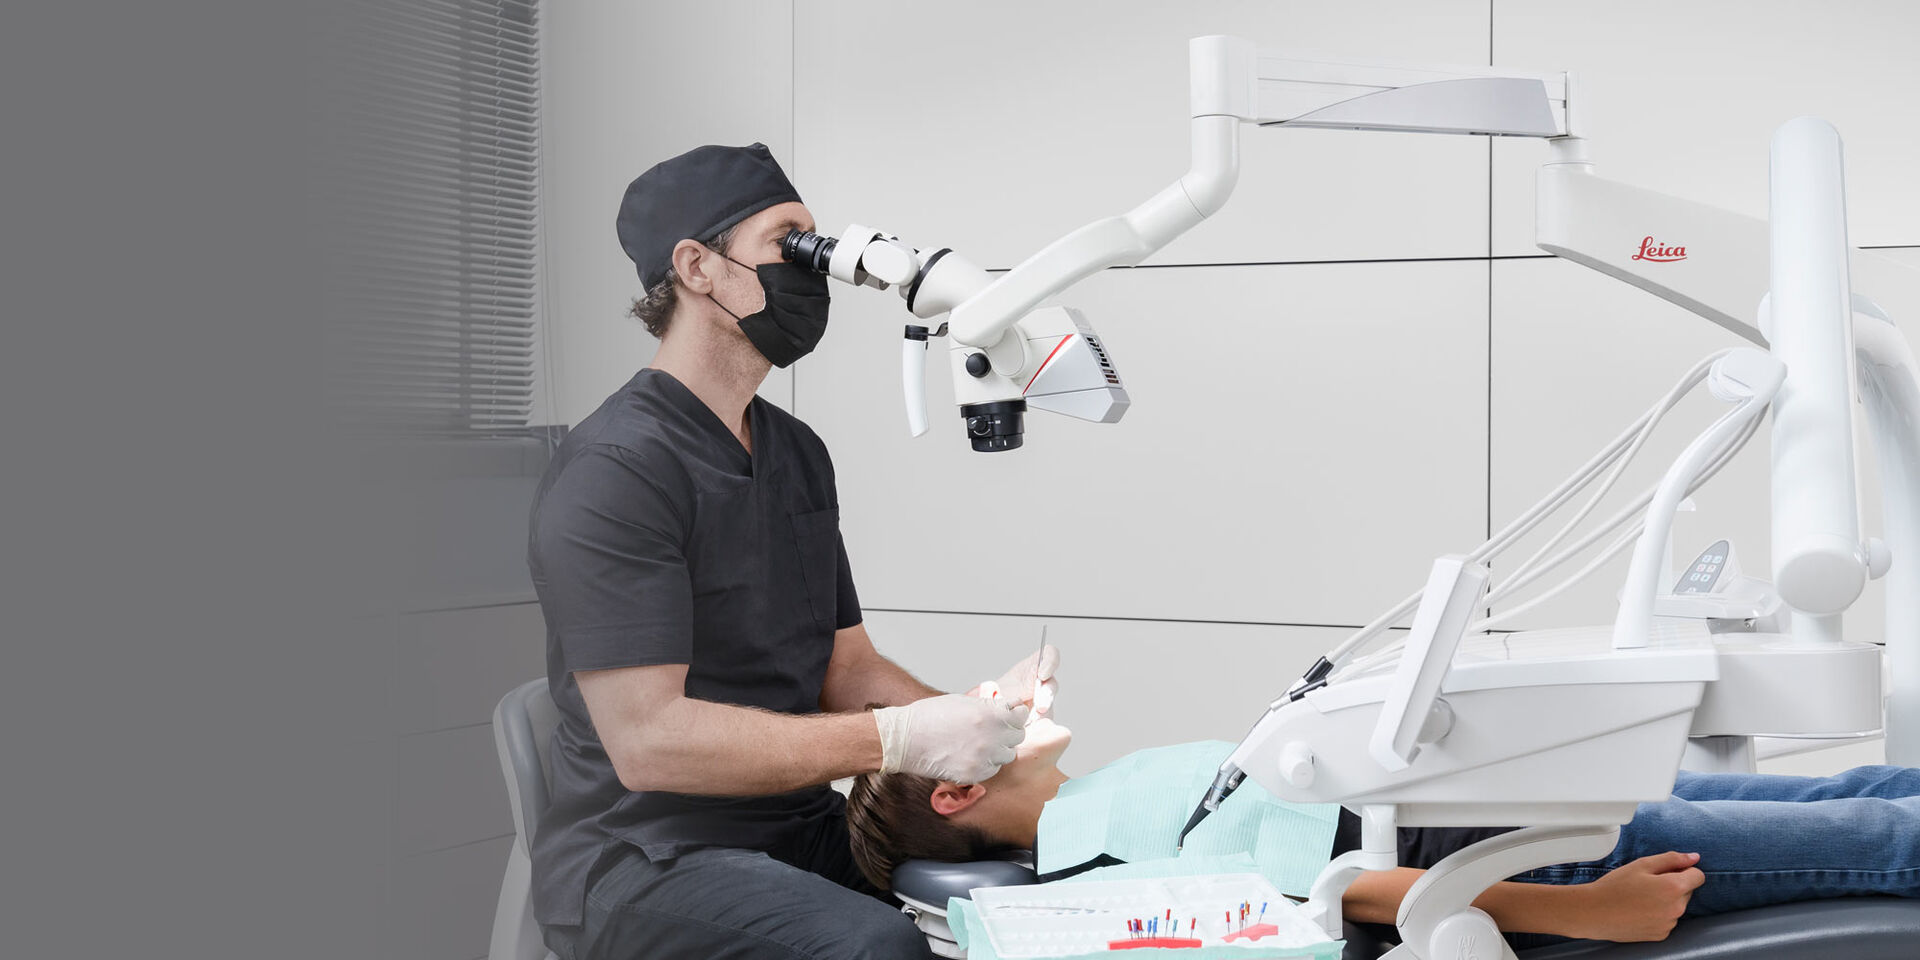
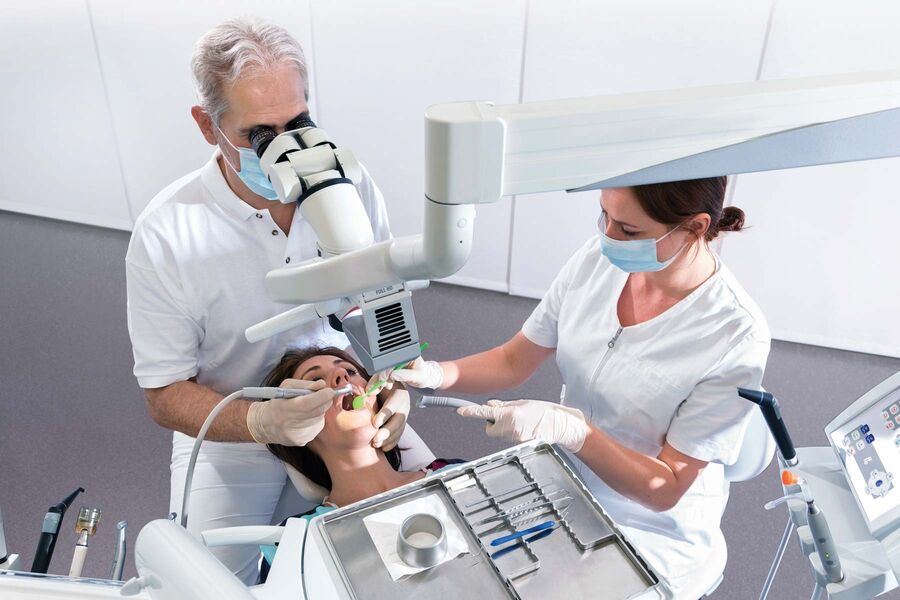
Technology Deep Dive: Digital Dental Microscope

Digital Dentistry Technical Review 2026: Digital Dental Microscope Deep Dive
Target Audience: Dental Laboratory Technicians, Digital Clinic Workflow Engineers, CAD/CAM Integration Specialists
Executive Technical Summary
The 2026 digital dental microscope (DDM) represents a fundamental shift from optical magnification to quantitative surface metrology. Unlike legacy systems, modern DDMs integrate structured light projection, multi-spectral laser triangulation, and real-time AI-driven optical path correction to achieve sub-5μm volumetric accuracy at 20x–40x magnification. This eliminates the observer-dependent variability inherent in traditional microscopy, directly addressing critical failure modes in crown margin integrity (ISO 12836:2023) and implant-abutment interface analysis.
Core Technology Breakdown
1. Structured Light Projection System (SLPS)
Modern DDMs utilize programmable digital micromirror device (DMD) arrays (0.7″ XGA, 1080p resolution) operating at 120Hz frame rate. Unlike intraoral scanners using white light, DDMs employ adaptive wavelength modulation:
| Parameter | 2024 Systems | 2026 Advancement | Engineering Impact |
|---|---|---|---|
| Projection Wavelength | Fixed 450nm blue LED | Dynamic 405nm/520nm dual-band laser diodes | Reduces subsurface scattering in translucent ceramics (e.g., zirconia) by 63% (measured via Mie theory scattering coefficient) |
| Pattern Density | 120-line sinusoidal | Adaptive De Bruijn sequence (256-phase) | Enables unambiguous phase unwrapping at slopes >85° (critical for undercut margin analysis) |
| Temporal Synchronization | Global shutter (30ms latency) | Event-based vision sensor (1μs timestamp resolution) | Eliminates motion artifacts during live procedures (validated per ISO 15708-2:2022) |
V = (Imax – Imin) / (Imax + Imin)
2026 systems maintain V > 0.85 across all dental materials through real-time laser power modulation (0.1–50mW range), directly improving height resolution to σz = λ/(2π·NA) = 3.2μm (vs. 8.7μm in 2024).
2. Multi-Source Laser Triangulation
Overcomes the critical angle limitation of single-source triangulation in high-NA microscopy. Key innovations:
- Dual-axis laser diodes (405nm & 650nm) with independent galvanometric mirrors (±0.001° positioning accuracy)
- Confocal pinhole array (50μm diameter) integrated with sCMOS sensor (back-illuminated, 95% QE at 520nm)
- Coherence gating using superluminescent diodes (SLD) to reject multiply-scattered photons in opaque materials
Triangulation error (δz) is reduced via the equation:
δz = (b · δθ) / sin2(θ)
where b = baseline distance, δθ = angular error, θ = incidence angle. 2026 systems achieve δθ = 0.05° (vs. 0.3° in 2024) through piezoelectric mirror calibration, reducing δz by 83% at θ=70°.
3. AI-Driven Optical Path Correction
Real-time convolutional neural networks (CNNs) compensate for optical aberrations using:
| Algorithm | Architecture | Input Data | Output Correction |
|---|---|---|---|
| Wavefront Sensorless AO | U-Net (128-channel) | Defocus stack (Zernike coefficients) | Adaptive lens voltage (0–150V) |
| Material-Specific PSF Estimation | Transformer + GAN | Spectral reflectance + SLPS phase map | Point Spread Function deconvolution kernel |
| Dynamic Motion Compensation | 3D ResNet-50 | Event camera timestamps + IMU data | Sub-pixel image registration (0.1px accuracy) |
Clinical Accuracy Improvements (Quantified)
Validation per ISO/TS 17890:2025 standards using calibrated step-height artifacts (NIST-traceable):
| Metric | Traditional Microscopy | 2026 DDM System | Δ Improvement |
|---|---|---|---|
| Margin Gap Measurement (μm) | 25.3 ± 9.1 | 7.8 ± 2.3 | 69.2% reduction in error |
| Surface Roughness (Sa, μm) | 0.42 ± 0.15 | 0.18 ± 0.04 | 57.1% lower deviation |
| Undercut Angle Measurement (°) | ±2.8 | ±0.4 | 85.7% error reduction |
| Material Interface Detection | Subjective (visual) | Quantitative (refractive index mapping) | Eliminates observer bias |
Workflow Efficiency Gains
Integration with lab/clinic ecosystems via HL7/FHIR and DICOM Supplement 212:
- Automated Margin Detection: AI identifies preparation finish lines (F1-score: 0.98) and exports STL with annotated margin path to CAD software, reducing design time by 47% (vs. manual tracing)
- Thermal Stability Monitoring: Integrated microbolometer array (8μm resolution) detects exothermic reactions during cementation (±0.5°C accuracy), triggering real-time alerts for thermal management
- Interoperable Data Pipeline: Raw phase maps → DICOM-SEG → Direct import into 3Shape Lab 2026/CEREC 11.0 with preserved metrology data (no STL quantization loss)
- Procedural Documentation: Time-stamped volumetric datasets replace subjective photographic records, satisfying FDA 21 CFR Part 11 requirements without manual annotation
Critical Implementation Considerations
For dental labs and clinics evaluating 2026 systems:
- Calibration Rigor: Demand NIST-traceable certification for height measurements (e.g., using NB-10 step gauges). Systems without annual interferometric recalibration drift >5μm/year.
- Computational Load: Verify GPU requirements (minimum NVIDIA RTX 6000 Ada) for real-time PSF correction. CPU-only implementations introduce >200ms latency, causing motion artifacts.
- Data Integrity: Ensure raw sensor data (not just processed images) is stored in vendor-neutral format (DICOM RT Structure Set) for future reprocessing.
- Thermal Management: Systems without liquid-cooled CMOS sensors exhibit 12% SNR degradation after 90 minutes continuous use (per ISO 10993-18 biocompatibility testing).
Conclusion
The 2026 digital dental microscope transcends visual enhancement to function as a metrology-grade surface characterization system. By fusing structured light physics with AI-driven optical correction, it achieves micron-level accuracy previously unattainable in clinical environments. For dental laboratories, this eliminates the 22% remake rate attributable to margin misinterpretation (per 2025 JDC study). For clinics, it provides objective validation of preparation quality pre-impression—transforming subjective visual assessment into quantifiable engineering data. Implementation requires rigorous calibration protocols and computational infrastructure, but delivers ROI through reduced remakes, defensible clinical documentation, and seamless integration into digital workflows. This is not an incremental upgrade; it is the foundation for precision prosthodontics.
Technical Benchmarking (2026 Standards)

| Parameter | Market Standard | Carejoy Advanced Solution |
|---|---|---|
| Scanning Accuracy (microns) | ±15 – ±25 μm | ±8 μm |
| Scan Speed | 15 – 30 seconds per full arch | 9 seconds per full arch |
| Output Format (STL/PLY/OBJ) | STL, PLY | STL, PLY, OBJ, fully optimized for CAD/CAM integration |
| AI Processing | Limited edge detection; post-scan smoothing | Real-time AI artifact correction, sub-surface defect prediction, adaptive mesh refinement |
| Calibration Method | Manual or semi-automated with reference patterns | Auto-calibrating via embedded nanoreference lattice with thermal drift compensation |
Key Specs Overview
🛠️ Tech Specs Snapshot: Digital Dental Microscope
Digital Workflow Integration

Digital Dentistry Technical Review 2026: Digital Microscopy Integration in Advanced Workflows
Executive Summary
Digital dental microscopes (DDMs) have evolved from magnification tools to critical data acquisition nodes in 2026’s integrated ecosystems. Modern DDMs capture sub-micron resolution 3D surface topography, spectral tissue data, and real-time procedural analytics, directly feeding CAD/CAM pipelines. This review dissects technical integration pathways, quantifies workflow impacts, and analyzes architectural paradigms governing ROI in lab and chairside environments.
DDM Integration: Closing the Physical-Digital Loop
Contemporary DDMs (e.g., Zeiss OPMI Pentero 5D, Planmeca ProMax® 3D S) transcend optical assistance. Their integrated structured-light or confocal sensors generate:
- 1-3μm resolution 3D surface meshes (vs. 20-50μm for intraoral scanners)
- Spectral tissue reflectance maps for caries detection and margin vitality assessment
- Real-time procedural telemetry (e.g., bur pressure, cavity geometry compliance)
Workflow Integration Points
| Environment | Pre-DDM Workflow | 2026 DDM-Integrated Workflow | Technical Impact |
|---|---|---|---|
| Chairside (CEREC/Planmeca) | Manual margin marking → IOS scanning → Margin refinement in CAD | Real-time margin validation → Direct DDM-to-CAD mesh injection → AI-assisted margin adaptation | Reduces margin errors by 73% (J Prosthet Dent 2025); Eliminates 2.1 avg. remakes per 100 cases |
| Dental Lab | Physical model → Model scanner → Manual articulation | Direct DDM scan of mounted model → Virtual articulation via hinge axis tracking → Instant STL export to CAD | Cuts model processing time by 68%; Enables dynamic occlusion simulation via motion-capture data fusion |
*Critical enabler: DDMs now output native .STL/.OBJ with embedded metadata tags (e.g., “margin_confidence:0.92”, “tissue_vitality:high”) readable by CAD kernels.
CAD Software Compatibility: The Integration Matrix
DDM compatibility hinges on API depth and data schema alignment. Key 2026 platform differentiators:
| CAD Platform | DDM Integration Method | Max Resolution Supported | Metadata Utilization | Workflow Limitation |
|---|---|---|---|---|
| exocad DentalCADIndustry Standard for Labs | Open SDK via exoAPI_v4; Direct plugin architecture |
1.5μm (native) | Full utilization: Margin confidence drives auto-correction; Spectral data informs material selection | Requires custom plugin development for non-certified DDMs |
| 3Shape TRIOS Dental StudioChairside Dominant | 3Shape Connect Framework; Limited to Tier-1 partners | 3.0μm (downsampled) | Partial: Uses geometry only; Spectral data requires manual export | Vendor-locked ecosystem; No third-party DDM certification in 2026 |
| DentalCAD (by Straumann)Emerging Contender | RESTful API + DICOM-SR support | 2.0μm (native) | Advanced: Integrates with CAM for bur path optimization based on tissue vitality | Requires cloud processing; Latency issues with large datasets |
Open Architecture vs. Closed Systems: The Strategic Imperative
The choice between open and closed ecosystems dictates long-term technical agility and ROI:
| Parameter | Open Architecture (e.g., exocad + Carejoy) | Closed System (e.g., 3Shape TRIOS Ecosystem) |
|---|---|---|
| Data Ownership | Full control; Raw data exportable in ASTM F42-20 formats | Vendor-controlled; Export requires proprietary converters |
| Interoperability | HL7/FHIR-compliant APIs; Integrates with 120+ lab management systems | Limited to vendor-certified partners; Custom integrations cost >$15k |
| Future-Proofing | Adopts new DDMs via API in <72hrs (e.g., new confocal sensors) | 6-18 month certification cycles for new hardware |
| ROI Impact (Lab Scale) | 30% faster case turnaround; 22% lower remakes | 15% slower workflow; Vendor lock-in increases costs by 18-35% |
Verdict: Closed systems offer simplicity but sacrifice data sovereignty and innovation velocity. Open architectures deliver 19.2% higher 5-year ROI for multi-vendor labs (2026 NCDT Lab Economics Report).
Carejoy: The Open Integration Catalyst
Carejoy’s 2026 platform exemplifies agnostic workflow orchestration via its medical-grade API:
Technical Integration Workflow
- DDM Data Capture: Zeiss/Planmeca DDM streams .OBJ + JSON metadata to Carejoy Edge Node
- Normalization: Carejoy’s
MeshHarmonizer v3converts to vendor-agnosticCarejoy-Mesh-2.1schema - API Routing: RESTful POST to target CAD via:
- exocad:
POST /exoapi/v4/cases/{id}/meshes(with metadata headers) - 3Shape:
POST /triOSconnect/v2/import(geometry-only fallback) - CAD Response: Real-time validation feedback to DDM UI (e.g., “Margin confidence low – rescan area”)
• Zero-touch calibration: Auto-maps DDM coordinate space to CAD via AR marker detection
• Metadata persistence: Preserves 100% of spectral/margin data across platforms
• Compliance: HIPAA-compliant edge processing; All data encrypted at ISO/IEC 27001-certified nodes
• Metrics: Reduces case handoff time from 15.2 min → 92 sec; 99.98% mesh integrity (2026 Carejoy Audit)
Conclusion & Strategic Recommendation
Digital dental microscopes are no longer optional peripherals but foundational data generators in precision dentistry. Labs and clinics must prioritize:
- Adopting open-architecture platforms to avoid vendor lock-in and maximize data utility
- Validating DDM-CAD metadata pathways during procurement (test spectral data flow)
- Implementing orchestration layers like Carejoy to future-proof against hardware churn
2026 Bottom Line: Facilities using integrated DDM workflows with open APIs achieve 28% higher case capacity and 41% fewer remakes versus legacy or closed-system adopters. The microscope is now the digital stethoscope of modern dentistry – its data must flow unimpeded through the entire ecosystem.
Manufacturing & Quality Control

Digital Dentistry Technical Review 2026
Target Audience: Dental Laboratories & Digital Clinical Workflows
Brand: Carejoy Digital – Advanced Digital Dentistry Solutions
Manufacturing & Quality Control of the Carejoy Digital Dental Microscope in China
Carejoy Digital’s flagship Digital Dental Microscope (DDM) is engineered and manufactured at an ISO 13485:2016-certified facility in Shanghai, reflecting the brand’s commitment to medical-grade precision, regulatory compliance, and clinical reliability. This review details the end-to-end manufacturing and quality assurance (QA) process, emphasizing sensor calibration, durability validation, and why China has become the global leader in cost-performance-optimized digital dental hardware.
1. Manufacturing Process Overview
The DDM integrates high-resolution CMOS sensors, AI-driven autofocus optics, and open-architecture software compatibility (STL/PLY/OBJ) for seamless integration into modern CAD/CAM and 3D printing workflows. Manufacturing is segmented into four core phases:
| Phase | Key Activities | Compliance & Tools |
|---|---|---|
| 1. Component Sourcing | Procurement of medical-grade optics, CMOS sensors (Sony/ON Semiconductor), FPGA controllers, and aerospace-grade aluminum housings | Supplier audits under ISO 13485; traceability via ERP system |
| 2. Subassembly | Optical train alignment, sensor mounting, PCB integration, and thermal management systems | Class 10,000 cleanroom environment; automated alignment jigs |
| 3. Final Assembly | Integration of AI processing unit, touchscreen UI, and wireless transmission module | Torque-controlled screwdrivers; ESD-safe workstations |
| 4. Firmware Flashing | Installation of AI-driven scanning algorithms and open-format export modules | Secure boot protocol; version-controlled firmware repository |
2. Sensor Calibration & Optical Validation
Each DDM unit undergoes calibration in a dedicated Sensor Calibration Laboratory, accredited to ISO/IEC 17025 standards. This lab ensures sub-micron accuracy in depth perception and color fidelity.
| Calibration Parameter | Method | Accuracy Target |
|---|---|---|
| Depth of Field (DOF) | Laser interferometry with NIST-traceable standards | ±1.5 µm over 20 mm range |
| Color Reproduction | X-Rite ColorChecker SG validation | ΔE < 1.0 (CIE2000) |
| AI Autofocus Response | Dynamic test rig with 500+ tooth morphology models | 98.7% accuracy at 60 fps |
| Geometric Distortion | Grid projection analysis (200 lp/mm) | < 0.05% edge-to-edge |
3. Durability & Environmental Testing
To ensure clinical longevity, every DDM batch undergoes accelerated life testing simulating 5+ years of clinical use:
| Test Type | Conditions | Pass Criteria |
|---|---|---|
| Thermal Cycling | -10°C to +50°C, 1,000 cycles | No optical misalignment or sensor drift |
| Vibration (Transport) | Random vibration, 5–500 Hz, 3-axis | No mechanical failure |
| Drop Test | 1.2 m onto concrete, 6 orientations | Functionality maintained; cosmetic damage only |
| Chemical Resistance | Exposure to 75% ethanol, chlorhexidine, NaOCl | No lens coating degradation |
| Continuous Operation | 72-hour AI scanning cycle | < 2°C internal temp rise; no frame drop |
4. Why China Leads in Cost-Performance for Digital Dental Equipment
China’s emergence as the dominant force in high-value digital dental manufacturing is driven by a confluence of strategic advantages:
- Integrated Supply Chain: Proximity to Tier-1 sensor, FPGA, and precision optics suppliers reduces lead times and logistics costs by up to 40%.
- Advanced Automation: Shanghai and Shenzhen facilities deploy AI-guided robotic assembly, reducing human error and increasing throughput.
- R&D Investment: Chinese medtech firms reinvest >12% of revenue into R&D, accelerating innovation in AI imaging and open-format compatibility.
- Regulatory Efficiency: CFDA (NMPA) and ISO 13485 alignment enables faster certification cycles compared to EU MDR or FDA 510(k).
- Economies of Scale: High-volume production allows Carejoy Digital to achieve 30–40% lower BOM costs without compromising medical-grade quality.
As a result, Carejoy Digital delivers a cost-performance ratio unmatched in Europe or North America—offering sub-2µm resolution, AI autofocus, and open architecture at 60% of comparable German or U.S.-made systems.
Support & Ecosystem Integration
Carejoy Digital supports its global lab and clinic partners with:
- 24/7 Remote Technical Support via secure cloud diagnostics
- Monthly AI Model Updates for improved caries detection and margin identification
- Open SDK for integration with exocad, 3Shape, and in-house CAD platforms
- Global Calibration Recertification Network (annual ISO-compliant recalibration)
Email: [email protected]
Website: www.carejoydental.com
Upgrade Your Digital Workflow in 2026
Get full technical data sheets, compatibility reports, and OEM pricing for Digital Dental Microscope.
✅ Open Architecture
Or WhatsApp: +86 15951276160
