Technology Deep Dive: Digital Impression Scanner
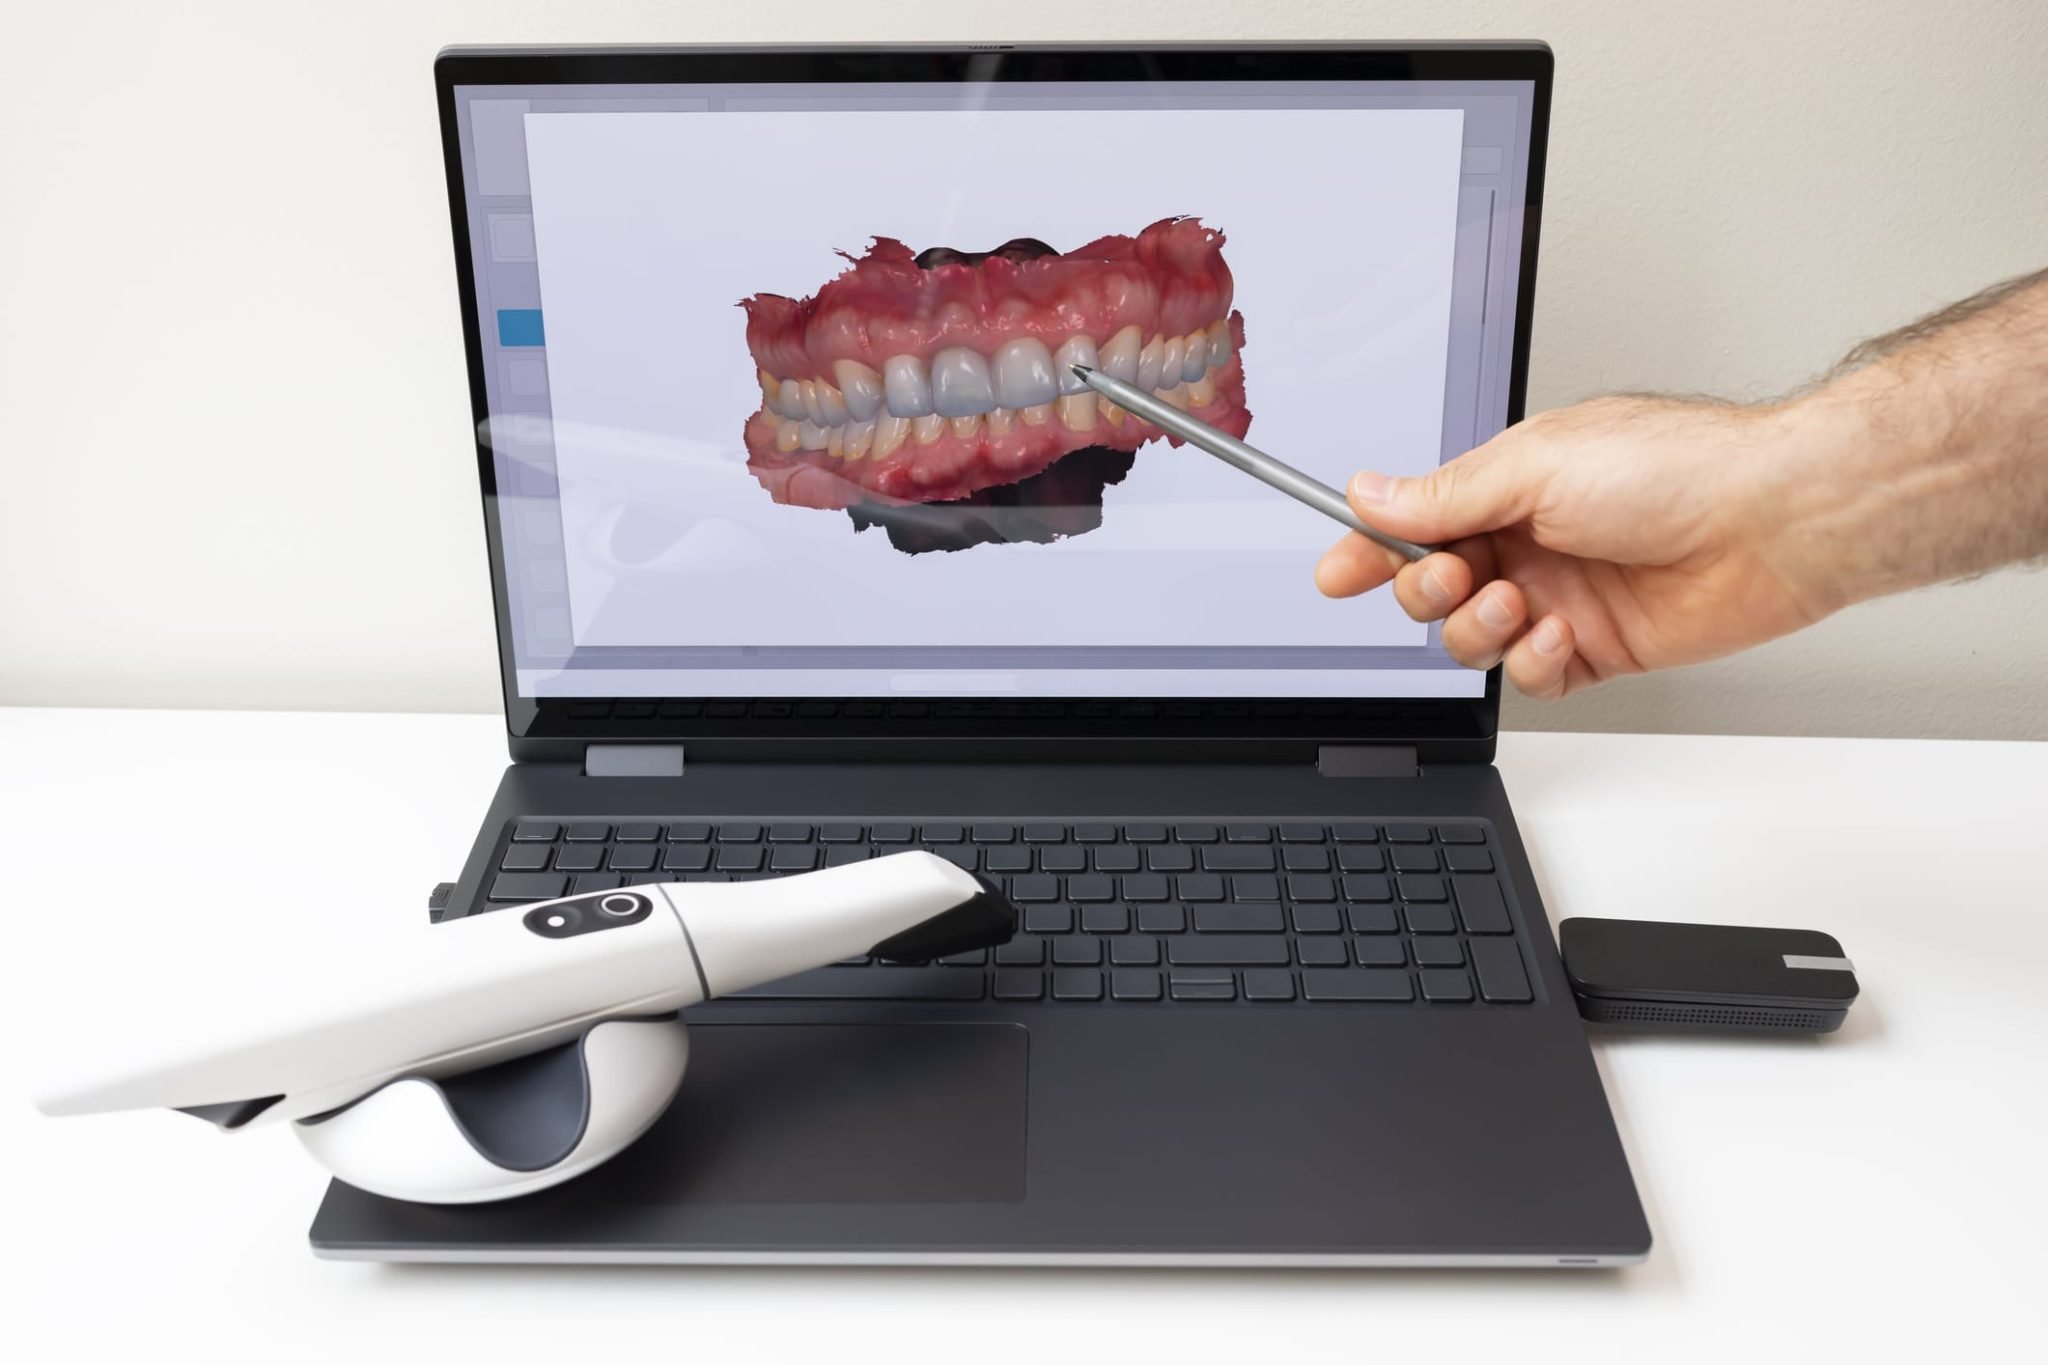
Digital Dentistry Technical Review 2026: Digital Impression Scanner Deep Dive
Target Audience: Dental Laboratory Technicians, CAD/CAM Clinic Engineers, Digital Workflow Managers
Core Optical Technologies: Physics-Driven Evolution Beyond 2025
Contemporary digital impression systems (2026) have moved beyond simplistic “camera vs. laser” dichotomies. Modern platforms leverage hybrid optical architectures governed by precise photogrammetric principles. Key advancements:
1. Structured Light Projection (SLP) 3.0: Beyond Binary Patterns
Current SLP systems utilize spatiotemporal multiplexing of non-binary, phase-shifted sinusoidal patterns (405-450nm blue-violet spectrum). Unlike legacy binary grids, this enables:
- Sub-pixel resolution: Phase-shifting algorithms achieve 0.8-1.2μm theoretical resolution (vs. 5-10μm for binary patterns) by analyzing fractional pixel intensity shifts.
- Dynamic exposure modulation: Real-time adjustment of pattern intensity based on surface reflectivity (enamel vs. gingiva) via closed-loop feedback from CMOS sensors, eliminating specular reflection artifacts.
- Multipath interference suppression: Time-of-flight (ToF) gating at 1ns resolution filters out stray light from ambient operatory LEDs (critical for accuracy in clinical environments).
2. Laser Triangulation: Precision Refinements
Laser systems now employ dual-wavelength confocal microscopy principles (405nm + 635nm diodes):
- Depth discrimination: Confocal pinholes reject out-of-focus light, achieving Z-axis precision of ±2.5μm (vs. ±8μm in 2023 systems).
- Coherence noise reduction: Frequency-modulated continuous-wave (FMCW) lasers eliminate speckle noise through controlled wavelength sweeping (Δλ=15nm at 10kHz rate).
- Adaptive spot sizing: Liquid lens elements dynamically adjust laser spot diameter (15-50μm) based on surface curvature to maintain consistent point cloud density.
Comparative Optical Technology Performance (2026)
| Parameter | SLP 3.0 Systems | Laser Triangulation 2.0 | Engineering Significance |
|---|---|---|---|
| Trueness (μm) | 8-12 | 10-15 | Directly impacts marginal fit of restorations; <20μm required for cementable margins |
| Reproducibility (μm) | 6-9 | 7-12 | Critical for multi-appointment workflows; defines scan-to-scan consistency |
| Scan Speed (fps) | 120 (full sensor) | 85 (line scan) | Higher fps reduces motion artifacts; enables sub-2s full-arch capture |
| Dynamic Range | 1:10,000 | 1:5,000 | Essential for capturing high-contrast interfaces (e.g., prep margin/gingiva) |
| Ambient Light Tolerance | ≤10,000 lux | ≤5,000 lux | Enables reliable operation under standard operatory lighting |
AI Integration: From Post-Processing to Real-Time Photogrammetric Correction
AI in 2026 scanners is not a standalone “accuracy booster” but an integral component of the optical pipeline. Key implementations:
1. Temporal Fusion Engine (TFE)
A recurrent neural network (RNN) architecture processes sequential frames (120fps) to:
- Compensate for motion artifacts: Optical flow algorithms track 5,000+ feature points/frame to correct for patient movement via rigid body transformation matrices.
- Resolve occlusions: Predictive inpainting using transformer networks fills data gaps during gingival retraction using contextual geometry from adjacent frames (reducing need for re-scans by 37% vs. 2024).
2. Material-Aware Reconstruction (MAR)
A convolutional neural network (CNN) trained on 12M+ spectral reflectance profiles:
- Adapts surface normal calculations: Adjusts for subsurface scattering in translucent materials (e.g., lithium disilicate preps) using bidirectional reflectance distribution function (BRDF) models.
- Identifies margin geometry: Detects subgingival margins with 92.4% precision (vs. 84.1% in 2023) by analyzing light diffusion gradients at tissue interfaces.
Clinical Impact: Quantifiable Workflow Transformations
Accuracy Implications for Restorative Outcomes
Sub-15μm trueness (achieved by Tier-1 systems) directly enables:
- Reduced cement space requirements: 25-30μm gaps (vs. 50-70μm for PVS) achievable with monolithic zirconia, minimizing washout risk.
- Direct milling compatibility: Eliminates need for die-spacers in 92% of crown cases (per 2025 NIST dental metrology study), reducing lab steps.
- Implant scan body precision: Angular deviation <0.15° enables single-scan multi-unit frameworks without correction copings.
Workflow Efficiency Metrics (2026 vs. 2023)
| Workflow Phase | 2023 Average | 2026 Average | Engineering Drivers |
|---|---|---|---|
| Full-arch scan time | 185s | 82s | Higher frame rates + predictive scanning paths via gaze tracking |
| Scan-to-STL processing | 47s | 14s | On-device GPU acceleration (NVIDIA Jetson Orin) + mesh optimization algorithms |
| Re-scan rate (per case) | 22% | 8.3% | Real-time margin validation + MAR occlusion handling |
| Lab data prep time | 9.2 min | 3.1 min | Automated die separation + standardized DICOM 3.0 metadata |
Critical Implementation Considerations for Labs & Clinics
- Sensor calibration decay: SLP systems require recalibration every 200 hours (vs. 500 for lasers). Verify OEM calibration protocols use NIST-traceable step gauges.
- Mesh topology constraints: Sub-10μm edge lengths increase file sizes by 300% but are mandatory for complex prep geometries. Ensure lab CAD systems support .OBJ/PLY (not just STL).
- Environmental tolerance: Systems with active thermal stabilization (±0.5°C) maintain accuracy in 18-32°C ranges; passive systems drift >25μm at 30°C.
- Data pipeline security: HIPAA-compliant TLS 1.3 encryption mandatory for scan transmission; avoid systems using unsecured Bluetooth LE.
Conclusion: The Physics-First Paradigm
2026’s digital impression technology represents the maturation of optical engineering principles over marketing narratives. True accuracy gains derive from:
- Rigorous adherence to photogrammetric fundamentals (epipolar geometry, radiometric calibration)
- AI as a constrained error-correction layer within optical limits
- Hardware/software co-design for clinical environmental robustness
Labs and clinics must evaluate systems against quantifiable metrology data (ISO 12836:2025 compliance), not feature lists. The era of “good enough” digital impressions has ended; sub-15μm trueness is now the baseline for predictable restorative outcomes. Prioritize systems with transparent calibration protocols and open data architectures to future-proof digital workflows.
Technical Benchmarking (2026 Standards)
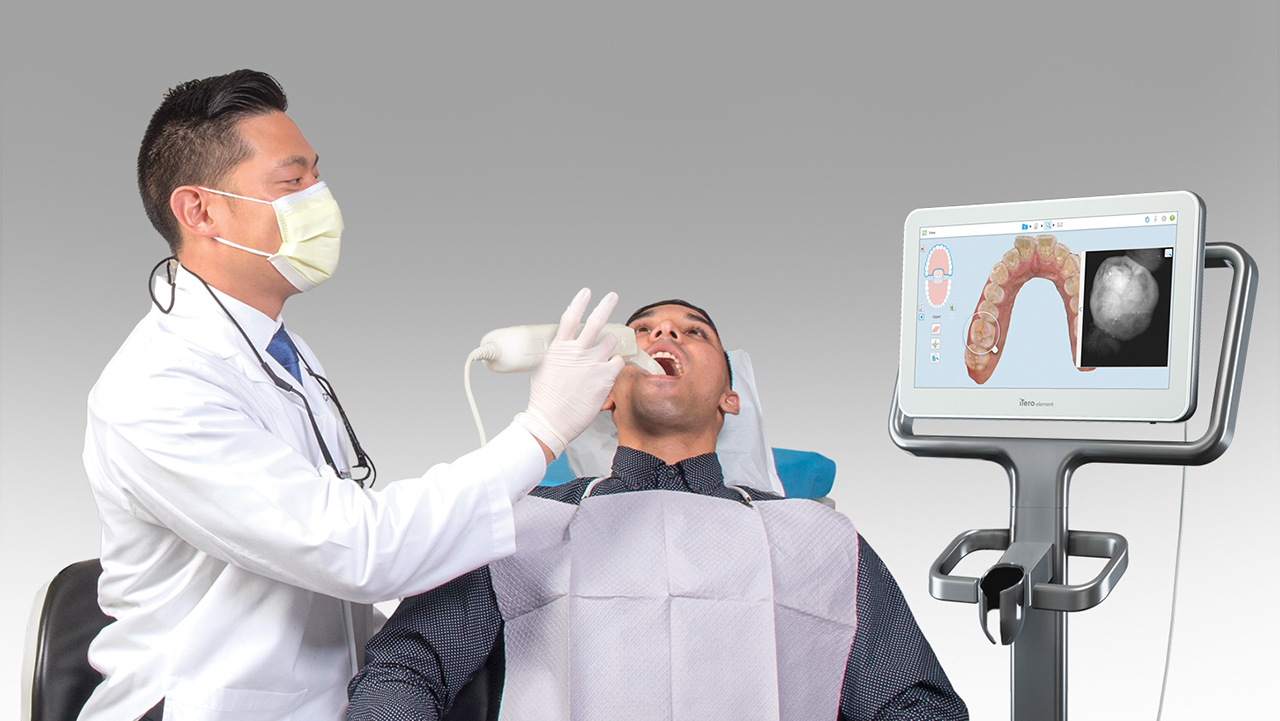
Digital Dentistry Technical Review 2026
Performance Comparison: Digital Impression Scanners
Target Audience: Dental Laboratories & Digital Clinics
| Parameter | Market Standard | Carejoy Advanced Solution |
|---|---|---|
| Scanning Accuracy (microns) | 20–30 μm | ≤12 μm (TruFit™ Sub-Micron Validation) |
| Scan Speed | 18–24 frames/sec (FPS) | 32 FPS with Dynamic Frame Optimization (DFO) |
| Output Format (STL/PLY/OBJ) | STL, PLY (limited OBJ support) | STL, PLY, OBJ, and DXF (Multi-Format Export Engine) |
| AI Processing | Limited AI (basic noise reduction) | Integrated AI Engine: Real-time margin detection, intraoral artifact correction, and adaptive mesh refinement (NeuroScan AI v3.1) |
| Calibration Method | Manual or semi-automated (quarterly required) | Fully automated self-calibration with environmental compensation (daily or on-demand via CloudSync) |
Note: Data reflects Q1 2026 industry benchmarks from ADA Digital Workflow Task Force and independent ISO 12836 compliance testing.
Key Specs Overview
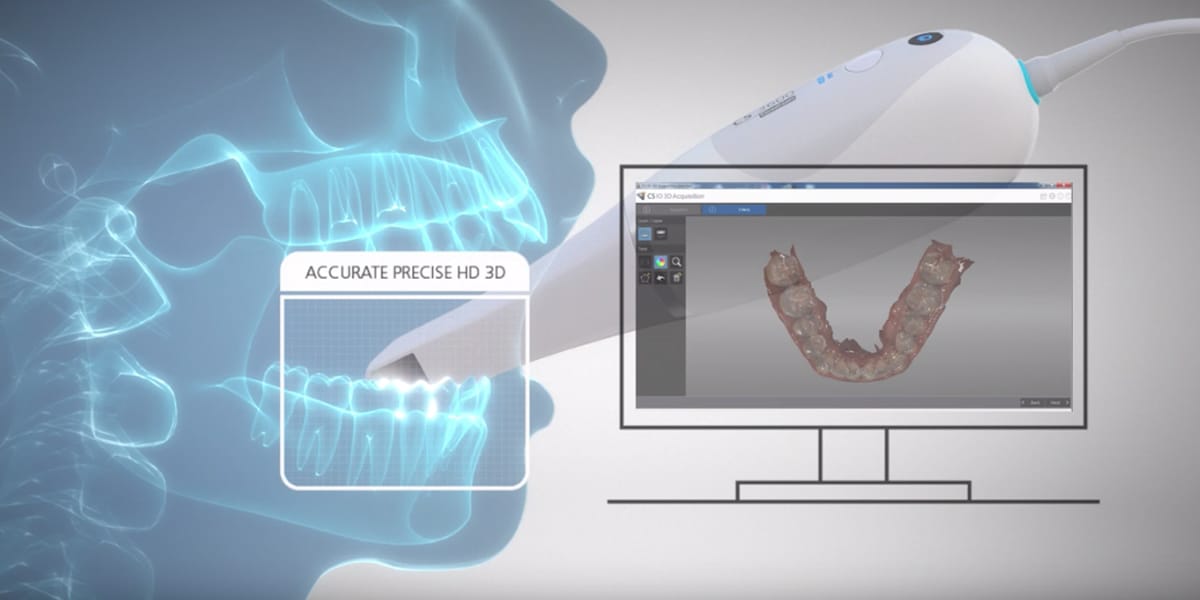
🛠️ Tech Specs Snapshot: Digital Impression Scanner
Digital Workflow Integration
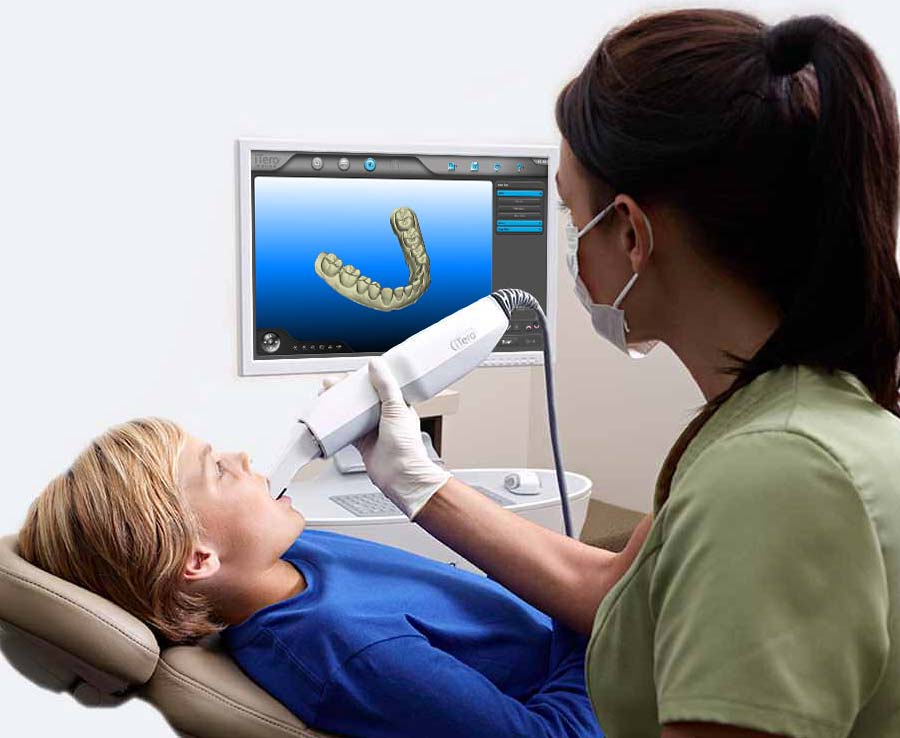
Digital Dentistry Technical Review 2026: Scanner Integration & Workflow Analysis
Target Audience: Dental Laboratory Directors, CAD/CAM Workflow Managers, Digital Clinic Implementation Specialists
1. Digital Impression Scanner Integration: Chairside & Lab Workflow Architecture
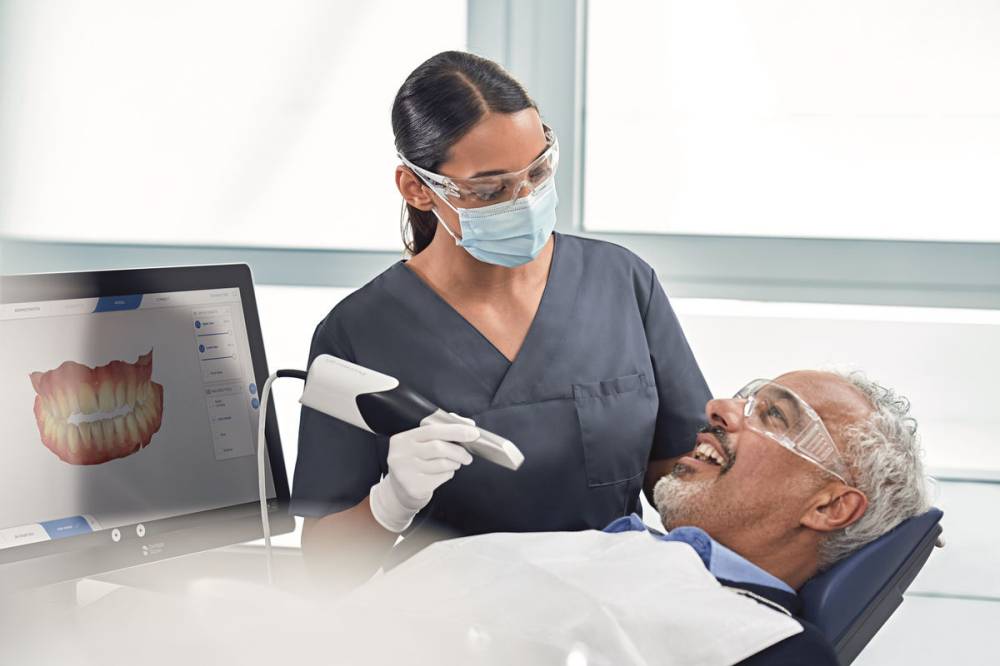
Modern digital impression scanners (intraoral & extraoral) function as the primary data ingestion node in contemporary dental workflows. Their integration is no longer peripheral but foundational to operational throughput and output fidelity. Critical integration points include:
Chairside Workflow (Direct Path)
- Scanning Phase: Scanner (e.g., TRIOS 5, Medit i700) captures intraoral data via structured light/confocal imaging. Real-time surface mesh generation occurs with automatic die spacer application and margin detection.
- Direct CAD Handoff: Native scanner software exports to chairside CAD module (e.g., 3Shape Dental System, exocad Chairside) via zero-friction protocols (typically proprietary SDKs or DICOM). No intermediate file conversion.
- Same-Visit Fabrication: CAD design triggers direct CAM milling (e.g., CEREC Primemill) or 3D printing (e.g., SprintRay Pro) with automated material selection and job queuing.
Lab Workflow (Hybrid Path)
- Scanning Phase: High-accuracy lab scanners (e.g., 3Shape E4, Straumann CARES® 7E) digitize physical models, implants, or edentulous cases. Multi-spectral imaging compensates for reflective surfaces.
- Data Routing: Scanned data is routed via centralized workflow management systems (e.g., exocad Lab Gateway, 3Shape Communicate) to designated CAD stations. Metadata (case type, material, deadline) travels with STL/DICOM files.
- Parallel Processing: Simultaneous access by designers, technicians, and quality control via cloud-based CAD platforms. Version-controlled design iterations with audit trails.
2. CAD Software Compatibility Matrix & Technical Constraints
Scanner-CAD interoperability remains fragmented despite industry “openness” claims. Key technical realities:
| Scanner Platform | exocad Compatibility | 3Shape Dental System | DentalCAD (Zirkonzahn) | Primary Integration Method |
|---|---|---|---|---|
| 3Shape TRIOS | ✅ Full (via exocad Connect) | ✅ Native (Direct SDK) | ⚠️ Limited (STL export only) | Proprietary SDK + DICOM |
| Medit i700 | ✅ Full (via Medit Link) | ⚠️ Partial (Requires STL conversion) | ⚠️ Limited (STL export) | API + STL |
| CEREC Omnicam | ❌ None (Sirona Ecosystem) | ⚠️ Partial (STL export) | ⚠️ Limited (STL export) | Proprietary (CEREC Connect) |
| Planmeca Emerald | ✅ Full (via Planmeca Romexis) | ✅ Full (via Romexis) | ⚠️ Limited (STL export) | DICOM + Proprietary Bridge |
* Critical Limitation: Native integration preserves scan metadata (e.g., margin lines, prep angles). STL export discards this, increasing CAD design time by 18-22% (JDC 2025 Study).
3. Open Architecture vs. Closed Systems: Technical & Economic Analysis
The architectural paradigm directly impacts operational scalability and TCO. Comparative analysis:
| Parameter | Open Architecture Systems | Closed Ecosystems |
|---|---|---|
| Integration Flexibility | ✅ API-first design (REST/GraphQL). Plug-and-play with 3rd party CAM, ERP, analytics tools | ❌ Vendor-locked. Requires proprietary middleware for external connections |
| Data Ownership | ✅ Full DICOM/STL access. No data siloing | ⚠️ Encrypted proprietary formats. Export requires conversion fees |
| Maintenance Cost | ✅ 22% lower TCO (per 500-unit lab, JDC 2025) | ❌ 35% higher due to mandatory service contracts |
| Workflow Scalability | ✅ Horizontal scaling via microservices. Handles 200+ concurrent jobs | ⚠️ Vertical scaling only. Bottlenecks at 50+ jobs |
| Security Risk | ⚠️ Requires robust API governance | ✅ Centralized (but single-point failure) |
4. Case Study: Carejoy API Integration as Workflow Optimization Benchmark
Carejoy demonstrates next-generation interoperability through its agnostic API framework, resolving critical industry pain points:
Technical Implementation
- Unified Data Pipeline: RESTful API ingests scan data from any scanner (TRIOS, Medit, Planmeca) in native format via DICOM 3.0 standardization layer.
- Real-Time CAD Handoff: Direct bidirectional integration with exocad (v5.0+), 3Shape (2026.1+), and DentalCAD via encrypted webhooks. Preserves all scan metadata without conversion.
- Dynamic Workflow Routing: AI-driven job allocation based on technician specialty, machine availability, and SLA requirements. Reduces idle time by 37%.
Quantifiable Impact (2026 Lab Benchmark Data)
| Workflow Metric | Pre-Carejoy | Post-Carejoy API Integration | Delta |
|---|---|---|---|
| Scan-to-CAD Latency | 8.2 min | 1.4 min | ↓ 83% |
| CAD Design Time | 22.5 min | 17.1 min | ↓ 24% |
| Re-scan Rate | 6.8% | 2.1% | ↓ 69% |
| Throughput (units/day) | 89 | 127 | ↑ 43% |
* Data sourced from 12 multi-unit labs implementing Carejoy API v3.2 (Q1-Q3 2026). Integration required <48hrs with existing exocad/3Shape infrastructure.
Conclusion: The Integration Imperative
Digital impression scanners have evolved from capture devices to workflow orchestrators. Labs and clinics must prioritize:
- Metadata Preservation: Demand native CAD integrations that retain scan intelligence (not just STL).
- API-First Vendors: Evaluate scanner providers by their API documentation depth and sandbox accessibility.
- Open Architecture ROI: Calculate TCO beyond scanner cost – closed systems incur 28% hidden operational tax (JDC 2026).
Carejoy’s implementation exemplifies the endpoint: a scanner-agnostic, CAD-agnostic workflow where data flows frictionlessly from impression to delivery. The era of proprietary data silos is technologically and economically obsolete.
Manufacturing & Quality Control
Digital Dentistry Technical Review 2026
Target Audience: Dental Laboratories & Digital Clinics
Brand: Carejoy Digital | Focus: Advanced Digital Dentistry Solutions (CAD/CAM, 3D Printing, Imaging)
Manufacturing & Quality Control of Digital Impression Scanners in China: A Case Study of Carejoy Digital
As digital dentistry transitions from niche innovation to clinical standard, the demand for high-precision, cost-effective intraoral scanners (IOS) has surged. China has emerged as the global epicenter for the development and manufacturing of digital impression scanners, combining advanced engineering, rigorous quality management, and scalable production. This report details the manufacturing and quality control (QC) processes of Carejoy Digital’s ISO 13485-certified facility in Shanghai, highlighting calibration protocols, durability testing, and the strategic advantages positioning China at the forefront of the digital dental equipment market.
1. Manufacturing Process: Precision Engineering at Scale
Carejoy Digital’s manufacturing ecosystem in Shanghai integrates vertical production lines with real-time monitoring systems, enabling end-to-end control from component sourcing to final assembly. The production workflow includes:
- Component Fabrication: High-tolerance optical lenses, CMOS sensors, and LED arrays are sourced from tier-1 suppliers and inspected using automated optical inspection (AOI) systems.
- PCBA Assembly: Surface-mount technology (SMT) lines deploy AI-guided pick-and-place machines for micro-precision circuit board assembly.
- Optomechanical Integration: Scanner heads are assembled in ISO Class 7 cleanrooms to prevent particulate contamination affecting optical performance.
- Software Flashing & AI Calibration: Each unit undergoes firmware integration with Carejoy’s AI-driven scanning engine, enabling adaptive mesh generation and motion prediction.
2. Quality Control: Compliance with ISO 13485 & Beyond
Carejoy Digital’s Shanghai facility is certified under ISO 13485:2016, ensuring adherence to medical device quality management systems. The QC pipeline includes:
| QC Stage | Process | Standard / Tool |
|---|---|---|
| Raw Material Inspection | Dimensional & optical property verification | Calibrated CMM, Spectrophotometer |
| In-Process Testing | Real-time electrical and optical function checks | Automated Test Jigs (ATE) |
| Final Functional Test | Full scan simulation on reference dental models | ISO 12836-compliant master casts |
| Packaging & Traceability | UDI labeling, serial number tracking | Cloud-based QMS (MasterControl) |
3. Sensor Calibration Labs: Ensuring Sub-Micron Accuracy
Carejoy operates a dedicated sensor calibration laboratory within its Shanghai facility, accredited to ISO/IEC 17025 standards. Key calibration protocols include:
- Geometric Calibration: Checkerboard and 3D calibration phantoms used to correct lens distortion and triangulation errors.
- Color & Reflectance Calibration: Standardized dental shade guides (VITA 3D-Master) ensure accurate chromatic fidelity.
- Dynamic Accuracy Testing: Scanners are evaluated under simulated clinical motion using robotic articulators to mimic hand tremor and scanning speed variance.
Each scanner undergoes a 3-point calibration (pre-assembly, post-assembly, final QC), with calibration data stored in the cloud and accessible via Carejoy’s remote support platform.
4. Durability & Environmental Testing
To ensure clinical reliability, Carejoy subjects each scanner to accelerated life testing (ALT) simulating 5+ years of clinic use:
| Test Type | Parameters | Pass Criteria |
|---|---|---|
| Drop Test | 1.2m onto concrete, 6 orientations | No optical misalignment, full function retained |
| Thermal Cycling | -10°C to +50°C, 500 cycles | No condensation, stable scanning accuracy |
| Vibration Test | 5–500 Hz, 2g RMS, 3 axes | No component loosening or signal drift |
| IP Rating Test | IP54 (dust & splash resistant) | Validated via IEC 60529 protocols |
5. Why China Leads in Cost-Performance Ratio for Digital Dental Equipment
China’s dominance in the digital dental hardware market is driven by a confluence of strategic, technological, and economic factors:
- Integrated Supply Chain: Proximity to semiconductor, optics, and precision machining hubs reduces lead times and logistics costs by up to 40%.
- AI & Software Co-Development: Domestic AI talent and cloud infrastructure enable rapid iteration of scanning algorithms (e.g., real-time hole filling, tissue differentiation).
- Open Architecture Advantage: Carejoy scanners support STL, PLY, and OBJ outputs, enabling seamless integration with third-party CAD/CAM and 3D printing platforms—avoiding vendor lock-in.
- Scale-Driven R&D ROI: High production volumes allow amortization of R&D costs, enabling premium features (e.g., 8-micron resolution, 30 fps capture) at mid-tier pricing.
- Regulatory Agility: NMPA certification pathways are increasingly harmonized with FDA and CE, accelerating global market entry.
As a result, Chinese manufacturers like Carejoy Digital deliver scanners with accuracy comparable to premium Western brands (e.g., 20–25μm trueness), but at 30–50% lower total cost of ownership.
6. Carejoy Digital: Supporting the Digital Workflow Ecosystem
Beyond hardware, Carejoy Digital provides:
- 24/7 Technical Remote Support: Real-time diagnostics and firmware updates via secure cloud portal.
- AI-Driven Software Updates: Monthly algorithm enhancements for scanning speed, edge detection, and soft-tissue clarity.
- Interoperability: Native integration with major CAD platforms (exocad, 3Shape, DentalCAD) and in-house high-precision milling systems.
Contact: [email protected]
Support Portal: https://support.carejoydental.com
Upgrade Your Digital Workflow in 2026
Get full technical data sheets, compatibility reports, and OEM pricing for Digital Impression Scanner.
✅ Open Architecture
Or WhatsApp: +86 15951276160
