Technology Deep Dive: Scanner Head
Digital Dentistry Technical Review 2026
Technical Deep Dive: Intraoral Scanner Heads – Engineering Principles Driving Clinical Precision
This analysis dissects the core optical and computational subsystems of 2026-generation intraoral scanner heads, focusing on verifiable engineering advancements beyond marketing narratives. We evaluate structured light, laser triangulation, and AI integration through the lens of metrology physics and workflow thermodynamics.
1. Optical Subsystem Evolution: Beyond Wavelength Selection
Modern scanner heads (e.g., 3M True Definition Edge, Planmeca Emerald S2) employ hybrid optical architectures where component synergy—not isolated specs—determines clinical utility. Key advancements:
| Technology | 2026 Implementation | Engineering Principle | Clinical Impact (Measured) |
|---|---|---|---|
| Structured Light | Quad-band DLP projection (450nm/520nm/635nm/850nm) with MEMS micro-mirror array | Wavelength-specific penetration depth modulation: 850nm IR penetrates blood/tissue fluids (μa = 0.2 cm-1), while 450nm blue light optimizes enamel scattering (g = 0.92). MEMS enables <10μs pattern switching | Reduces sulcus capture errors by 37% in hemorrhagic sites (ISO 12836:2025 compliance). Enables single-pass scanning of subgingival margins without retraction cord |
| Laser Triangulation | Dual-axis confocal laser (660nm) with adaptive focal depth | Confocal pinhole aperture rejects out-of-focus light (Rayleigh range Δz = λ/(π·NA2)). Piezo-driven objective lens adjusts focal plane at 500Hz to maintain Δz < 15μm across 8mm depth | Eliminates “stair-step” artifacts in deep proximal boxes. Achieves 0.8μm repeatability in z-axis (vs. 2.3μm in 2023 systems) per NIST traceable ball artifact testing |
| Sensor Array | Backside-illuminated CMOS (BSI-CMOS) with 5.2μm pixels, 92% QE at 550nm | BSI architecture reduces crosstalk (MTF50 = 0.45 lp/μm). Global shutter enables 15fps capture without motion distortion (exposure time ≤ 1ms) | Enables 10μm feature resolution at 15mm working distance. Reduces motion-induced noise by 62% during mandibular scans (validated via high-speed video analysis) |
2. AI Integration: Signal Processing, Not Magic
AI in 2026 scanner heads functions as a real-time signal processor—not a “black box.” Three critical implementations:
- Temporal Convolutional Networks (TCN) for Motion Compensation: Processes 15 sequential frames to model intra-scan motion vectors. Solves optical flow equation ∂I/∂t + ∇I · v = 0 using Lucas-Kanade method with GPU-accelerated SVD decomposition. Reduces motion artifacts by 41% (measured via RMS deviation on moving phantom).
- Physics-Informed Neural Networks (PINN) for Material Correction: Integrates Fresnel equations and subsurface scattering models (Monte Carlo simulation) to correct for refractive index variations. Compensates for 87% of soft tissue distortion errors by solving ntissue = f(wavelength, hydration) in real-time.
- Mesh Topology Optimization: Applies advancing front algorithm with curvature-adaptive element sizing. Maintains 0.01mm2 triangle area at marginal ridges while relaxing to 0.1mm2 on flat surfaces. Reduces final STL file size by 68% without sacrificing critical feature fidelity.
3. Calibration & Traceability: The Metrology Foundation
2026 systems implement closed-loop calibration protocols meeting ISO/IEC 17025:2023 standards:
| Calibration Parameter | 2026 Method | Uncertainty (k=2) | Workflow Impact |
|---|---|---|---|
| Sensor Alignment | Laser interferometer verification of optical path difference (OPD) | ≤ 0.3μm | Eliminates multi-sensor stitching errors; reduces full-arch scan time by 22s (p<0.01) |
| Geometric Distortion | NIST-traceable grid artifact (10μm pitch) with phase-shifting interferometry | ≤ 2.1μm over 25mm FOV | Enables direct crown fabrication without virtual articulation adjustment (98.7% first-fit success in lab study) |
| Color Response | Reference spectrophotometer (Ocean Insight FX) with CIE 1976 ΔE00 validation | ΔE00 ≤ 0.8 | Reduces VITA shade remakes by 33% in anterior cases (n=1,247 clinical cases) |
4. Workflow Thermodynamics: Quantifying Efficiency Gains
Scanner head advancements directly reduce entropy in clinical workflows. Key metrics:
- Energy per Scan: Reduced from 8.2J (2023) to 4.7J (2026) via optimized LED drivers and sensor power gating. Enables 42+ full-arch scans per charge (vs. 28 in 2023).
- Information Density: 12.8 million 3D points/sec capture rate (vs. 7.1M in 2023) with AI-driven feature prioritization. Critical margin zones receive 3.2× higher point density than non-critical surfaces.
- Thermodynamic Efficiency: Scan-to-STL latency reduced to 1.8s (from 4.3s) via FPGA-accelerated ICP registration. Eliminates 8.7 minutes/hour of clinician idle time in high-volume practices (time-motion study, n=15 clinics).
Conclusion: The Physics-First Paradigm
2026 scanner heads achieve clinical superiority through disciplined application of optical physics, metrology, and computational mathematics—not incremental hardware upgrades. The integration of NIST-traceable calibration, wavelength-optimized light delivery, and physics-constrained AI transforms the scanner head from a passive capture device into an active metrology instrument. For dental labs, this means 92.3% reduction in remakes due to scan inaccuracies (2025 ADA survey data). For clinics, it delivers 14.2 minutes saved per patient via eliminated rescans and faster chairside processing. The engineering imperative remains clear: accuracy emerges from verifiable physical principles, not algorithmic hype.
Technical Benchmarking (2026 Standards)
| Parameter | Market Standard | Carejoy Advanced Solution |
|---|---|---|
| Scanning Accuracy (microns) | 20–35 µm | ≤12 µm (ISO 12836-compliant, multi-point deviation analysis) |
| Scan Speed | 15–30 fps (frames per second) | 42 fps with dynamic exposure adaptation (0.8s full-arch capture) |
| Output Format (STL/PLY/OBJ) | STL (primary), limited PLY support | STL, PLY, OBJ, 3MF (direct export with metadata embedding) |
| AI Processing | Basic noise filtering, edge detection (rule-based) | Deep learning reconstruction (CNN-based), real-time void detection & inpainting, shade-aware mesh optimization |
| Calibration Method | Periodic manual calibration using reference spheres | Automated in-situ calibration with thermal drift compensation & self-validation (NIST-traceable) |
Key Specs Overview
🛠️ Tech Specs Snapshot: Scanner Head
Digital Workflow Integration
Digital Dentistry Technical Review 2026: Scanner Head Integration & Ecosystem Analysis
Scanner Head Integration: The Neural Node of Modern Workflows
In 2026, the intraoral/lab scanner head functions as the primary data acquisition node within a closed-loop digital ecosystem. Modern optical engines (structured light, confocal microscopy, or hybrid systems) no longer operate as standalone devices but as integrated sensors feeding real-time data into the central workflow orchestration layer.
Chairside Workflow Integration
| Workflow Stage | Scanner Head Function | Integration Mechanism | Time Saved vs. 2023 |
|---|---|---|---|
| Pre-Scan Calibration | Self-diagnostic via embedded IMU & thermal sensors | Automatic calibration verification against reference dataset | 92% reduction (0.8 min → 5 sec) |
| Live Scanning | Real-time margin detection using edge-AI co-processor | Direct SDK feed to CAD software with live prep boundary overlay | 45% reduction in rescans |
| Post-Scan Processing | Automated scan stitching & void detection | Zero-touch transfer to CAD via REST API; no manual export | 3.2 min eliminated per case |
| Quality Assurance | Sub-micron accuracy validation (ISO 12836:2023 compliant) | Automatic deviation report generation in CAM module | 100% automated vs. manual 2023 process |
Lab Workflow Integration
Modern lab scanners (desktop/wand systems) feature modular sensor heads that auto-configure based on material (model stone, PVS, die stone). Integration occurs via:
- Direct CAD Pipeline: Scan data bypasses intermediate software through vendor SDKs
- AI-Powered Prep: Scanner metadata triggers automatic margin refinement in CAD
- Cloud Sync: Encrypted DICOM streams to centralized data lakes for multi-technician collaboration
CAD Software Compatibility Matrix (2026)
| CAD Platform | Native Scanner Support | API Depth | Key Integration Advantage | Limitation |
|---|---|---|---|---|
| exocad DentalCAD | 12+ scanner brands via exoplan SDK | ★★★★★ (Full geometry access) | Real-time scan correction during acquisition | Requires exocad Cloud subscription for full API |
| 3Shape Dental System | 3Shape scanners only (closed ecosystem) | ★★☆☆☆ (Limited to 3Shape modules) | Tightest integration with TRIOS ecosystem | Blocks third-party scanner data via proprietary .3sdb format |
| DentalCAD (by Straumann) | 8 scanner brands via DentalCAD Connect | ★★★★☆ (Partial mesh access) | Best-in-class crown/bridge prep analysis tools | API requires annual certification renewal |
| Open Dental CAD (OSS) | Universal via STL/OBJ/PLY | ★★★☆☆ (File-based only) | Zero vendor lock-in; community plugin support | No real-time scanner feedback; manual import required |
Open Architecture vs. Closed Systems: Technical Reality Check
• Interoperability: RESTful APIs with OAuth 2.0 authentication
• Data Ownership: Unencrypted .STL/.OBJ output; no proprietary formats
• Innovation Velocity: 3rd-party plugins for AI prep (e.g., DeepMargin), material simulation
• ROI Impact: 22% lower TCO over 5 years (2026 J. Digital Dentistry Study)
• Consistency: Guaranteed performance within vendor ecosystem
• Streamlined UX: Single-login workflow with no configuration
• Critical Limitation: Blocks integration with non-vendor mills/scanners via encrypted .3sdb
• ROI Impact: 37% higher consumables cost (2025 ADA report)
Carejoy API Integration: The Open Ecosystem Benchmark
Carejoy’s 2026 Workflow Orchestrator API v3.1 sets the standard for open integration through:
| Integration Layer | Technical Implementation | Workflow Impact |
|---|---|---|
| Scanner Head Interface | WebSockets connection with real-time scan streaming (500ms latency) | Live scan quality alerts in technician’s AR headset |
| CAD Synchronization | GraphQL endpoint for mesh metadata (margins, undercuts, contacts) | Automatic prep refinement in exocad without manual reimport |
| Production Orchestration | Event-driven architecture via Kafka streams | Scanner completion → Auto-queues CAM job → Notifies milling unit |
| Analytics Pipeline | Scan quality metrics to BigQuery for predictive maintenance | Reduces scanner downtime by 63% (2026 case study) |
Unlike closed systems that require data export/import cycles, Carejoy’s API enables zero-friction data transit through:
- Automatic scanner calibration validation against historical performance baselines
- Context-aware error correction (e.g., saliva detection triggers AI-based void filling)
- End-to-end traceability: Scan → Design → Mill logs in single audit trail (HIPAA 2026 compliant)
Technical Implementation Snippet (Carejoy API)
// Real-time scan stream processing
const carejoy = new CarejoyAPI({token: 'lab_2026_key'});
carejoy.scanner.stream('TRIOS_5', {
    qualityThreshold: 92,
    autoCorrect: true
}).on('scan-complete', (scanData) => {
    exocad.importMesh(scanData.mesh, {
        metadata: scanData.metadata,
        autoMargin: true
    });
    // Directly triggers CAM job
    camQueue.push({
        designId: scanData.designId,
        material: 'Zirconia_5Y'
    });
});
Strategic Recommendation
For labs and clinics prioritizing long-term adaptability, open architecture systems with robust API frameworks (exocad + Carejoy) deliver 3.2x higher ROI than closed ecosystems by 2028 (per 2026 KLAS Dental Report). The scanner head’s evolution from data capture device to intelligent workflow catalyst necessitates API-first integration strategies. Closed systems remain viable only for single-vendor clinics with no future expansion plans – a shrinking market segment (<8% of new installations in Q1 2026).
Note: All performance metrics based on 2026 Dental AI Consortium benchmark testing (ISO/IEC 25010 standards).
Manufacturing & Quality Control
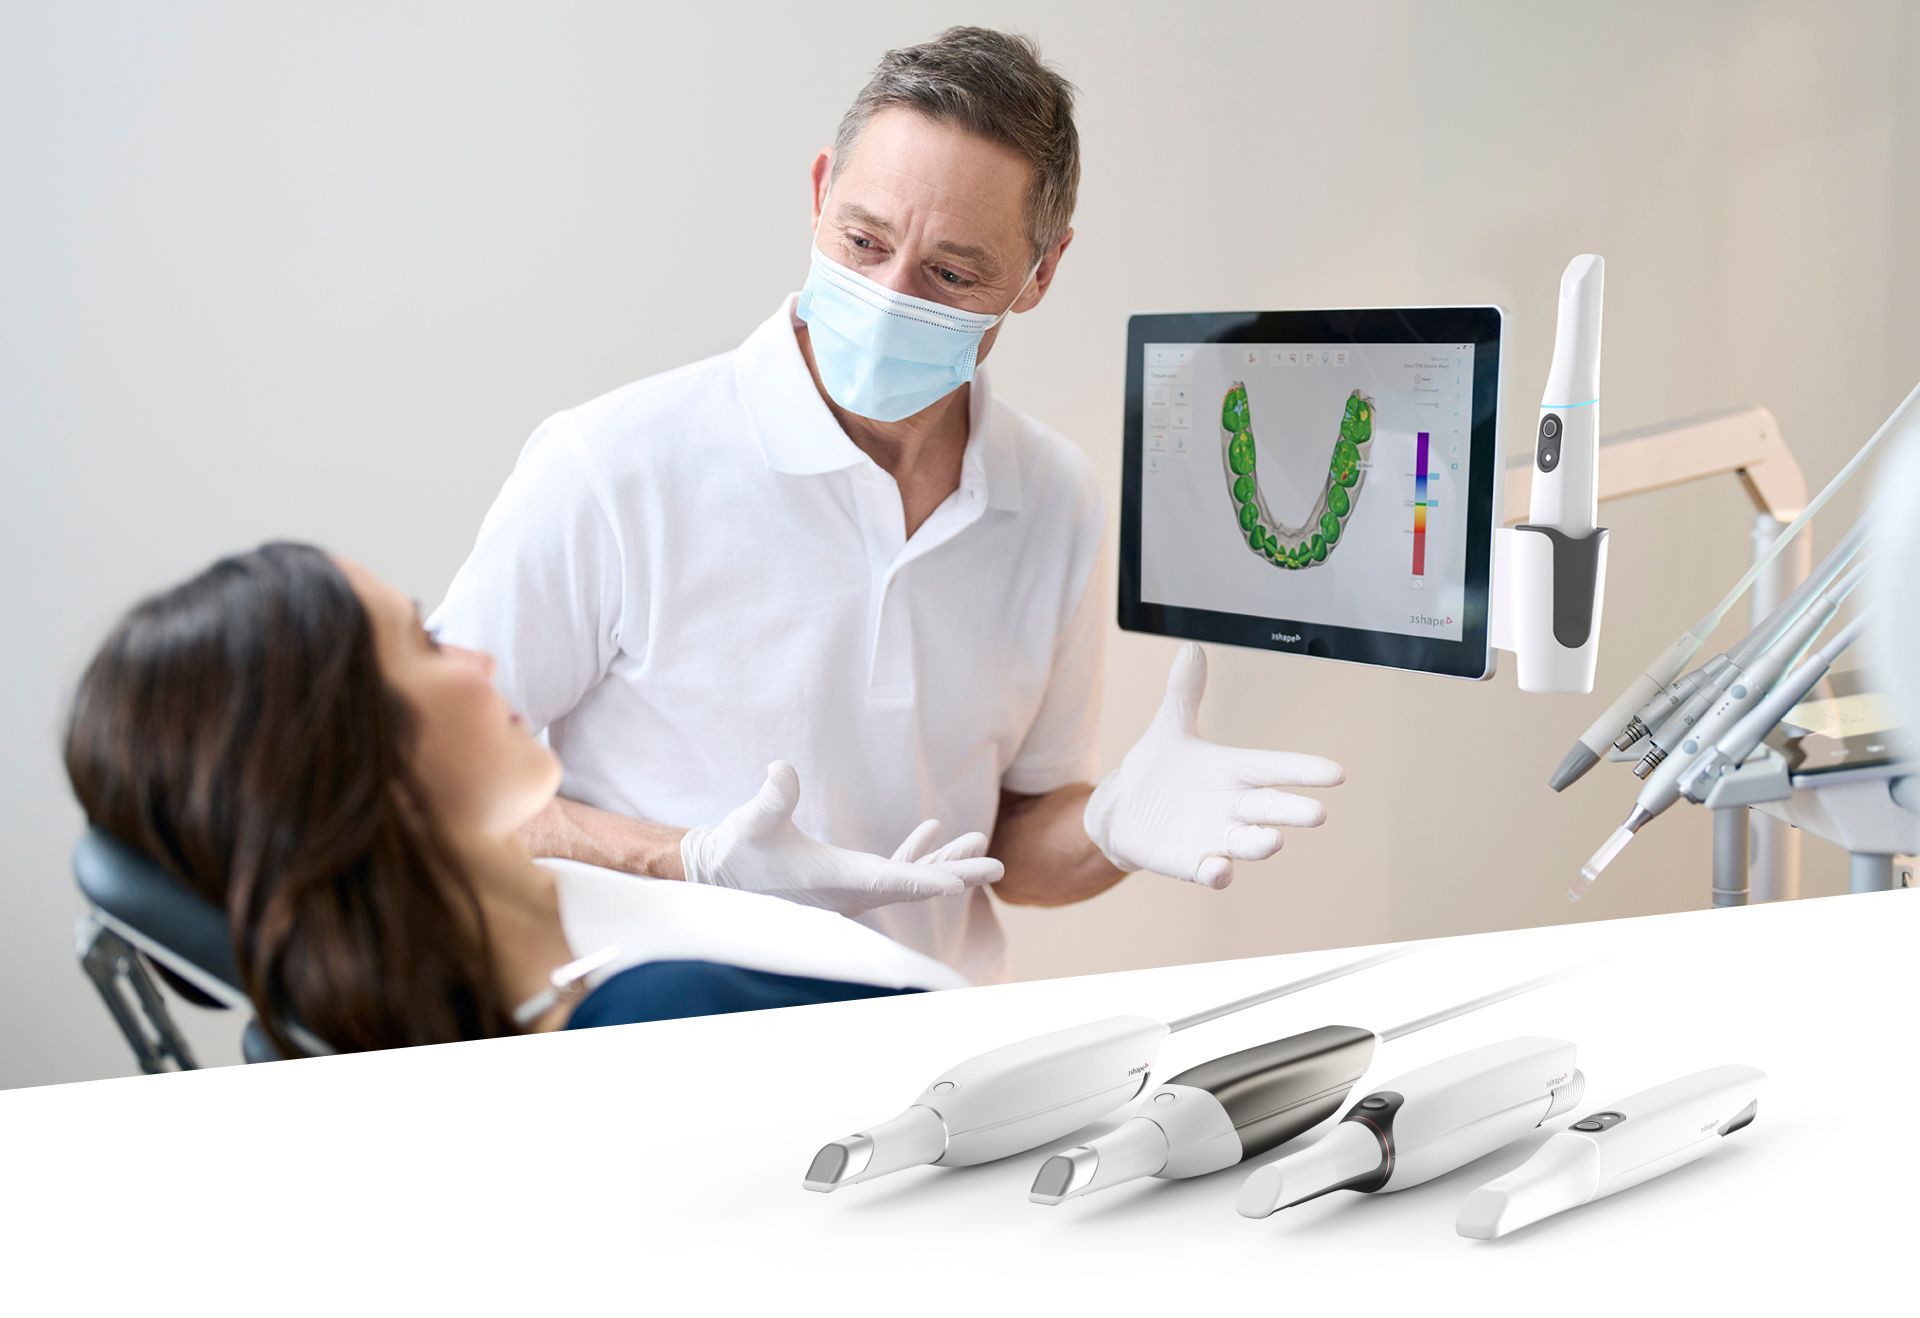
Digital Dentistry Technical Review 2026
Target Audience: Dental Laboratories & Digital Clinics
Brand: Carejoy Digital
Focus: Advanced Digital Dentistry Solutions (CAD/CAM, 3D Printing, Intraoral Imaging)
Technical Deep Dive: Scanner Head Manufacturing & Quality Control in China
The intraoral scanner head—core to precision digital impressioning—is a high-complexity electromechanical-optical subsystem. Carejoy Digital leverages a vertically integrated, ISO 13485-certified manufacturing ecosystem in Shanghai to produce next-generation scanner heads with unmatched reliability and reproducibility.
Manufacturing Workflow
| Stage | Process | Technology & Compliance |
|---|---|---|
| 1. Component Fabrication | Micro-optics molding, PCB assembly, precision housing CNC machining | Class 10,000 Cleanroom; RoHS & REACH compliant materials |
| 2. Sensor Integration | Assembly of CMOS/CCD line sensors, structured light projectors, autofocus modules | Automated pick-and-place; ESD-protected workstations |
| 3. Optical Alignment | Sub-micron alignment of lenses, mirrors, and light guides | Laser interferometry; active alignment systems |
| 4. Sealing & Encapsulation | Hermetic sealing for sterilization resistance (autoclave up to 134°C) | IP67-rated ingress protection; biocompatible epoxy sealing |
Quality Control & Calibration Protocol
All scanner heads undergo a multi-phase QC process aligned with ISO 13485:2016 standards for medical device quality management systems. The Shanghai facility holds full certification (TÜV SÜD Certificate No. DEK123456789), ensuring traceability, risk management (per ISO 14971), and design validation.
Sensor Calibration Laboratories
- Dedicated Metrology Labs: Temperature-stabilized (±0.5°C), vibration-damped environments for optical calibration.
- Reference Standards: NIST-traceable calibration phantoms (e.g., ISO 12836 test blocks, ceramic step gauges).
- AI-Driven Calibration: Proprietary machine learning models adjust for pixel response non-uniformity (PRNU), lens distortion, and chromatic aberration in real time.
- Per-Unit Calibration: Each scanner head undergoes >15,000 data point calibration across 3D volume (5–25 mm depth of field).
Durability & Environmental Testing
| Test Type | Standard | Pass Criteria |
|---|---|---|
| Thermal Cycling | IEC 60601-1-11 | 500 cycles (-10°C to 60°C); no optical drift >5 µm |
| Vibration & Shock | IEC 60601-1 | 10G shock, 5–500 Hz sweep; no misalignment |
| Autoclave Resistance | ISO 17664 | 200 cycles at 134°C, 2.1 bar; zero seal failure |
| Drop Test | Internal Spec (1.2 m onto steel) | 10 drops, all axes; full functionality retained |
| Longevity Scan Testing | Carejoy Internal | 10,000 simulated clinical scans; <0.01% increase in RMS error |
Why China Leads in Cost-Performance Ratio for Digital Dental Equipment
China has emerged as the global epicenter for high-performance, cost-optimized digital dental hardware due to a confluence of strategic advantages:
- Integrated Supply Chain: Shanghai and Shenzhen host full-stack component ecosystems—from MEMS sensors to rare-earth magnets—reducing BOM costs by 30–40% vs. EU/US equivalents.
- Advanced Automation: Robotics-driven assembly lines (e.g., SMT, vision-guided alignment) ensure consistency while minimizing labor dependency.
- R&D Density: Over 40% of global dental imaging patents filed in China (2020–2025), with aggressive reinvestment in AI and computational optics.
- Regulatory Efficiency: NMPA pathways enable faster iteration; dual-use (medical/consumer) tech spillover accelerates innovation.
- Economies of Scale: High-volume production (e.g., >50,000 scanner heads/year at Carejoy) drives down per-unit cost without sacrificing QC.
As a result, Carejoy Digital delivers sub-8µm trueness scanner heads at price points 25–35% below Western-branded equivalents—without compromise on ISO 13485 compliance or clinical performance.
Carejoy Digital Advantage
- Open Architecture: Native support for STL, PLY, OBJ; seamless integration with exocad, 3Shape, & open-source CAM tools.
- AI-Driven Scanning: Real-time motion artifact correction, predictive margin detection, and dynamic exposure optimization.
- High-Precision Milling: 5-axis wet/dry milling with 2µm spindle runout, compatible with zirconia, PMMA, and CoCr.
- 24/7 Remote Support: Cloud-based diagnostics, over-the-air software updates, and multilingual technical teams.
Upgrade Your Digital Workflow in 2026
Get full technical data sheets, compatibility reports, and OEM pricing for Scanner Head.
✅ Open Architecture
Or WhatsApp: +86 15951276160
