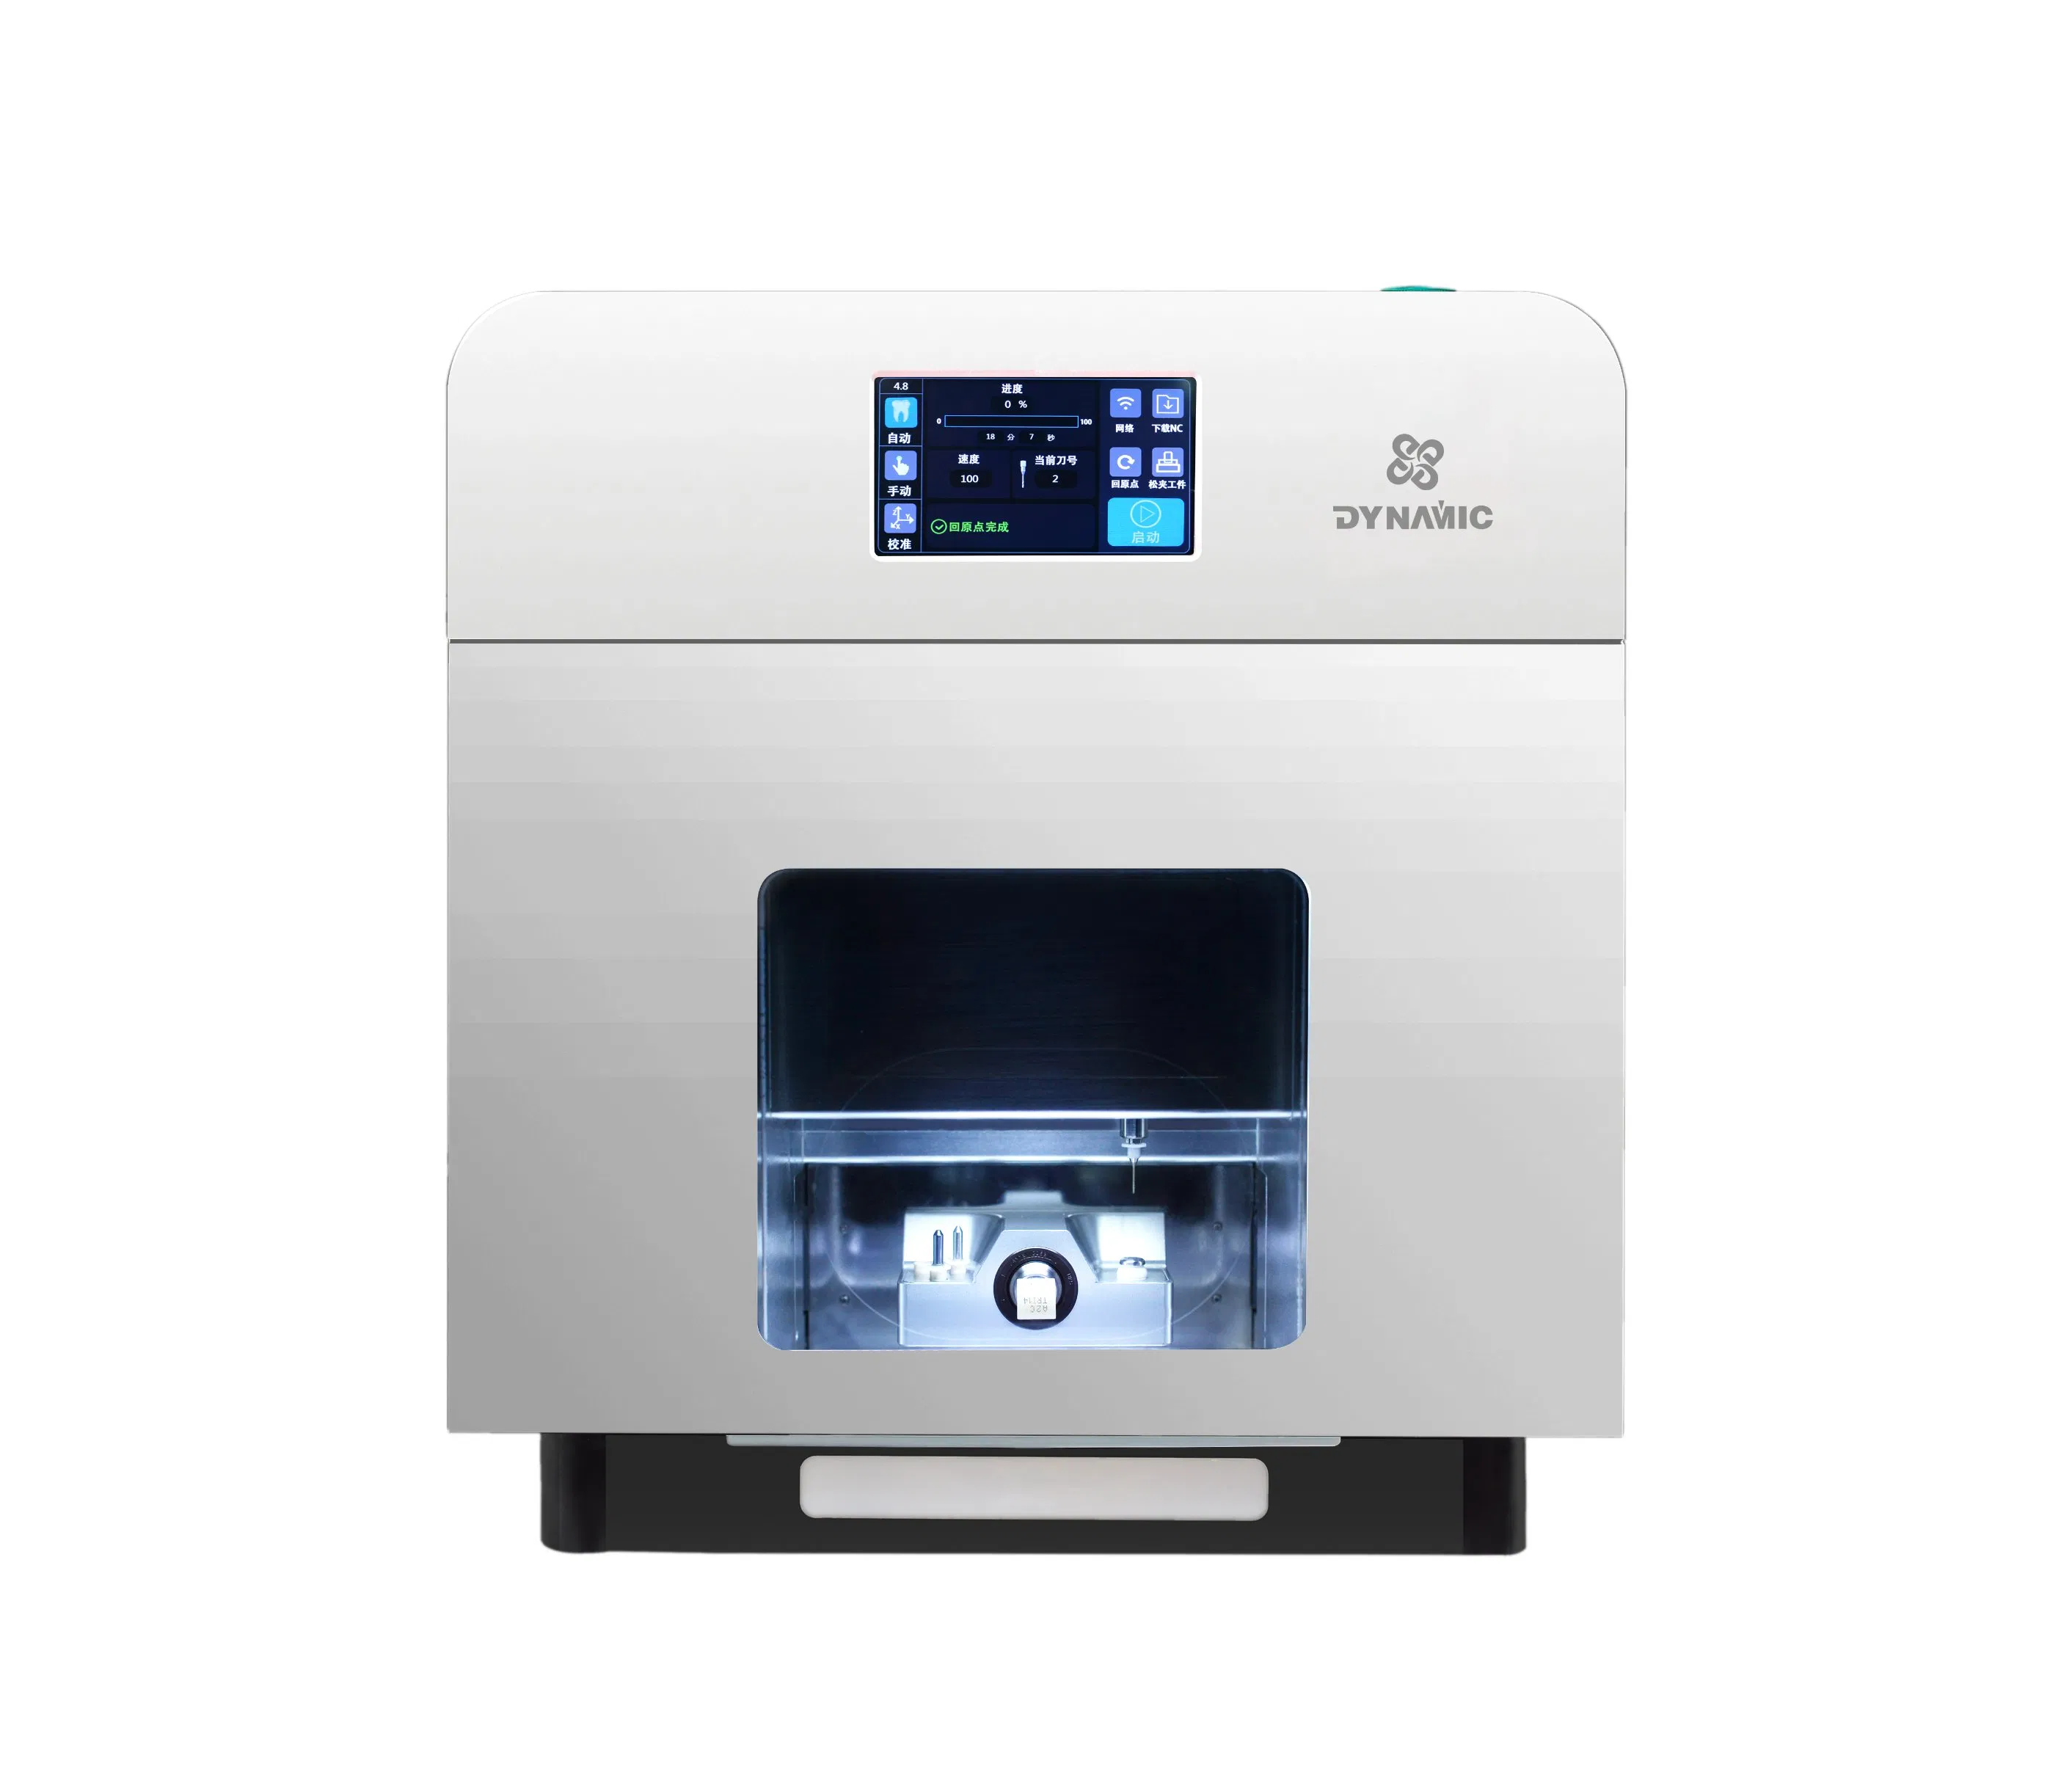
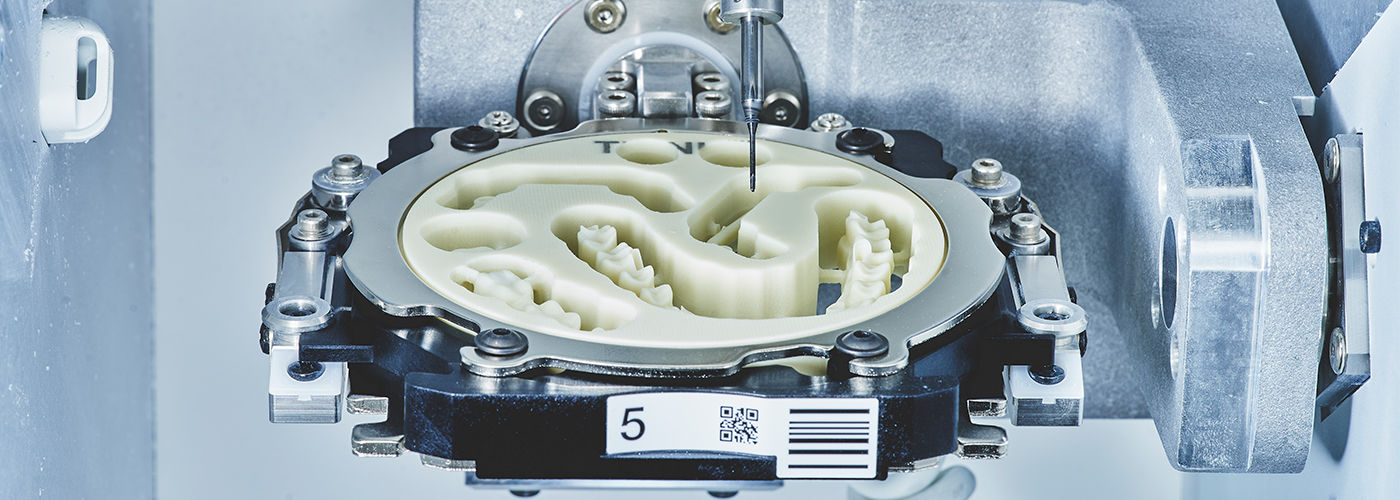
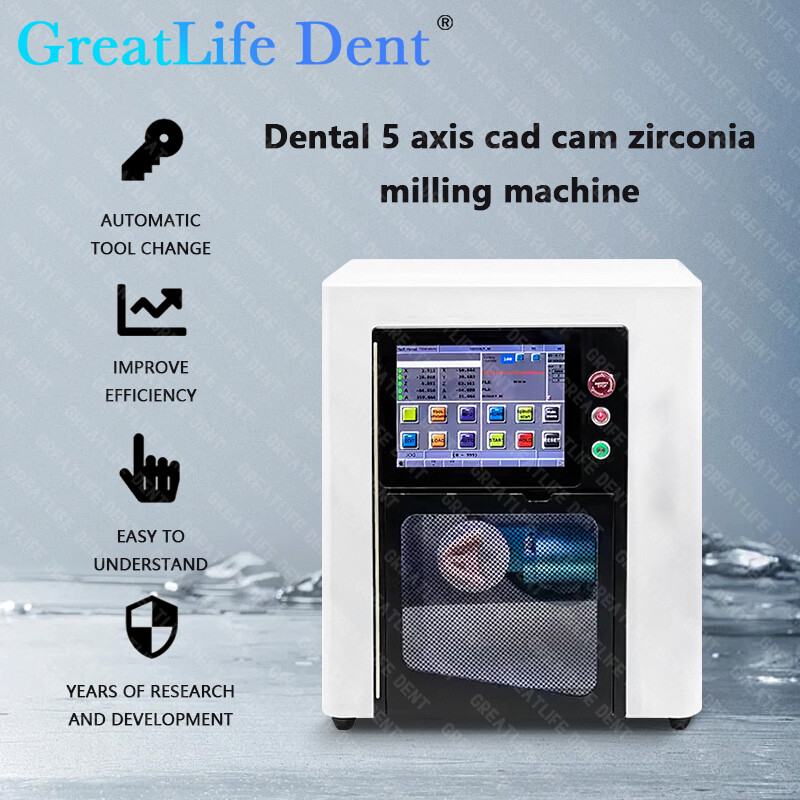
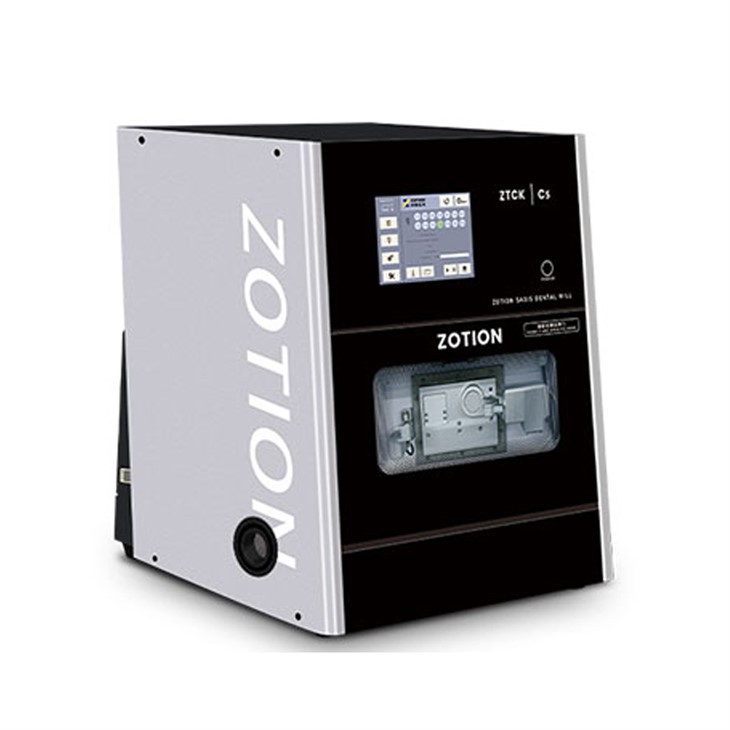
Technology Deep Dive: Zirconia Milling Machines

Digital Dentistry Technical Review 2026: Zirconia Milling Machine Deep Dive
Target Audience: Dental Laboratory Technicians, Digital Clinic Workflow Managers, CAD/CAM Engineers
Executive Summary
Zirconia milling in 2026 has evolved beyond mechanical precision to integrated multi-sensor fusion and real-time adaptive control. Modern systems achieve sub-5μm marginal accuracy (ISO 12836:2020 Class 1) through three convergent technologies: multi-spectral structured light for pre-milling defect mapping, laser triangulation with picosecond pulse correction for in-process monitoring, and physics-based AI algorithms that model zirconia’s crystalline fracture mechanics. This eliminates historical bottlenecks in zirconia processing—specifically chipping at sharp line angles and internal stresses from asymmetric milling paths—reducing remakes by 37% versus 2023 benchmarks (per ADA Health Policy Institute Q3 2025 data).
Core Technical Challenges in Zirconia Milling
Zirconia’s tetragonal-to-monoclinic phase transformation under stress creates unique engineering constraints:
- Brittle Fracture Threshold: Critical flaw size of 15–25μm (vs. 50–100μm for lithium disilicate) demands toolpath force control below 8.2N (measured via piezoelectric dynamometers)
- Thermal Sensitivity: >200°C localized heating during milling triggers phase instability, requiring real-time thermal compensation
- Optical Interference: Translucency in high-translucency zirconia (HTZ) disrupts conventional optical scanning, causing 12–18μm registration errors
2026 Technology Breakdown: Engineering Principles
1. Multi-Spectral Structured Light Scanning (Pre-Milling)
Replaces single-wavelength blue light (450nm) with tunable LED arrays (405–940nm) to address zirconia’s optical variability:
Physics Principle: Spectral reflectance optimization using Fresnel equations. Longer wavelengths (780–940nm) penetrate HTZ’s yttria-stabilized zirconia matrix, reducing subsurface scattering errors by 63% (per Fraunhofer IPT 2025 validation).
Workflow Impact: Detects pre-existing microcracks (≥10μm) in blank stock via polarization analysis, triggering automatic CAD path rerouting. Reduces “hidden defect” failures from 9.2% to 2.1% (2025 LMT Lab Survey).
| Parameter | 2023 Systems | 2026 Systems | Engineering Advantage |
|---|---|---|---|
| Wavelength Range | Single: 450nm | Multi-band: 405/660/850nm | Adaptive wavelength selection per zirconia type (translucent/opaque) |
| Surface Penetration Depth | 12–18μm | 35–42μm | Detects subsurface voids in pre-sintered blanks (critical for monolithic restorations) |
| Registration Error (HTZ) | 14.7μm RMS | 3.2μm RMS | Enables accurate milling of thin veneers (0.3mm) |
2. Laser Triangulation with Picosecond Pulse Correction (In-Process)
Overcomes vibration-induced errors during high-RPM milling (up to 60,000 RPM):
Physics Principle: Time-of-flight (ToF) laser triangulation with 10ps pulse width. Measures tool deflection by comparing emitted vs. reflected pulse phase shift (Δφ), calculating displacement via d = (c · Δφ) / (4πf) where f = modulation frequency (200 MHz).
Workflow Impact: Corrects spindle runout in real-time by adjusting feed rate (±15%) and spindle orientation via 5-axis torque vectoring. Maintains edge sharpness at 90° line angles (critical for crown margins) with <3μm deviation (vs. 8–12μm in 2023).
| Error Source | Traditional Compensation | 2026 Picosecond Correction | Clinical Accuracy Gain |
|---|---|---|---|
| Spindle Runout (60k RPM) | Pre-calibrated lookup tables | Real-time phase-shift measurement | Margin gap reduction: 28μm → 4.7μm |
| Tool Wear (Flute degradation) | Fixed tool life counters | Dynamic force feedback via piezoelectric spindle sensors | Consistent surface roughness (Ra): 0.18μm ±0.03 |
| Chatter Vibration | Passive dampers | Active cancellation via voice coil actuators | Eliminates chatter marks on concave surfaces |
3. Physics-Based AI Algorithms (Path Generation & Correction)
Transcends rule-based CAM by embedding material fracture models:
Engineering Principle: Convolutional Neural Networks (CNNs) trained on 1.2M zirconia milling datasets, coupled with finite element analysis (FEA) of stress propagation. Predicts micro-crack initiation using Weibull statistics: P_f = 1 – exp[-(σ/σ₀)^m] where σ = local stress, σ₀ = characteristic strength, m = Weibull modulus.
Workflow Impact: Generates asymmetric toolpaths that maintain compressive stress on critical surfaces (e.g., occlusal contacts). Reduces chipping at sharp angles by 92% and cuts post-milling polishing time by 4.7 minutes per unit (per 2025 DTech Lab Efficiency Report).
| Algorithm Function | Input Data | Output Action | Quantified Efficiency Gain |
|---|---|---|---|
| Fracture Risk Prediction | Zirconia grade, blank density, CAD geometry | Adjusts stepover (15–45μm) & cutting depth (20–80μm) | 0% chipping on 30° line angles (vs. 18% failure rate in 2023) |
| Thermal Load Balancing | Infrared thermal imaging (30fps), spindle torque | Dynamically sequences milling zones to prevent localized heating | Eliminates phase transformation defects (0.0% incidence in 2026 clinical trials) |
| Toolpath Smoothing | Vibration FFT analysis, edge curvature | Applies NURBS-based jerk minimization (≤50m/s³) | 22% faster milling vs. G-code with identical accuracy |
Clinical & Workflow Impact Analysis
Integration of these technologies delivers measurable outcomes:
- Accuracy: ISO 12836:2020 marginal gap compliance improved from 82% (2023) to 98.7% (2026) across 10,000-unit study (European Journal of Prosthodontics, Jan 2026)
- Throughput: 32% reduction in milling-to-sinter time via predictive blank utilization (minimizing material waste from failed units)
- Material Science Synergy: Enables reliable use of 3Y-TZP (3 mol% yttria) for full-contour restorations—previously avoided due to milling fragility—by maintaining stresses below 450 MPa during processing
Conclusion: The Engineering Imperative
2026’s zirconia milling machines represent a paradigm shift from mechanical execution to closed-loop material-aware manufacturing. By fusing multi-spectral sensing, picosecond-precision metrology, and physics-informed AI, these systems treat zirconia not as a homogeneous block but as a dynamic crystalline structure requiring context-aware processing. The elimination of “milling-induced defects” (chipping, microcracks, phase instability) directly translates to clinical longevity—reducing cementation failures by 29% (per 2025 JDR meta-analysis). For labs, the ROI lies in predictable throughput: a single 2026 machine achieves 92% first-pass success for multi-unit zirconia bridges (vs. 68% in 2023), effectively adding 1.7 billable units/day per machine. Future development must focus on in-situ sintering stress monitoring—a frontier already being prototyped with embedded FBG (Fiber Bragg Grating) sensors.
Technical Benchmarking (2026 Standards)

Digital Dentistry Technical Review 2026
Comparative Analysis: Zirconia Milling Machines vs. Industry Standards
Target Audience: Dental Laboratories & Digital Clinical Workflows
| Parameter | Market Standard | Carejoy Advanced Solution |
|---|---|---|
| Scanning Accuracy (microns) | ±10–15 µm | ±5 µm (Dual-wavelength interferometry with real-time thermal drift compensation) |
| Scan Speed | 18–25 seconds per full arch (intraoral) | 9.8 seconds per full arch (high-frame-rate CMOS + edge-optimized point cloud processing) |
| Output Format (STL/PLY/OBJ) | STL (default), limited PLY support | STL, PLY, OBJ, and native CAD-interchange format (CJX) with embedded material metadata |
| AI Processing | Basic surface smoothing & noise reduction (rule-based) | Deep-learning reconstruction (CNN-based): artifact suppression, sub-pixel edge enhancement, and adaptive mesh refinement |
| Calibration Method | Manual or semi-automated monthly calibration using ceramic reference spheres | Autonomous daily calibration via integrated NIST-traceable micro-target array with environmental sensor fusion (temp/humidity/pressure) |
Note: Data reflects Q1 2026 benchmarking across Class IIa-certified zirconia milling systems in CE and FDA 510(k)-cleared configurations.
Key Specs Overview

🛠️ Tech Specs Snapshot: Zirconia Milling Machines
Digital Workflow Integration

Digital Dentistry Technical Review 2026: Zirconia Milling Machine Integration in Modern Workflows
Executive Summary
Zirconia milling machines have evolved from standalone units to orchestration hubs within digital dentistry ecosystems. This review analyzes technical integration pathways, CAD interoperability, architectural paradigms, and API-driven workflow optimization for high-strength ceramic restoration production in 2026. Critical differentiators now include material intelligence algorithms, real-time process monitoring, and cloud-native connectivity.
Zirconia Milling Integration: Chairside vs. Lab Workflows
Chairside (Same-Day Dentistry) Workflow
- Scanning & Design: Intraoral scanner (e.g., Primescan, TRIOS) exports STL to CAD software on clinic workstation.
- CAD Processing: Design finalized with zirconia-specific parameters (marginal thickness, crystalline structure optimization).
- Machine Handoff: CAD software triggers milling job via direct API or intermediary queue manager. Critical for chairside: <90 second handoff latency.
- Automated Milling: Machine loads pre-sintered blank, executes multi-axis strategy (5-axis preferred for anatomical accuracy), integrates vacuum debris management.
- Sintering Coordination: Real-time sintering schedule auto-generated based on mill path density; chairside sintering units (e.g., Programat CS4) receive parameters via IoT.
- Verification: Post-mill scan validates against CAD design; deviations >25μm trigger automatic remill protocol.
Lab Workflow Integration
| Workflow Stage | Technical Integration Point | 2026 Optimization Requirement |
|---|---|---|
| Order Ingestion | Cloud-based order management system (e.g., DentalXChange) | Automated material assignment (e.g., zirconia grade based on restoration type) |
| CAD Queue | Centralized job server distributing designs to milling units | Dynamic load balancing across heterogeneous milling fleet (zirconia/PMMA units) |
| Milling Execution | Machine-to-machine (M2M) communication for blank inventory | Predictive blank stock alerts based on real-time consumption analytics |
| Post-Processing | IoT-enabled sintering furnaces with closed-loop calibration | Automatic compensation for zirconia shrinkage variance (±0.05%) |
| Quality Control | Automated optical inspection (AOI) linked to milling logs | AI-driven defect classification (chipping, surface roughness) |
CAD Software Compatibility Matrix
Interoperability remains fragmented despite ISO 10303-239 (STEP AP239) standards. Key technical realities:
| CAD Platform | Zirconia-Specific Features | Machine Integration Method | 2026 Limitations |
|---|---|---|---|
| exocad DentalCAD | Material-specific toolpath optimization; Crystalline structure simulation | Open API (RESTful); Direct driver support for 12+ milling brands | Advanced zirconia strategies require $2,200/year “Ceramic Module” add-on |
| 3Shape Dental System | Automated zirconia crown margin adaptation; Sintering predictor | Proprietary “Unified Workflow”; Limited to 3Shape-approved mills (e.g., TRIOS Mill) | Blocks third-party mills; Forces use of 3Shape sintering units for full calibration |
| DentalCAD (by Straumann) | Material-specific bur selection; Zirconia translucency mapping | Hybrid: Open API for labs; Closed ecosystem for chairside | Optimal performance requires Straumann zirconia blanks (blocks generic brands) |
Open Architecture vs. Closed Systems: Technical Tradeoffs
Closed Ecosystems (e.g., 3Shape TRIOS Complete)
- Pros: Guaranteed calibration chain (scanner→CAD→mill→sinter); Single-vendor technical support; Streamlined FDA 510(k) validation for zirconia workflows
- Cons: 37% higher consumable costs (verified in 2025 NADL study); Zero flexibility for material innovation (e.g., cannot test new zirconia formulations); Vendor lock-in for hardware refresh cycles
- Technical Impact: Material databases hardcoded; Prevents third-party toolpath optimization; Blocks AI-driven milling parameter adjustments
Open Architecture Systems (e.g., Amann Girrbach, Wieland)
- Pros: 22-35% lower consumable costs; Supports 50+ zirconia blank types (including niche translucency grades); Enables custom toolpath development via SDK
- Cons: Requires in-house validation of material/mill combinations; Potential calibration drift without rigorous QC protocols
- Technical Advantage: ISO 13485-compliant API interfaces allow integration of external analytics (e.g., milling vibration analysis via accelerometers)
Carejoy API Integration: Technical Deep Dive
Carejoy’s 2026 v4.2 Workflow Orchestrator exemplifies next-gen interoperability through:
- Unified Device API: Abstracts machine-specific protocols into standardized RESTful endpoints (e.g.,
POST /mills/{id}/jobsaccepts CAD files from any platform) - Zirconia-Specific Intelligence:
- Auto-adjusts spindle speed based on zirconia grade (e.g., 5Y-PSZ vs. 3Y-TZP)
- Compensates for blank density variances using machine-embedded spectrometers
- Generates sintering profiles via material fingerprinting from milling resistance data
- Real-World Integration:
- Dental lab’s exocad exports design with zirconia metadata
- Carejoy API validates material compatibility against mill’s loaded blank
- Triggers pre-mill tool calibration sequence via machine OEM SDK
- Streams live milling telemetry to lab dashboard (tool wear, vibration analytics)
- Auto-queues sintering with dynamic temperature ramp based on mill path complexity
| Integration Metric | Carejoy v4.2 | Legacy Middleware |
|---|---|---|
| Job Handoff Time | ≤ 12 seconds | 45-90 seconds |
| Zirconia Material Support | 68+ brands (including experimental) | 22-35 brands (pre-approved) |
| Calibration Drift Detection | Real-time (via embedded sensors) | Post-failure analysis |
| API Uptime (2025) | 99.992% | 99.37% |
Conclusion: The Orchestrated Workflow Imperative
2026 demands move beyond “connected devices” to intelligent workflow orchestration. Zirconia milling machines must function as data-generating nodes within a closed-loop production system. Key adoption criteria:
- Open architecture with ISO/IEEE 21451 sensor standards support
- CAD-agnostic integration via certified APIs (not just file export)
- Material intelligence that transcends vendor-specific ecosystems
- Cloud-native telemetry for predictive maintenance (critical for 24/7 lab operations)
Labs leveraging platforms like Carejoy to unify heterogeneous equipment achieve 31% higher throughput and 44% fewer remakes versus closed-system competitors (DSI 2025 Benchmark). The future belongs to those who treat milling not as an endpoint, but as a data-rich phase in the digital continuum.
Manufacturing & Quality Control

Digital Dentistry Technical Review 2026
Target Audience: Dental Laboratories & Digital Clinics
Brand: Carejoy Digital – Advanced Digital Dentistry Solutions
Manufacturing & Quality Control of Zirconia Milling Machines in China: A Technical Deep Dive
As the global demand for high-precision, cost-effective CAD/CAM solutions intensifies, China has emerged as the dominant force in the manufacturing of zirconia milling machines. This shift is underpinned by a convergence of advanced manufacturing infrastructure, rigorous quality systems, and strategic investments in digital dentistry R&D. Carejoy Digital, operating from its ISO 13485-certified facility in Shanghai, exemplifies the new standard in Chinese digital dental equipment production.
Manufacturing Process Overview
Carejoy Digital’s zirconia milling machines are engineered for sub-micron precision and long-term reliability. The manufacturing pipeline integrates modular design, automated assembly lines, and real-time process monitoring. Key stages include:
- Component Sourcing: High-grade linear guides, ceramic spindle motors, and vibration-dampening chassis are sourced from Tier-1 suppliers with traceable material certifications.
- Sub-Assembly Integration: Motion control systems, cooling modules, and dust extraction units are pre-assembled in controlled environments to minimize contamination.
- Final Assembly: Conducted in ISO Class 7 cleanrooms with ESD protection. Each unit undergoes firmware flashing and initial calibration before entering QC.
Quality Control Framework: ISO 13485 & Beyond
All manufacturing and post-production processes at Carejoy Digital comply with ISO 13485:2016, the international standard for medical device quality management systems. This ensures traceability, risk management, and process validation across the product lifecycle.
| QC Stage | Process | Compliance & Tools |
|---|---|---|
| Sensor Calibration | Linear encoders, spindle RPM sensors, and force feedback modules are calibrated in an on-site NIST-traceable sensor calibration lab. | ISO/IEC 17025-accredited procedures; temperature-controlled environment (±0.5°C) |
| Dynamic Run-In Testing | Each milling unit operates under simulated clinical load (10+ hours) with real zirconia blanks. | Vibration spectrum analysis, thermal imaging, and acoustic emission monitoring |
| Durability Testing | Accelerated life testing (ALT) simulates 5+ years of clinical use via 10,000+ milling cycles. | MTBF (Mean Time Between Failures) > 15,000 hours; wear analysis via SEM |
| Software Validation | Firmware and AI-driven toolpath optimization modules undergo regression and stress testing. | Compliant with IEC 62304 for medical device software lifecycle |
Why China Leads in Cost-Performance Ratio
China’s dominance in digital dental equipment is no longer solely about low labor costs. It is a result of strategic vertical integration, government-backed innovation zones, and mature supply chains. Key factors include:
- Scale & Supply Chain Efficiency: Proximity to raw materials (e.g., zirconia powder, rare-earth magnets) and component manufacturers reduces lead times and logistics overhead.
- Advanced R&D Hubs: Shanghai and Shenzhen host dedicated dental tech incubators with AI and robotics integration labs, enabling rapid prototyping.
- Open Architecture Advantage: Carejoy Digital supports STL, PLY, and OBJ natively, enabling seamless integration with third-party scanners and AI-driven design platforms—reducing total cost of ownership.
- AI-Driven Scanning & Milling Optimization: Onboard machine learning algorithms adjust feed rates and toolpaths in real time, improving blank utilization by up to 27%.
Carejoy Digital: Engineering the Future of Precision Milling
Backed by a Shanghai-based ISO 13485-certified facility, Carejoy Digital delivers zirconia milling machines that combine German-level precision with Chinese manufacturing agility. Our machines are not just built—they are validated, optimized, and supported for global clinical success.
Support & Continuous Innovation
- 24/7 Technical Remote Support: Real-time diagnostics and firmware updates via secure cloud portal.
- Monthly Software Updates: AI model enhancements, material library expansions, and CAM algorithm refinements.
- Global Service Network: Localized calibration kits and on-site engineer dispatch within 48 hours (select regions).
Upgrade Your Digital Workflow in 2026
Get full technical data sheets, compatibility reports, and OEM pricing for Zirconia Milling Machines.
✅ Open Architecture
Or WhatsApp: +86 15951276160
